An old trick transforms plastic bags into stunning wall art… you’ll want to try this!
An Old Trick Transforms Plastic Bags into Stunning Wall Art… You’ll Want to Try This!
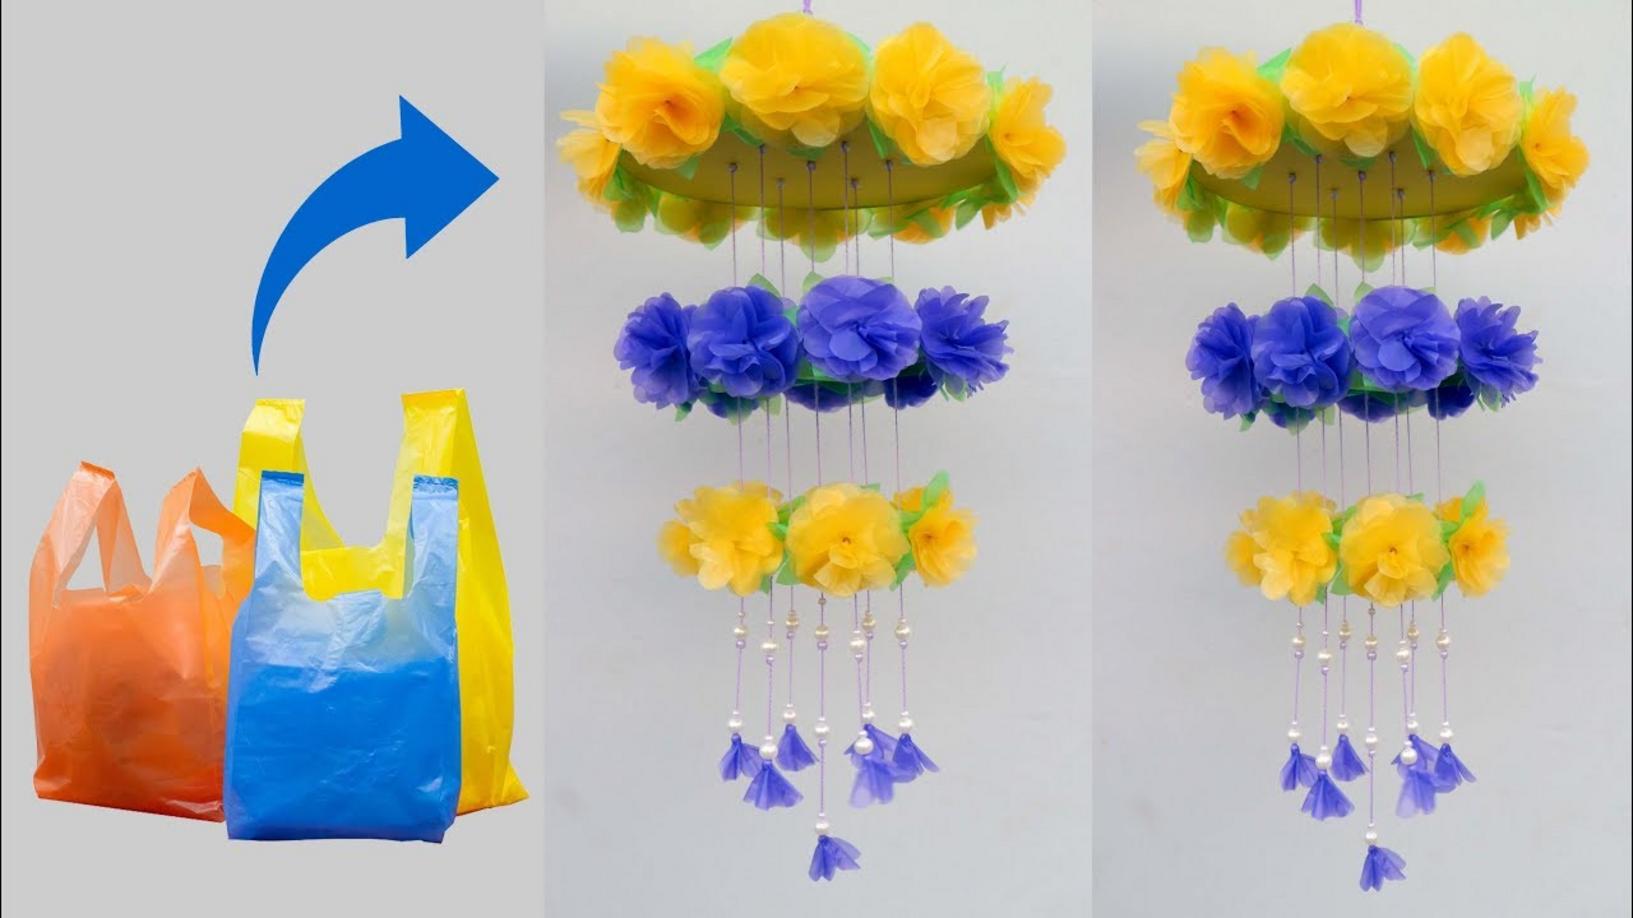
Looking to breathe new life into your home decor? Transforming **plastic bags** into vibrant **wall art** is a fantastic way to combine creativity and sustainability! This fun DIY project will not only spruce up your space but also encourage a mindful approach to crafting. So grab your supplies, and let’s dive into this exciting adventure!
Step 1: Gather Your Materials
First things first, you’ll need to collect the necessary materials:
- Plastic Bags – use colorful ones for a striking effect.
- Cardboard – this will serve as the base for your wall art.
- Buffalo Paper – perfect for creating textures.
- Wool Thread – adds depth with its beautiful colors.
- Light Pearls – for dazzling accents.
For the complete list of craft materials, check the links provided to purchase everything you need.
Step 2: Prepare Your Workspace
Set up a clean, well-lit workspace. Lay down a protective covering to avoid any mess. Gather all your tools, including:
- Cutting Mat
- Scissors
- Glue Gun
- Paint Brushes
Step 3: Create the Base
Cut the cardboard into your desired shape and size. The larger the base, the more dramatic your wall art will be. Next, apply a layer of **buffalo paper** for texture. You can paint the base in a color that complements your chosen **plastic bags**.
Step 4: Craft the Plastic Flowers
Using your **plastic bags**, cut them into petal shapes. Layer different colors to create unique flowers. To add more charm, intertwine **wool thread** around the petals. Secure everything with hot glue.
Step 5: Assemble Your Art
Begin arranging your floral creations on the cardboard base. Play around with placement until you’re satisfied. Secure each piece firmly with hot glue. Add **light pearls** as accents to give your wall art a sparkling finish!
Common Mistakes to Avoid
- Too Much Glue: Use just enough to hold pieces together without making a messy appearance.
- Overlooking Drying Time: Allow sufficient time for glue to dry before moving your art.
- Rushed Designs: Take your time in arranging elements for a balanced, aesthetic look.
Conclusion: Create Your Own Masterpiece!
Now that you’ve learned how to transform **plastic bags** into stunning **wall art**, it’s time to unleash your creativity! Gather your materials, follow the steps, and share your finished masterpieces with us. Don’t forget to check out all the helpful links provided to make your crafting experience smoother.
Your home deserves a touch of charm and personality. So why wait? Get crafting today and bring a splash of color to your walls!