10 Amazing Plastic Repair Tricks to Fix Your Broken Parts Like New!
10 Practical Tricks for Repairing Broken Plastic Parts
- Introduction
- Essential Materials for Plastic Repair
- Effective Repair Techniques
- Common Mistakes to Avoid
- FAQ
- Conclusion
Introduction
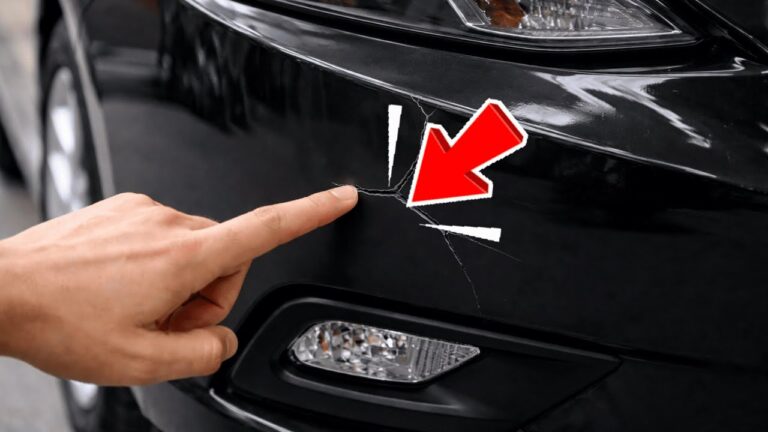
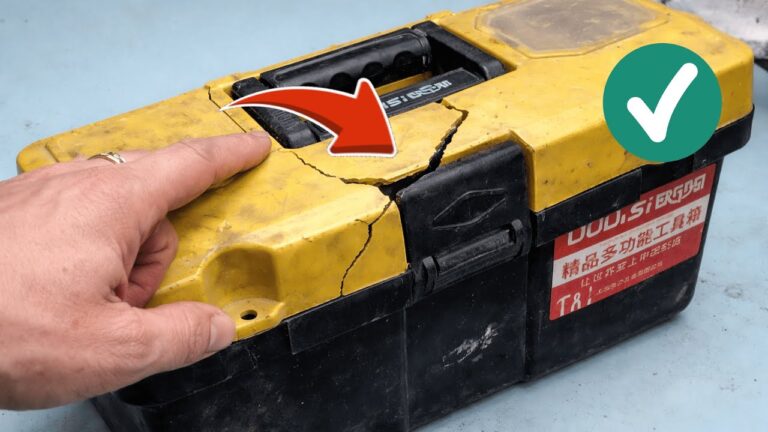
Have you ever found yourself frustrated by a broken plastic item, from a beloved childhood toy to a common kitchen gadget? These everyday mishaps can feel disheartening, especially when you believe they’re past saving. Instead of tossing them away, you can breathe new life into these items with a few simple tricks. Whether it’s a crack, a missing piece, or a split seam, you might find that repairing your broken plastic parts is easier than you think. Let’s explore how you can achieve seamless repairs with everyday materials.
Essential Materials for Plastic Repair
Before diving into the repair processes, it’s important to gather the right materials to ensure a successful outcome. Here’s what you’ll need:
- Epoxy resin: A durable adhesive perfect for strong bonds.
- Plastic filler: Useful for filling gaps and cracks.
- Sandpaper: Helps smooth out the surface after repairs.
- Clamps: Essential for holding pieces together while adhesives cure.
- Paint or plastic spray: To match the color of the repaired item.
Choosing the Right Adhesive
Not all plastics are the same, so don’t grab any adhesive without considering its compatibility. Look for specific brands that mention they work on plastic for optimal results.
Tools You Might Need
In addition to the materials, having a few tools on hand can streamline your repairs:
- Utility knife for trim and fitting
- Heat gun for softening plastic
- Brush or spatula for applying fillers
Effective Repair Techniques
With your materials ready, it’s time to learn some effective repair techniques that can restore your broken plastic items.
1. Gluing Broken Pieces
Applying a strong adhesive like epoxy resin can bond broken parts effectively. Follow these steps:
- Clean the surfaces to be bonded with rubbing alcohol.
- Mix the epoxy resin according to instructions.
- Apply a thin layer to both surfaces and press together.
- Clamp the pieces and let it cure for the specified time.
2. Using Plastic Filler for Cracks
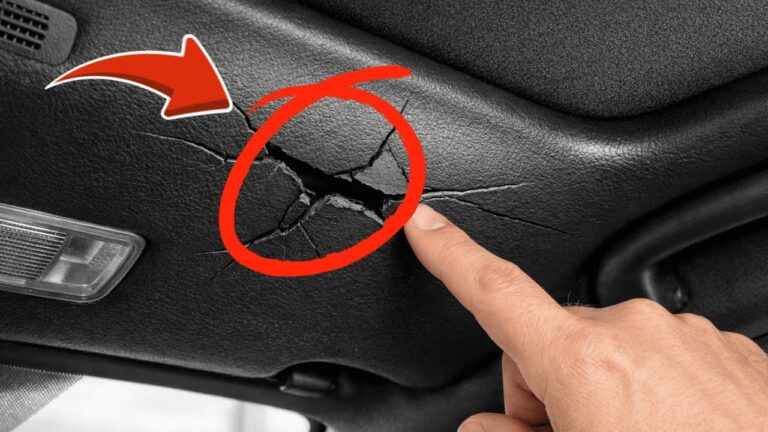
If your plastic is cracked but not broken into pieces, using a plastic filler can be very effective:
- Clean the crack, ensuring no debris remains.
- Apply plastic filler into the crack using a spatula.
- Let it dry completely before sanding smooth.
3. Reinforcing with Fiberglass
If you’re dealing with larger repairs or high-stress areas, fiberglass can provide additional support:
- Prepare the area by cleaning and roughening the surface.
- Cut fiberglass cloth to size and shape.
- Apply resin over the cloth and press firmly.
- Let it cure, then sand for a smooth finish.
Common Mistakes to Avoid
Even with the best intentions, some common pitfalls can sabotage your repair efforts. Here are a few mistakes to keep in mind:
- Not cleaning the surface properly before applying glue or filler. Oil and dust can prevent adhesion.
- Using excessive adhesive can lead to a messy repair and longer drying times.
- Neglecting to clamp pieces together can affect the strength of the bond.
- Not allowing sufficient curing time may result in weak repairs that fail soon after.
- Choosing the wrong adhesive for the type of plastic can lead to poor results.
FAQ
What types of glue work best for plastic repairs?
Epoxy resin and super glue are both excellent choices, but make sure to check compatibility with the specific type of plastic you’re repairing.
Can I paint over repaired plastic?
Yes, once the adhesive or filler is cured and smoothed, you can paint it with a paint suitable for plastics for a seamless look.
How can I tell if my plastic item is too damaged to repair?
If the item is shattered into many pieces or critical structure is missing, it may be more challenging to restore. However, consider creative recycling before discarding.
Conclusion
Repairing broken plastic parts can be a fulfilling and sustainable way to breathe new life into your belongings. By gathering the right materials and avoiding common mistakes, you’ll be well-equipped to tackle repairs confidently. What unique items have you successfully repaired? Share your experiences in the comments below!