5 Simple Steps to Fix Wood Gaps Using Sawdust and Glue Today!
5 Simple Steps to Fill Wood Gaps with Sawdust and Glue
Introduction
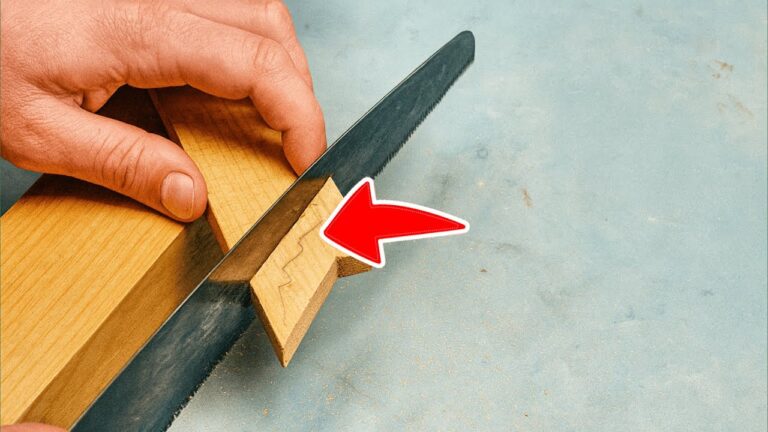
You’ve just finished your latest woodworking project, and everything looks great — except for those pesky gaps in the wood. These small spaces can detract from the beauty of your work and might even lead to further issues down the line if not addressed. Instead of letting them sit, you can easily tackle this problem with some simple supplies. Continue reading to discover an effective and practical solution for filling those wood gaps.
Required Materials
Before you dive into the repair process, make sure you have all the necessary materials at hand:
- Sawdust (preferably from the same type of wood)
- Wood glue (a reliable adhesive designed for woodworking)
- Putty knife or a small spatula
- Sandpaper (fine grit)
- Damp cloth for cleanup
Step-by-Step Process
Filling wood gaps is a straightforward task. Follow these steps to achieve a polished finish:
Step 1: Prepare the Sawdust Mixture
Start by collecting sawdust from your woodworking projects. Make sure it’s clean and free from debris. If you can’t find sawdust from the exact wood type, you can use a similar color.
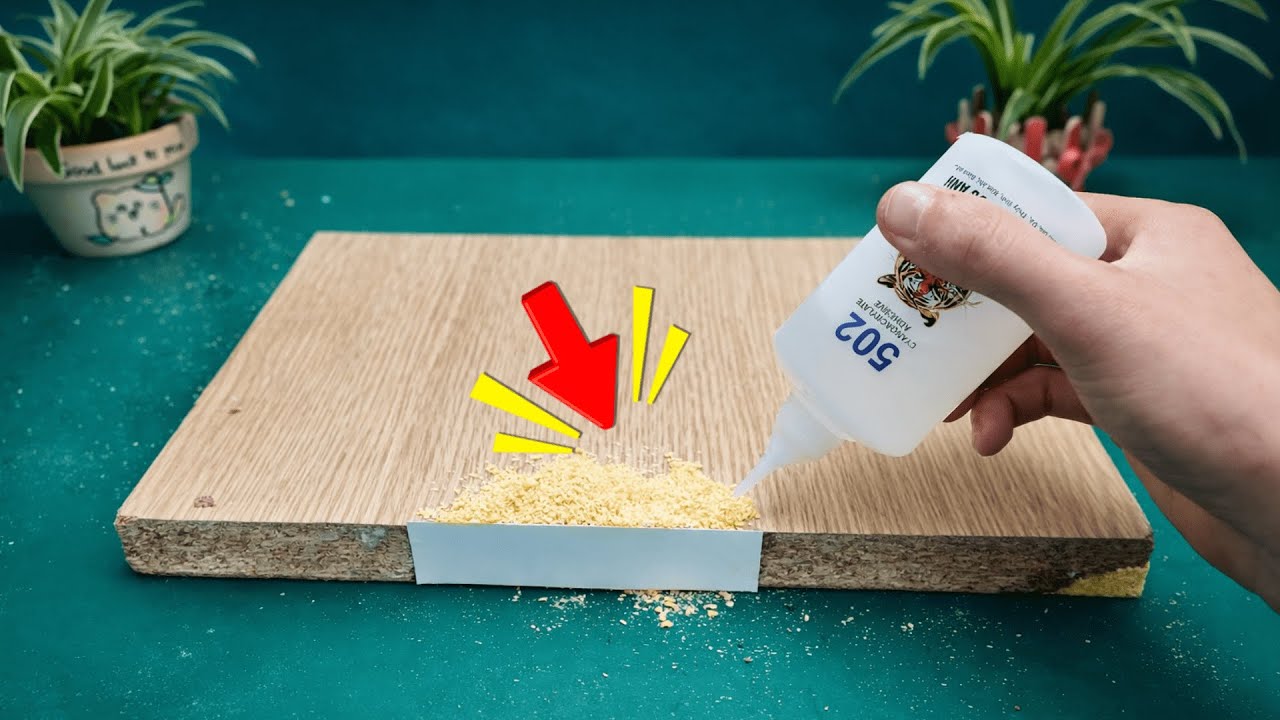
Step 2: Mix Sawdust with Glue
- In a small container, combine the sawdust and wood glue. Start with a ratio of 1 part glue to 2 parts sawdust.
- Mix until you achieve a paste-like consistency, which should be thick enough to hold its shape.
Step 3: Apply the Mixture
Using your putty knife, carefully apply the paste into the gaps. Fill them slightly above the wood surface so you can sand it down later. Make sure to press the mixture firmly into the gaps.
Step 4: Allow It to Dry
Follow the instructions on your wood glue for drying time, which usually varies from one to several hours. It’s essential to let it dry completely to ensure a solid bond.
Step 5: Sand Down the Surface
Once the mixture has dried, use fine grit sandpaper to smooth the surface. Sand it down until it is flush with the surrounding wood. Clean the area with a damp cloth to remove any dust.
Common Mistakes to Avoid
Even a simple task like filling wood gaps can come with challenges. Here are some mistakes to avoid for better results:
- Using the wrong type of glue: Ensure you’re using wood glue, as other adhesives may not bond well with the wood.
- Using sawdust from different wood types: This might lead to discoloration after it dries.
- Not allowing enough drying time: Rushing this step can compromise the durability of your repair.
- Overfilling the gap: It’s better to apply the mixture slightly above the surface to control how much you sand later.
- Skipping the sanding step: Not sanding can leave your surface uneven and noticeable.
FAQ
What wood types can I use for sawdust?
Try to use sawdust from the same wood type as the project to ensure color matching. However, similar woods may work if necessary.
How long should I let the glue dry?
Typically, wood glue takes about 1-3 hours to dry, but it’s best to follow the manufacturer’s instructions for optimal results.
Can I paint over the filled gaps?
Yes, once sanded and cleaned, you can paint or stain over the filled areas to match the rest of your project.
Conclusion
By following these simple steps to fill wood gaps with sawdust and glue, you can enhance the overall finish of your woodworking projects. It’s a quick fix that ensures lasting beauty. Have you tried filling wood gaps before? Share your experiences in the comments!