Transform a Broken Blade: 5 Steps to Crafting an Invincible Knife Handle!
Transform Your Broken Blade: A Practical Guide to Crafting an Invincible Knife Handle
- Essential Tools and Materials
- Step-by-Step Process
- Design Inspiration for Your Knife Handle
- Common Mistakes to Avoid
- Frequently Asked Questions
Essential Tools and Materials
When you find yourself staring at a broken knife, it can feel frustrating. Whether it’s a sentimental family piece or a kitchen staple, restoring it can seem daunting. However, with the right tools and materials, you can breathe new life into that broken blade. This guide will walk you through the essential items you’ll need to create a sturdy, attractive knife handle.
1. Necessary Tools
- Woodworking tools: chisels, saws, and sandpaper are critical.
- Adhesives: Epoxy resin or strong wood glue to secure your materials.
- Finishing supplies: oils or sealants to enhance the beauty of your handle.
2. Recommended Materials
- Wood: Choose durable hardwoods like oak, walnut, or maple.
- Resin: Optional for adding color or creating decorative inlays.
- Hardware: Screws or pins for added stability.
Step-by-Step Process
Now that you have your tools and materials ready, it’s time to dive into the crafting process. Below are the steps to turn your broken blade into a functional knife with a new handle.
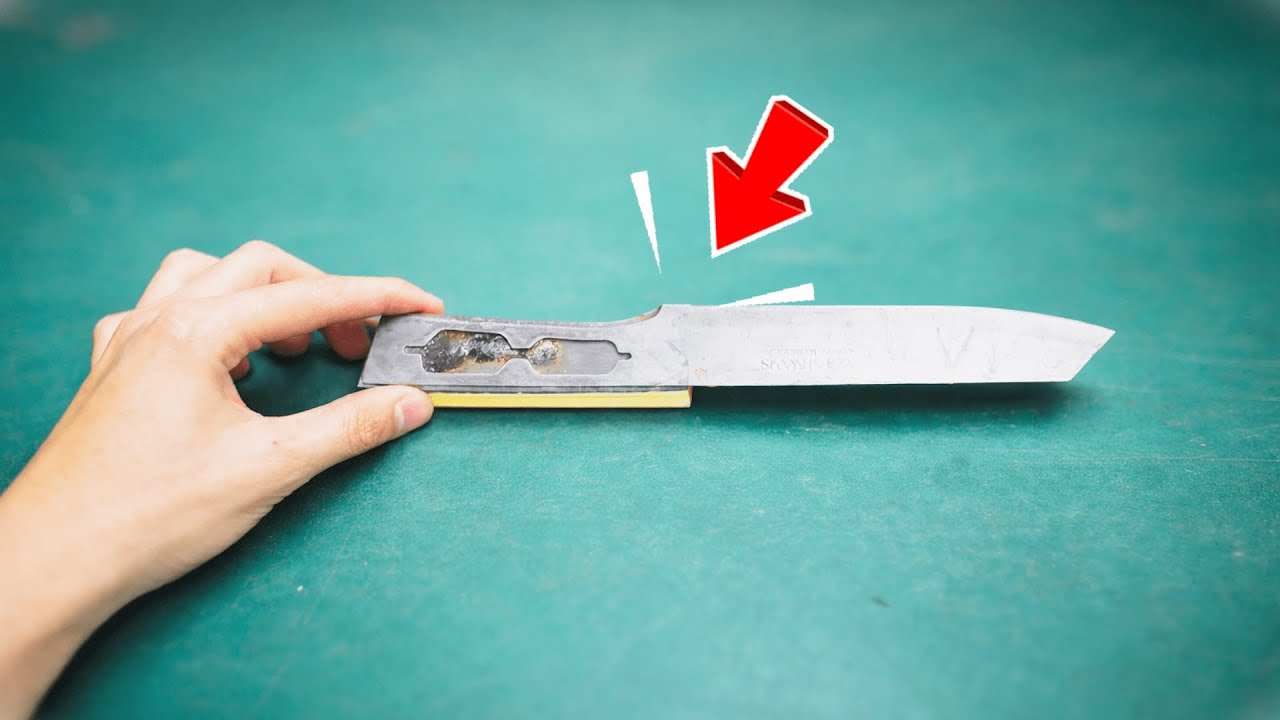
1. Prepare the Blade
- Clean the blade thoroughly to remove any old adhesive and dirt.
- Inspect for damages and ensure a snug fit for the new handle.
2. Cut the Handle Material
- Measure the length and width of the blade, marking your material accordingly.
- Cut the wood to match the desired handle shape and size.
3. Shape the Handle
- Sand the edges smooth to create a comfortable grip.
- Curvatures should be added for ergonomic handling, if desired.
4. Attach the Handle
- Apply a generous amount of adhesive to the tang of the blade.
- Press the handle onto the tang, ensuring a tight fit.
5. Finishing Touches
- Apply a finish such as oil to enhance the wood’s natural beauty.
- Let it cure according to the adhesive instructions, ensuring durability.
Design Inspiration for Your Knife Handle
Crafting your knife handle offers a wonderful opportunity to express your creativity. Here are some ideas to inspire your design:
1. Wood Varieties
- Mix different types of wood for a contrasting effect.
- Consider using reclaimed wood for an eco-friendly touch.
2. Decorative Inlays
- Incorporate resin inlays of different colors for a pop.
- Use metal, stone, or even shells for unique embellishments.
3. Unique Shapes
- Experiment with shapes that fit comfortably in your hand.
- Consider adding finger grooves for extra grip.
Common Mistakes to Avoid
As you embark on your knife handle crafting journey, it’s essential to be aware of common pitfalls that may hinder your project.
1. Poor Adhesive Application
Applying too little adhesive can result in a weak bond. Ensure a generous amount for durability.
2. Ignoring Ergonomics
Failing to shape the handle for comfort can make your knife difficult to use. Pay careful attention to the grip.
3. Using Low-Quality Materials
Choosing weak or cheap materials will ultimately lead to a less durable product. Always opt for strong, reliable options.
Frequently Asked Questions
What type of wood is best for a knife handle? Hardwoods like oak, walnut, and maple are excellent choices due to their durability and aesthetic appeal.
How long does the adhesive take to cure? Most adhesives will require at least 24 hours to fully cure, but check the product instructions for specifics.
Can I customize the handle design? Absolutely! Feel free to explore different shapes, colors, and inlays to create a unique design that reflects your style.
Conclusion
Transforming a broken blade into a beautifully crafted knife handle is a rewarding project that combines functionality and creativity. Consider the essential tools and the step-by-step process laid out to guide your work. What unique design ideas do you have in mind for your knife handle? Share your thoughts in the comments!