Transform Your Misaligned Wood Joints: 5 Simple Fixes That Surprise!
Transform Your Misaligned Wood Joints: 5 Simple Fixes That Surprise!
- Common Issues with Misaligned Wood Joints
- Essential Tools and Materials
- Quick Fixes for Misaligned Joints
- Common Mistakes to Avoid
- Frequently Asked Questions
Common Issues with Misaligned Wood Joints
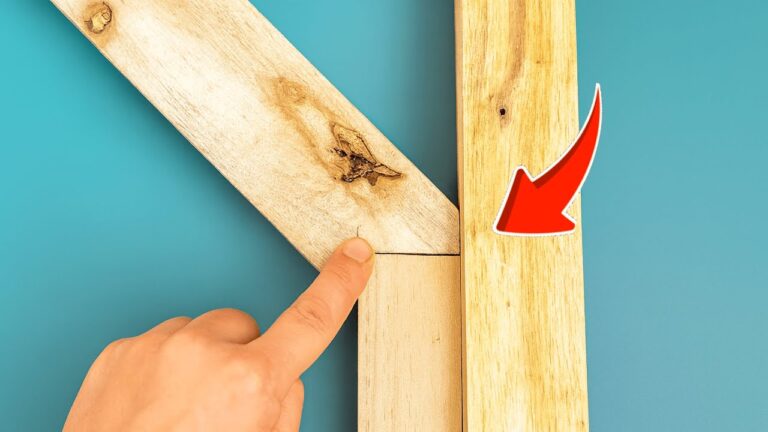
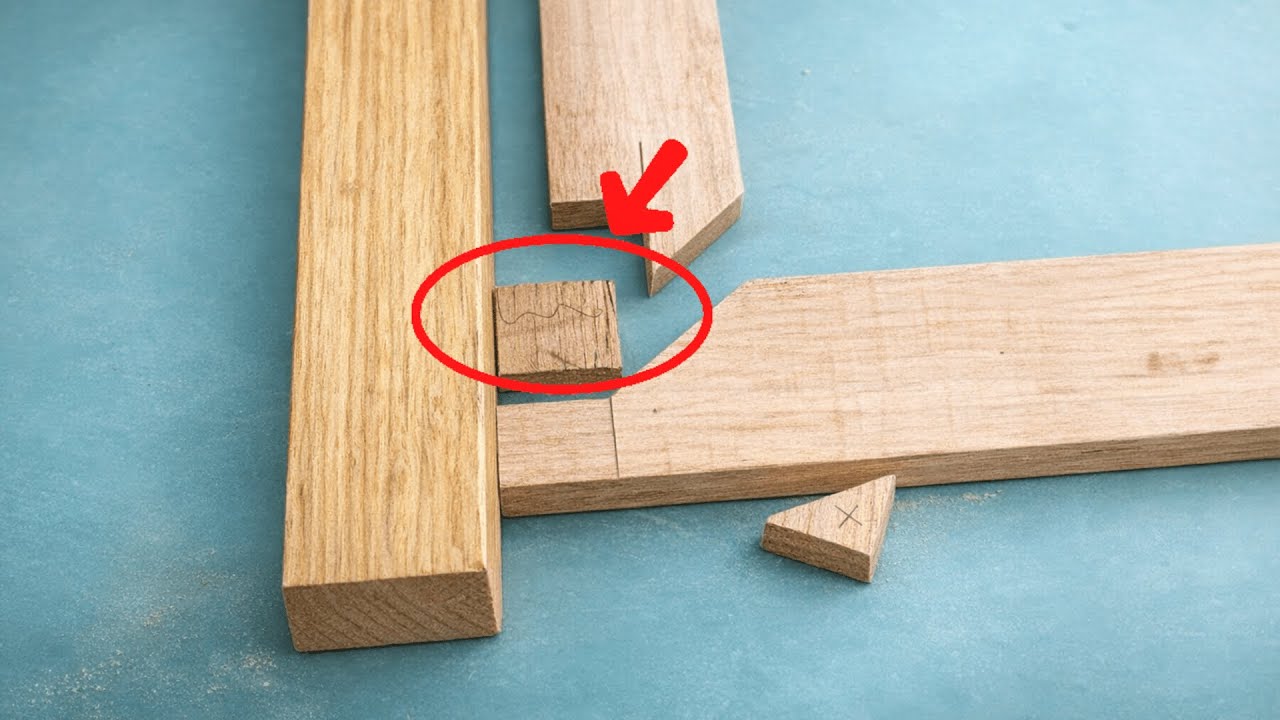
Have you ever found yourself struggling with furniture that just doesn’t line up properly? Misaligned wood joints can be a major headache, leading to wobbly tables and uneven cabinets. The problem often stems from improper assembly, humidity changes, or inadequate measurements. Understanding the typical causes of misalignment can guide you to effective solutions. Keep reading to explore practical fixes that can transform your woodworking projects.
Essential Tools and Materials
Before diving into the fixes, it’s vital to gather the right tools and materials to handle misaligned wood joints effectively.
Tools You’ll Need
- Screwdriver — for adjusting screws in joints.
- Wood glue — to reinforce connections.
- Clamps — to hold pieces securely while they dry.
- Sandpaper — to smooth surfaces before reassembly.
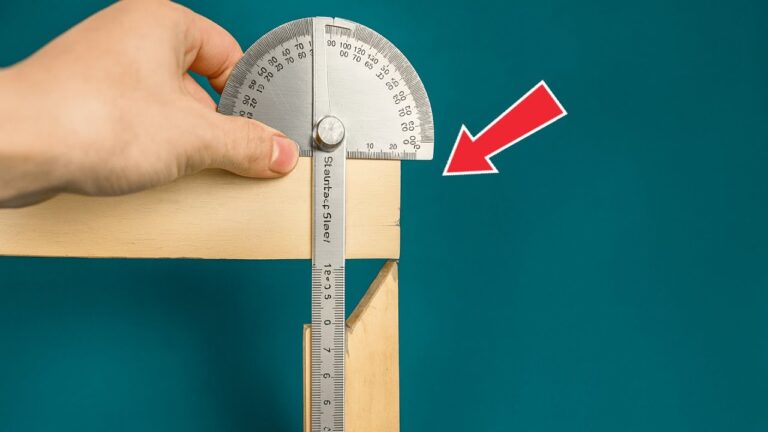
- Square — for checking right angles.
Materials to Consider
- Wood filler — for filling gaps or defects.
- Dowels — to strengthen joints.
- Brackets — for additional support if needed.
Quick Fixes for Misaligned Joints
Now that you’re equipped with the right tools, let’s explore some quick fixes to align those misaligned joints.
1. Adjust the Screws
- Inspect the joints where screws are used.
- If screws are loose, tighten them carefully to realign the pieces.
- Watch for stripped holes—if present, consider using wood filler or dowels.
2. Apply Wood Glue
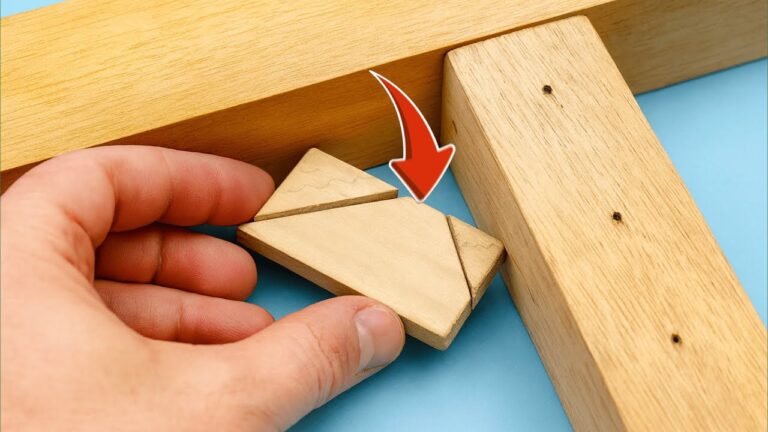
- Remove any misaligned parts if possible.
- Apply wood glue in the joint area and reassemble.
- Clamp the pieces together and let the glue cure as per instructions.
3. Use Clamps Effectively
Clamps can significantly help in realigning joints:
- Position the misaligned pieces as closely as possible.
- Attach clamps to hold them in place.
- Allow the glue to set with the clamps on.
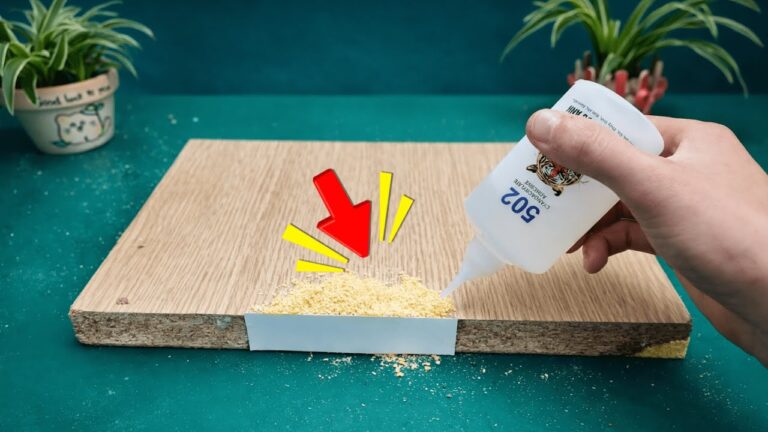
4. Fill Gaps with Wood Filler
If you notice gaps after aligning, wood filler can help:
- Clean the area around the misalignment.
- Apply the filler and smooth it down.
- Once dried, sanding will create a seamless finish.
5. Reinforce with Dowels or Brackets
This step is ideal for persistent issues:
- Drill holes for dowels at proper angles, ensuring they connect with both pieces.
- Insert dowels and apply wood glue for a stronger bond.
- For brackets, attach them inside corners for extra support.
Common Mistakes to Avoid
While making repairs, certain pitfalls can hinder your success. Here are some mistakes to watch out for:
- Not checking alignment before securing—always use a square.
- Over-tightening screws can lead to stripping and further misalignment.
- Rushing glue drying time may result in weak joints.
- Ignoring humidity and temperature changes that can affect wood expansion.
Frequently Asked Questions
How can I prevent misaligned wood joints in the future? Proper measuring and dry fitting parts before assembly can minimize future issues.
Can I use wood glue alone for joint alignment? Wood glue is effective but may need additional support, such as screws or dowels, for best results.
What type of wood filler should I use? Choose a wood filler that matches your project, considering factors like color and durability.
Conclusion
Transforming misaligned wood joints is easier than you might think with these simple fixes. Applying practical techniques and avoiding common mistakes can lead to sturdy and visually appealing outcomes. Have you faced issues with wood joints before? Share your experience in the comments below!