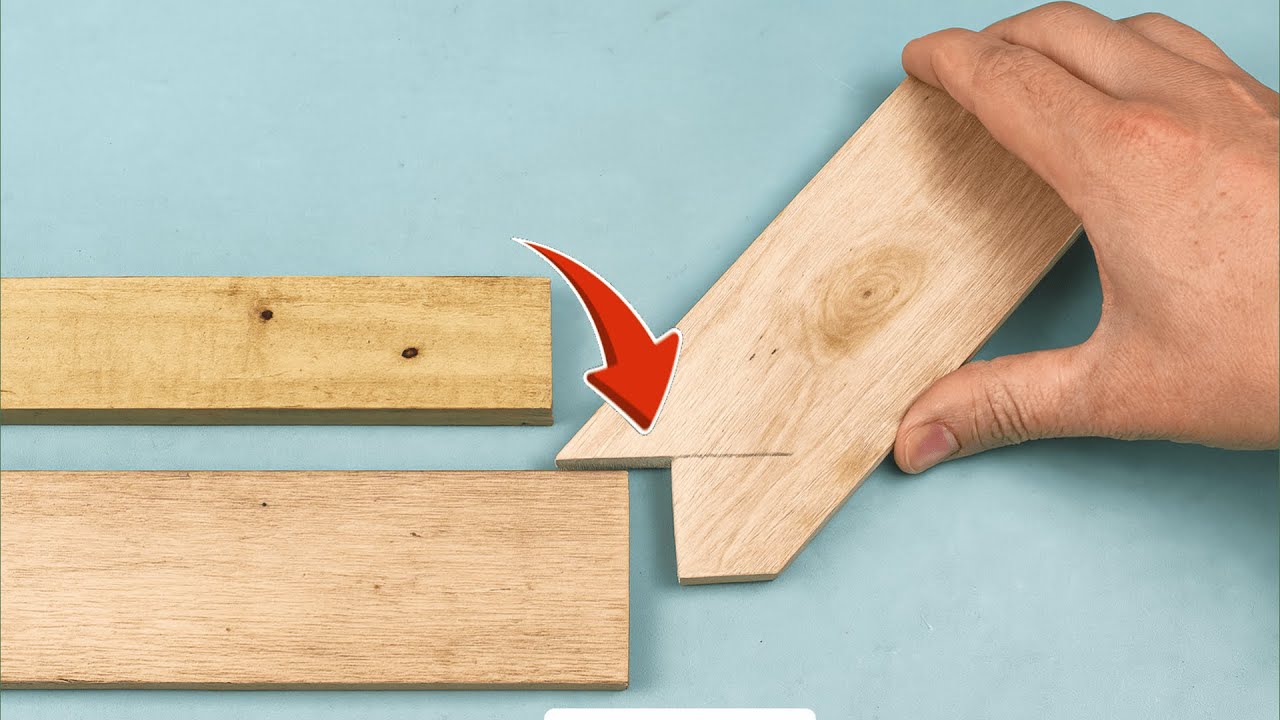
7 Shocking Wood Joints That Will Transform Your Carpentry Skills Forever
7 Unique Wood Joints to Elevate Your Carpentry Skills
- Introduction
- Exploring Unique Wood Joints
- Considerations When Choosing Wood Joints
- Common Mistakes to Avoid
- FAQ
- Conclusion
Introduction
Whether you’re a seasoned carpenter or just starting, you might find that mastering wood joints can make all the difference in your projects. From furniture pieces to home decor, the right joints not only impact the strength of your work but also enhance its aesthetics. However, with so many options available, choosing the appropriate wood joint can feel overwhelming. Let’s explore some unique wood joints that will inspire you to push your carpentry skills to the next level.
Exploring Unique Wood Joints
Understanding different types of wood joints is essential for any woodworking enthusiast. Here are seven unique wood joints that can help you achieve a professional finish.
1. Mortise and Tenon Joint
The mortise and tenon joint is a classic woodworking technique that provides excellent strength and stability. This joint consists of a rectangular hole (mortise) cut into one piece of wood, allowing a protruding piece (tenon) from another to fit securely.
- Mark the dimensions on your wood pieces.
- Use a chisel to carve out the mortise.
- Cut the tenon on the adjoining piece and assemble.
2. Dowel Joint
A dowel joint involves inserting wooden pegs into aligned holes to connect two pieces of wood. This method is easy to execute and can be adjusted for different sizes.
- Drill holes in both pieces where they will meet.
- Insert the dowels into the holes and align the pieces.
- Press the joint together with wood glue.
3. Biscuit Joint
Utilizing a biscuit joint is a practical choice for edge-joining boards. This joint incorporates oval-shaped biscuits that fit into grooves cut in both pieces of wood.
- Cut a groove in each board using a biscuit joiner.
- Apply glue to the biscuits and insert them.
- Clamp the boards until dried.
4. Box Joint
The box joint is characterized by interlocking fingers, making it robust and visually appealing. Commonly used in boxes and drawers, this joint adds a decorative touch.
- Cut fingers on each piece using a table saw.
- Align the pieces and fit them together.
- Secure with wood glue and clamps.
5. Finger Joint
Similar to the box joint, the finger joint has fewer, deeper interlocks. It is especially suitable for long pieces of wood, improving strength and stability.
- Mark the finger spacing on both pieces.
- Cut the fingers on each end using a table saw.
- Glue the joint together and clamp.
6. Lap Joint
The lap joint is where two pieces of wood overlap, allowing for strong connections. This joint is often used in frame constructions.
- Cut one of the pieces to create an overlap.
- Align the pieces and mark where they overlap.
- Glue the surfaces together and clamp to secure.
7. Scarf Joint
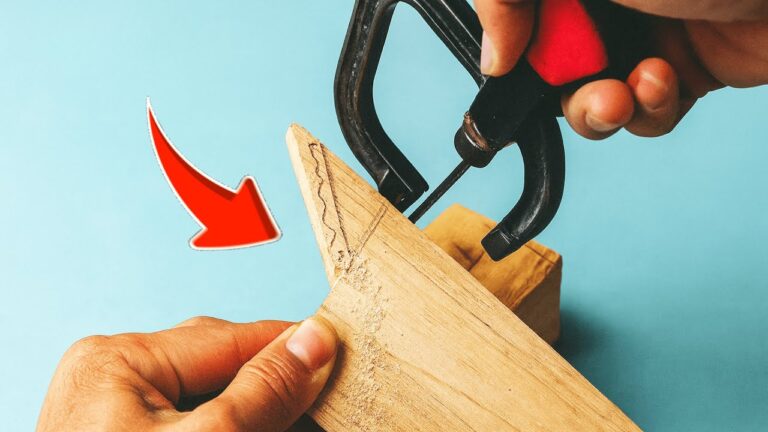
A scarf joint is beneficial for joining two pieces end-to-end, particularly for longer wooden beams. It provides a strong surface area for bonding.
- Cut each end at a 45-degree angle.
- Apply glue to the angled surfaces and press together.
- Clamp until the glue dries completely.
Considerations When Choosing Wood Joints
Choosing the right wood joint depends on various factors including strength, aesthetics, and ease of construction. Here are some tips to guide your decision:
- Material type: Ensure the wood you choose is compatible with the joint type for optimal performance.
- Project purpose: Consider the structural needs of your project; some joints are better suited for heavy loads.
- Skill level: Select joints that match your current woodworking skills to avoid frustration.
Common Mistakes to Avoid
Avoiding pitfalls in woodworking can save you time and effort. Here are common mistakes to be aware of:
- Inaccurate measurements: Always double-check your dimensions to ensure the pieces align properly.
- Neglecting wood grain: Pay attention to the grain direction which can affect the joint’s strength.
- Inconsistent glue application: Use an even amount of glue for a strong bond, avoiding excess that can squeeze out.
- Ignoring clamping time: Allow sufficient time for glue to cure to ensure a durable joint.
FAQ
What are the strongest wood joints? Mortise and tenon joints, as well as dovetail joints, are known for their strength and durability, making them ideal for heavy-duty applications.
How do you choose the right wood joint? Consider the project’s function, the type of wood you are using, and your skill level when selecting the appropriate wood joint.
Can I repair a broken wood joint? Yes, many wood joints can be repaired by re-gluing or reinforcing with additional dowels or screws, depending on the joint type.
Conclusion
Experimenting with these unique wood joints can enhance your carpentry projects, allowing you to build more complex and visually appealing pieces. Which wood joint are you excited to try on your next project? Share your thoughts in the comments below!