Save 50% on Heating Bills with This Simple Plastic Wrap Hack for Your Windows!
Reduce Your Heating Bills with a Simple Plastic Wrap Hack for Windows
- Why Use Plastic Wrap?
- How to Apply Plastic Wrap
- Benefits of Using Plastic Wrap
- Common Mistakes to Avoid
- FAQ
As winter approaches, many of us brace ourselves for soaring heating bills. You might notice drafts coming through your windows, making your home feel chilly even when the thermostat is cranked up. If you’ve tried all the traditional methods with little success, you might feel frustrated and uncertain about how to keep your home warm while staying on budget. Fortunately, there’s a simple yet effective solution that can help you save up to 50% on your heating costs. Keep reading to discover how using plastic wrap can be an easy game changer for your windows.
Why Use Plastic Wrap?
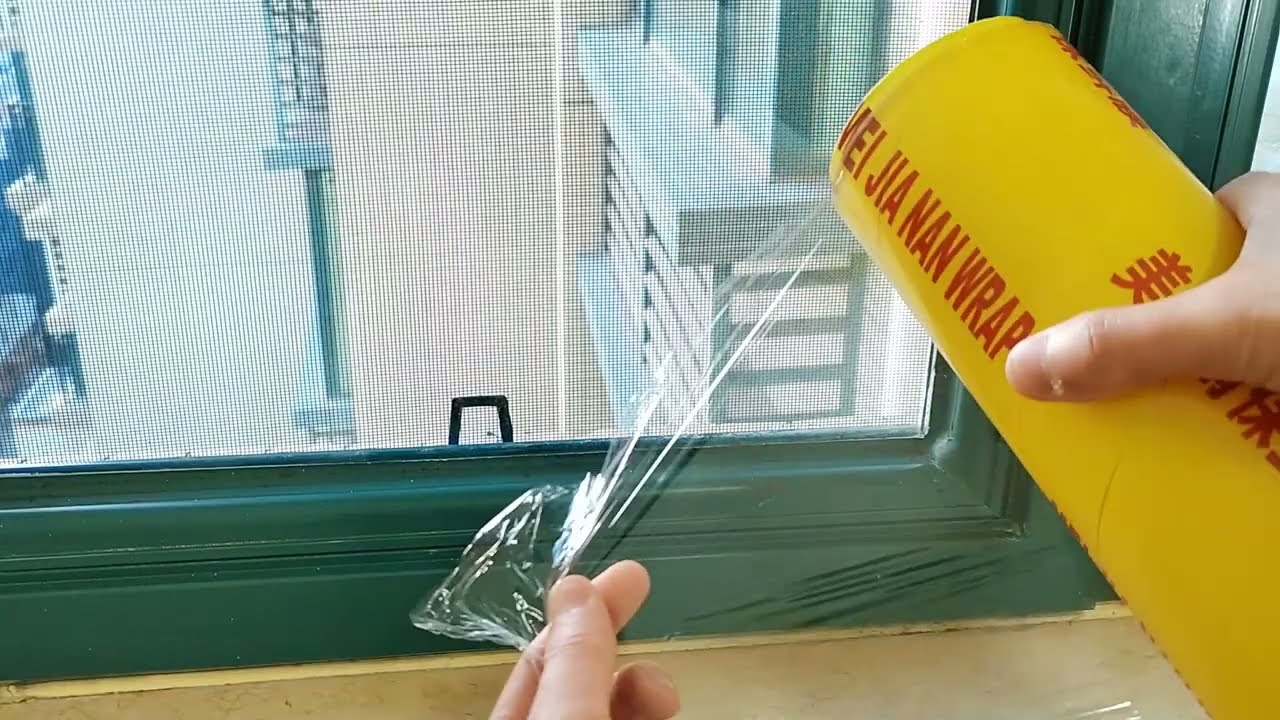
Plastic wrap isn’t just for food; it can also serve as an effective insulation material for your windows. Many homes lose heat through single-pane windows or poorly sealed areas, leading to uncomfortable drafts. By creating an insulating layer, plastic wrap helps trap warmth inside, allowing you to maintain a cozier environment without overworking your heating system.
1. Affordable Solution
Using plastic wrap is a cost-effective way to improve insulation. A roll of plastic wrap is generally inexpensive, especially when compared to other insulation materials. This makes it accessible for everyone.
2. Easy to Install
Applying plastic wrap requires minimal tools and effort, making it a DIY project that you can tackle in a short amount of time. The satisfaction of completing it on your own can be very rewarding.
3. Environmentally Friendly
Since plastic wrap is reusable, it aligns well with eco-friendly practices. You can minimize energy consumption and reduce your carbon footprint throughout the colder months.
How to Apply Plastic Wrap
Installing plastic wrap on your windows is straightforward. Follow these easy steps to ensure you achieve the best results:
- Gather your materials: You’ll need plastic wrap, double-sided tape, scissors, and a measuring tape.
- Measure your windows: Use the measuring tape to find the dimensions of each window. This will help ensure that you cut the plastic wrap to the correct size.
- Cut the plastic wrap: Based on your measurements, cut a piece of plastic wrap that’s a bit larger than the window frame.
- Apply double-sided tape: Stick the tape around the window frame, ensuring it’s secure and entire perimeter is covered.
- Affix the plastic wrap: Starting from the top, press the plastic wrap onto the tape, smoothing it down as you go to eliminate any air bubbles or wrinkles.
- Trim excess wrap: Once you’ve secured the plastic wrap, use scissors to trim off any excess material for a clean look.
Practical Tips
- For added insulation, consider using multiple layers of plastic wrap.
- If your windows are unusually shaped, you might want to use a different approach, like cut-out shapes or overlapping pieces.
- Be sure to remove the plastic wrap carefully at the end of the season to avoid damaging your window frames.
Benefits of Using Plastic Wrap
Beyond energy savings, there are numerous benefits to using plastic wrap on your windows.
1. Enhanced Comfort
By insulating your windows, you can maintain a more consistent indoor temperature, leading to greater comfort for you and your family. No more chilly spots by the window!
2. Reduced Energy Costs
Reducing drafts can make a noticeable difference in your monthly heating bills, potentially cutting costs by up to 50%. This not only helps your wallet but also decreases your carbon footprint.
3. Aesthetically Pleasing Options
Plastic wrap comes in various styles and finishes. You can choose a clear option for an unobtrusive look or a frosted design for added privacy without sacrificing light.
Common Mistakes to Avoid
When using plastic wrap as a window insulation method, there are some pitfalls to steer clear of.
- Not cleaning the window frames before application can lead to poor adhesion and gaps.
- Using low-quality plastic wrap may result in it tearing easily or not sealing properly.
- Failing to measure correctly can leave gaps that negate the insulation effect.
- Neglecting to smooth out wrinkles can create spaces for drafts to seep through.
FAQ
How long does the plastic wrap last?
The plastic wrap can last throughout the winter but should be checked periodically for damage, especially during storms.
Can I use this method in the spring or summer?
While this method is most beneficial in colder months, you can remove the wrap when the weather warms up, making it versatile throughout the year.
Is plastic wrap safe for my windows?
Yes, plastic wrap is safe for most window types and won’t damage the frames when applied and removed properly.
Conclusion
Using plastic wrap on your windows is a simple yet effective way to enhance insulation and reduce heating costs dramatically. By following the steps outlined, you can enjoy a warmer home this winter. Have you tried this method before, or do you have other tips for winterizing your home? Share your thoughts in the comments below!