Master This 1 Perfect Wood Joint Fit from a 50-Year-Old Craftsman!
Master the Perfect Wood Joint Fit for Your DIY Projects
- Introduction
- Understanding Wood Joints
- Essential Tools and Materials
- Step-by-Step Process for Perfect Wood Joint Fit
- Common Mistakes to Avoid
- Frequently Asked Questions
- Conclusion
Introduction
Have you ever started a woodworking project only to find that the wood joints don’t fit together as you expected? This can be a frustrating experience, often leading to wasted time and materials. Whether you’re assembling a simple shelf or working on a more intricate piece, achieving the right fit is crucial for both functionality and aesthetics. In this guide, we’ll explore how to master the perfect wood joint fit, ensuring your projects are not just assembled, but crafted with precision. Read on to find out how you can improve your woodworking skills.
Understanding Wood Joints
Wood joints are essential components in woodworking, as they connect two pieces of wood in a strong and stable manner. Let’s dive into the different types of wood joints that can enhance your craftsmanship.
Types of Wood Joints
- Butt Joint: The simplest type, where two pieces meet at their ends.
- Lap Joint: Overlapping pieces of wood for additional strength.
- Dado Joint: A groove cut into one piece to accommodate another, commonly used in shelves.
Choosing the Right Joint
The choice of joint significantly impacts the strength and appearance of your project. Consider the load the joint will bear and the aesthetics you aim for in your woodworking project. For heavier loads, stronger joints like mortise and tenon or dovetails might be better options.
Essential Tools and Materials
To achieve the perfect wood joint fit, having the right tools and materials is crucial. Here’s what you’ll need to get started.
Tools Required
- Table Saw: For precise cuts.
- Router: Great for creating decorative edges and grooves.
- Chisels: Essential for fine tuning joints.
Materials Needed
- Quality Wood: Use wood that is straight and free of defects.
- Wood Glue: Provides additional strength to joints.
- Clamps: Necessary for holding joints together while the glue dries.
Step-by-Step Process for Perfect Wood Joint Fit
Now that you understand the types of joints and have your tools ready, let’s go through the process of achieving that perfect fit.
1. Measure Accurately
- Use a tape measure: Carefully measure the pieces that will join together.
- Mark the wood: Clearly mark where cuts will be made to ensure precision.
2. Make Precise Cuts
Using your tools, cut the wood according to your measurements. This step is crucial; any inaccuracies can lead to poor-fitting joints.
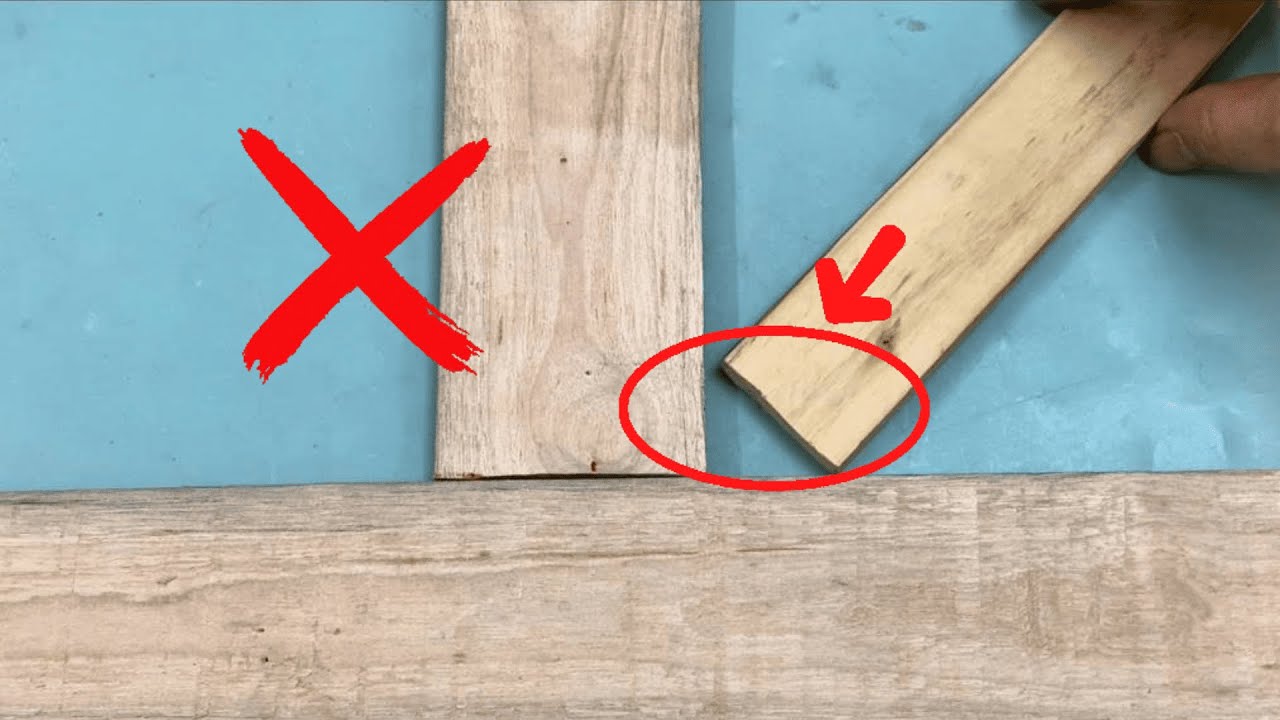
3. Test the Fit
Before applying any glue, test the joint fit. If necessary, make adjustments with your chisel or sandpaper until the joint fits snugly.
4. Apply Glue and Clamp
- Apply wood glue: Generously but precisely on each joint surface.
- Clamp the joint: Use clamps to hold the joint securely while the glue dries.
5. Final Touches
Once the glue has dried, sand the joint area for a smooth finish, and check for any gaps or irregularities that might require touch-ups.
Common Mistakes to Avoid
Even experienced woodworkers can fall into traps that compromise their projects. Here are some common mistakes to watch out for.
- Rushing the Measuring Process: Always take your time to ensure accurate measurements.
- Neglecting to Test Fits: Failing to check fit before gluing can lead to frustration later on.
- Using the Wrong Type of Joint: Choose your joint based on the application and load it will bear.
Frequently Asked Questions
What wood types work best for joints?
Hardwoods like oak and maple are generally preferred for their durability and strength, while softwoods like pine can be easier to work with for smaller projects.
How do I know if my joint is strong enough?
A strong joint will hold without wobbling or moving when pressure is applied. Testing the joint under load can help evaluate its strength.
Can I fix a poorly fitting joint?
Yes, you can often adjust a poor fit by sanding down high points or using wood filler for small gaps, though it’s ideal to aim for a snug fit initially.
Conclusion
Achieving the perfect wood joint fit requires careful measurement, precision cutting, and patience during assembly. By avoiding common mistakes and following the steps outlined, your woodworking projects can reach new levels of craftsmanship. What are some of the projects you’ve tackled that required wood joints? Share your experiences in the comments!