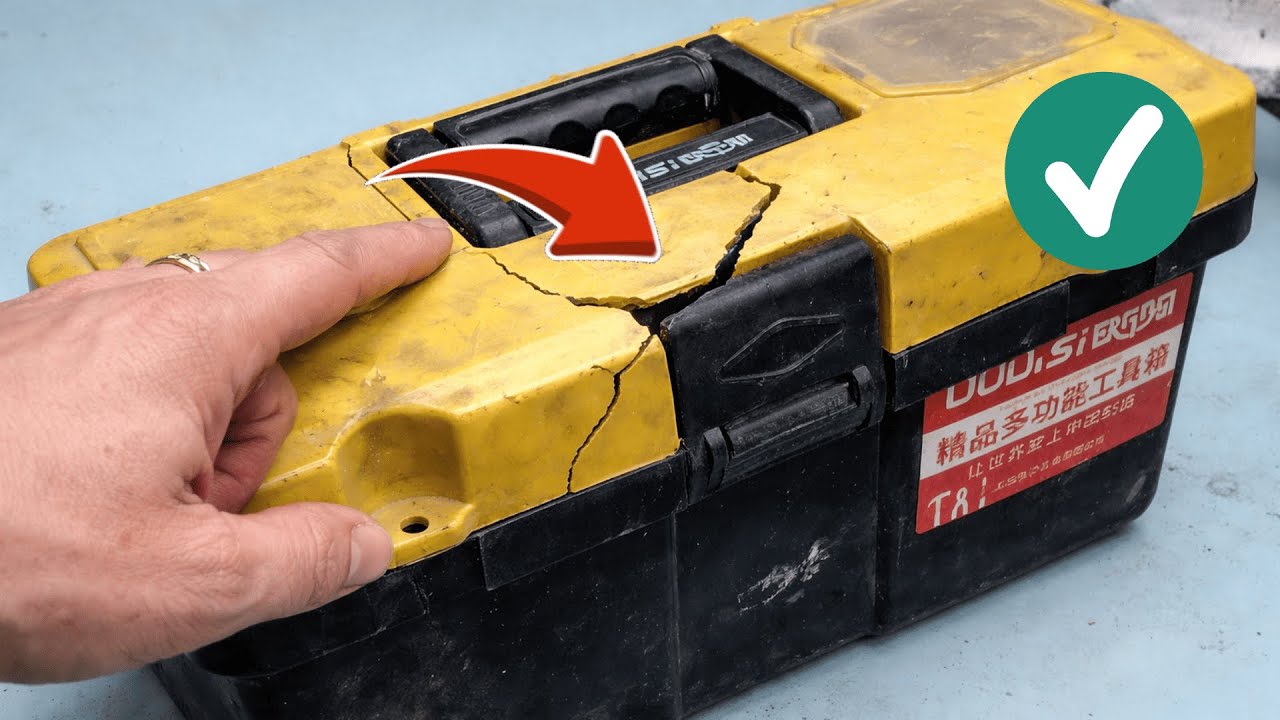
10 Incredible Steps to Restore Your Broken Plastic Tool Box Like a Pro!
10 Steps to Restore Your Broken Plastic Tool Box Like a Pro
Your plastic tool box has served you well over the years, but wear and tear can take a toll. Perhaps the lid is cracked, or a hinge has broken off, making it difficult to use. These situations are frustrating, especially when your trusty tool box is essential for keeping your gardening supplies organized. Fortunately, restoring your broken plastic tool box is achievable with a few simple steps. Continue reading to learn how you can breathe new life into your storage solution.
Required Materials
Before starting the restoration process, gather these materials to ensure a smooth experience:
- Plastic adhesive: Choose a type suitable for the type of plastic your tool box is made from.
- Sandpaper: This will help smooth rough edges and prepare surfaces for bonding.
- Clamps or heavy objects: These will ensure a secure hold while the adhesive cures.
- Cleaning solution: A mild detergent can help clean the areas to be repaired.
- Paint or plastic sealant: If you want to restore the appearance of your box.
Detailed Steps for Restoration
Follow these steps to restore your broken plastic tool box effectively:
- Clean the damaged areas.
- Sand the edges of the cracks to create better adhesion.
- Mix the plastic adhesive if required.
- Apply the adhesive evenly to the cracked edges.
- Press the edges together firmly.
- Use clamps or heavy objects to hold them in place.
- Let the adhesive cure for the recommended time according to the manufacturer’s instructions.
- Inspect the bond for any missed spots.
- Paint over the repaired area if desired to match the original color.
- Seal the tool box with a plastic sealant for added protection against moisture.
Helpful Tips
Taking a few precautions can enhance the restoration process:
- Ensure the workspace is well-ventilated when using adhesives and sealants.
- Test the adhesive on a small area if you are unsure of its compatibility with the plastic.
- Keep your tool box closed until the adhesive is fully cured to maintain pressure on the repair.
Common Mistakes to Avoid
As you embark on restoring your tool box, be aware of these frequent pitfalls:
- Using the wrong adhesive: Not all plastics bond well with the same glue. Research beforehand.
- Skipping the cleaning step: Dirt and grease can prevent effective bonding.
- Underestimating the curing time: Rushing this can lead to a weak repair that won’t hold.
- Not applying enough adhesive: Insufficient adhesive may not create a strong bond.
- Neglecting the sanding step: Smooth edges provide a better surface for the adhesive to grasp.
FAQs
What type of plastic adhesive should I use? Look for a plastic-specific adhesive as it offers the best bond for various types of plastic.
How long does the adhesive take to cure? Most adhesives take about 24 hours to cure completely, but always check the product’s instructions.
Can I paint over repaired areas immediately? It’s best to wait until the adhesive has fully cured before painting for the best results.
Conclusion
Restoring your broken plastic tool box can be a straightforward and satisfying project. By following these steps, you can extend its lifespan and maintain its functionality. Have you ever restored a tool box or similar item? Share your experiences in the comments below!