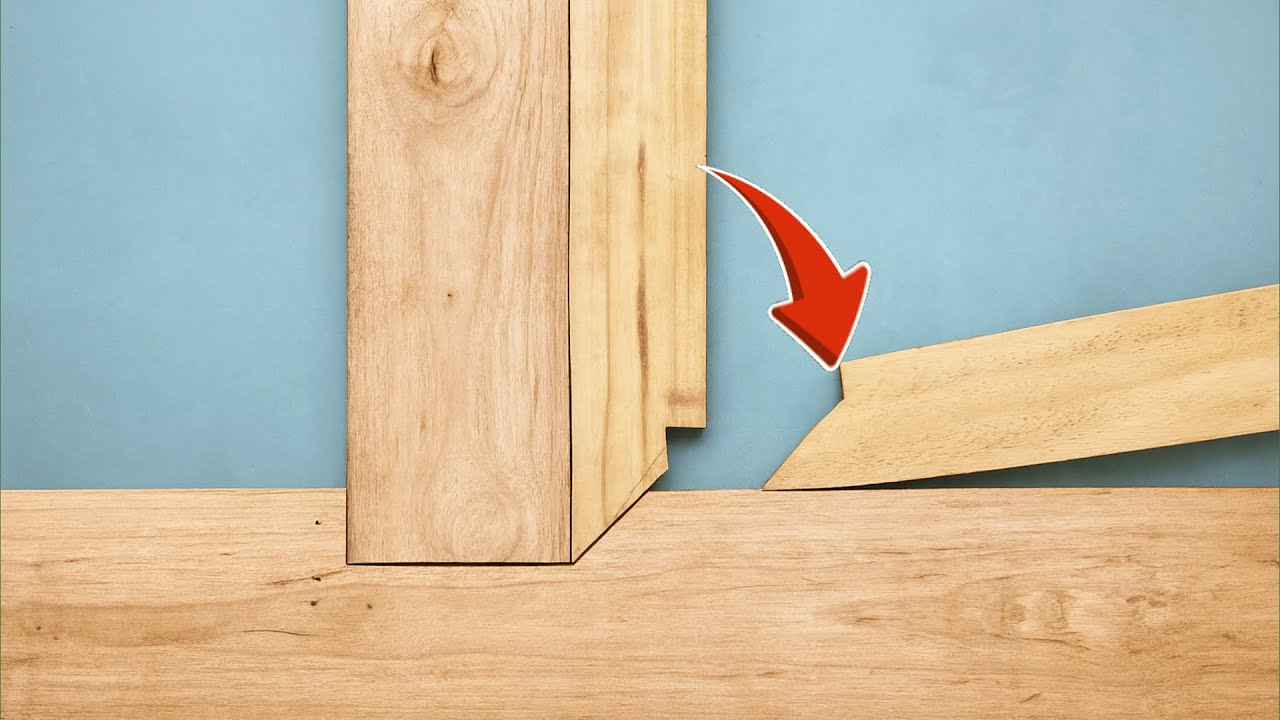
Master 7 Woodworking Layout Techniques for Stronger Joints Today!
Master 7 Woodworking Layout Techniques for Stronger Joints Today
- Introduction
- Essential Woodworking Layout Techniques
- Step-by-Step Guide for Layout Precision
- Common Mistakes to Avoid
- Frequently Asked Questions
- Conclusion
Introduction
Have you ever found yourself struggling to align your wood pieces perfectly for that project you’ve been excited about? The frustration of loose joints or misaligned cuts can be disheartening, especially when you’ve put in so much effort. Achieving strong joints is essential for the durability and aesthetics of any woodworking project. There are specific layout techniques that can significantly improve your results. Let’s delve into the essential techniques you can incorporate today.
Essential Woodworking Layout Techniques
Understanding various woodworking layout techniques will help you create stronger joints and enhance the overall quality of your work. Here are seven essential techniques you can master.
1. Accurate Measuring
Accurate measuring is the foundation of any woodworking project. Utilize a reliable tape measure and ensure to measure twice to avoid mistakes. Use a marking knife instead of a pencil for a clean line that helps in cutting.
2. Marking with Precision
When marking your cuts, always use a marking gauge for consistency. A marking gauge allows you to set a specific distance from the edge, leading to precise cuts.
3. Using a Square
A carpenter’s square is invaluable for ensuring that your edges are straight and your joints meet perfectly. This simple tool can help you align your material correctly and check the squareness of your cuts.
4. Layout Lines for Joints
Before cutting your wood, draw clear layout lines that indicate where cuts will be made. This will help ensure that you’re cutting exactly where you intend, which is crucial for joints.
5. Measuring for Dowels
For dowel joints, accurate placement is key. Use a doweling jigs for perfect alignment. They ensure that dowels are placed precisely, preventing gaps and misalignment in your joint.
6. Angled Cuts
When working with angled joints, use a protractor or digital angle finder to ensure the correct angle. Mark it clearly on your wood to avoid confusion during cutting.
7. Dry Fitting Joints
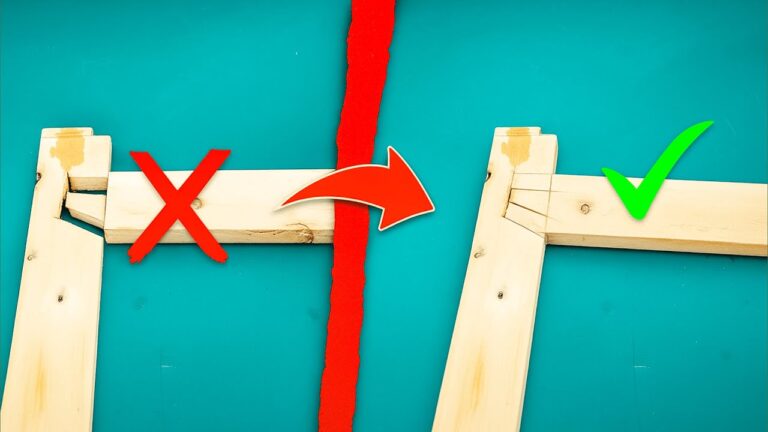
Before permanently assembling your joints, do a dry fit. This allows you to check for accuracy and make any necessary adjustments. It’s a crucial step that can save you time and materials.
Step-by-Step Guide for Layout Precision
Mastering layout techniques is made much easier with a structured approach. Here’s a step-by-step process you can follow.
Step 1: Gather Your Materials
- Wood pieces for your project
- Measuring tape
- Marking gauge
- Carpenter’s square
- Dowel jigs (if applicable)
- Protractor or angle finder
Step 2: Measure and Mark
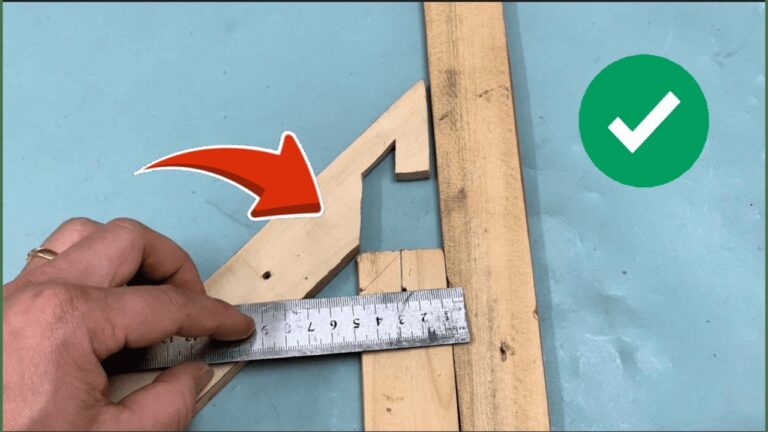
Begin by measuring the dimensions of each piece of wood carefully. Use your marking gauge to draw layout lines clearly across the wood for cutting.
Step 3: Cut with Precision
Utilize a saw to make your cuts along the layout lines. Maintaining a steady hand will help keep your edges clean and precise.
Step 4: Test Your Joints
Dry fit your pieces together before final assembly. This allows you to ensure all joints fit snugly and correctly.
Step 5: Assemble
Once you’re confident in the fit, proceed to assemble your joints using glue or dowels as needed. Clamp them if necessary to hold the pieces together as the glue sets.
Common Mistakes to Avoid
Even seasoned woodworkers can make mistakes. Here are some common pitfalls to watch out for:
1. Rushing the Measuring Process
Many errors occur from rushing. Always take your time to measure accurately.
2. Ignoring the Importance of a Clean Cut
Using dull tools or rushing cuts can lead to rough edges, which complicates joint assembly.
3. Not Using Layout Lines Effectively
It’s important to mark your layout lines clearly. Relying solely on memory can lead to misalignments.
4. Overlooking Dry Fitting
Skipping the dry fit can lead to major issues during final assembly. Always check the fit before securing your joints.
Frequently Asked Questions
What tools do I need for woodworking layout?
Essential tools include a measuring tape, marking gauge, carpenter’s square, saw, and doweling jigs. Each plays a crucial role in achieving accurate results.
How do I know if my cuts are straight?
Using a carpenter’s square after making your cuts will help confirm straightness. If you measure the opposite corners and they are equal, your cuts are likely straight.
What is the best way to practice my layout skills?
Start with small projects where you can focus on layout techniques. Gradually increase complexity as you gain confidence.
Conclusion
By mastering these woodworking layout techniques, you’ll be on your way to crafting stronger joints in all your projects. Take your time to practice, and soon you’ll notice a significant improvement in your woodworking results. What project are you excited to apply these techniques to?