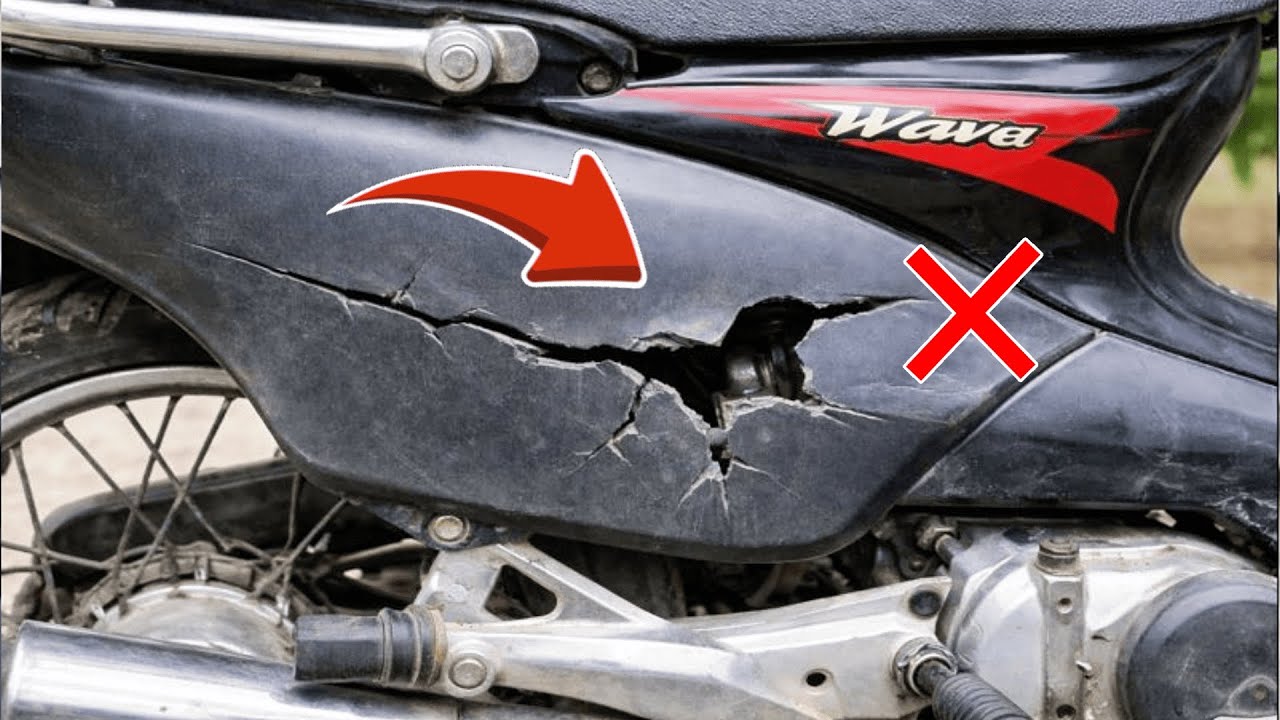
7 Simple Steps to Restore Cracked Wave Motorcycle Plastic and Save Big!
7 Simple Steps to Restore Cracked Wave Motorcycle Plastic
Introduction
Dealing with cracked motorcycle plastic can be frustrating, especially when your ride’s aesthetics are compromised. Whether it’s a small fissure or a more significant break, many riders are unsure of the best way to handle it. Fortunately, you don’t have to live with unsightly damage or shell out for expensive replacements. By following a few practical steps, you can give your Wave motorcycle’s plastic a new lease on life. Keep reading to discover how to restore your motorcycle’s plastic to its former glory.
Required Materials
Before diving into the restoration process, it’s essential to gather all necessary materials. This will ensure you’re well-prepared to tackle the job efficiently. Here’s what you’ll need:
- Plastic repair kit (includes adhesive and filler)
- Sandpaper (various grits)
- Heat gun or hairdryer
- Cloth for cleaning
- Rubbing alcohol or adhesive remover
- Paint (optional, for touch-ups)
Restoration Steps
Now that you have your materials ready, let’s move on to the actual restoration process. Follow these detailed steps to achieve the best results for your cracked motorcycle plastic:
1. Clean the Area
Before anything else, start with a clean surface. Gently wipe the cracked area using a cloth soaked in rubbing alcohol. This removes dirt and grease, ensuring the adhesive bonds properly.
2. Assess the Damage
Examine the cracks carefully. If there are any loose fragments, they may need to be removed or repaired. Make sure to note the depth and size of the cracks for proper treatment.
3. Prepare the Plastic Surface
Using sandpaper, lightly sand around the crack. This helps create a rough surface for better adhesion. Be cautious not to over-sand, as you want to preserve the original shape as much as possible.
4. Apply the Plastic Repair Adhesive
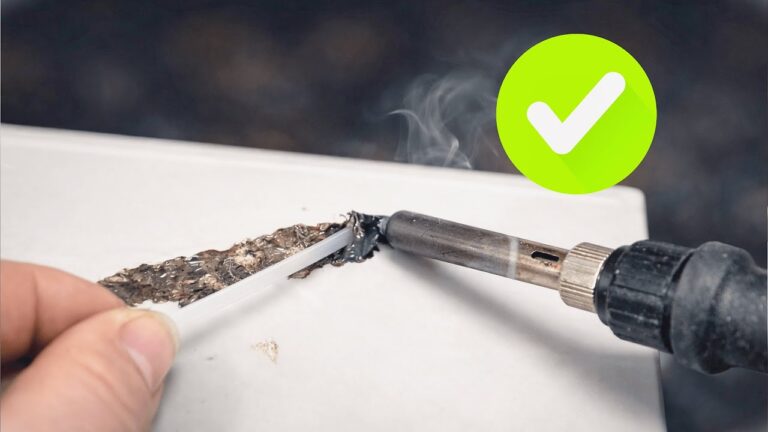
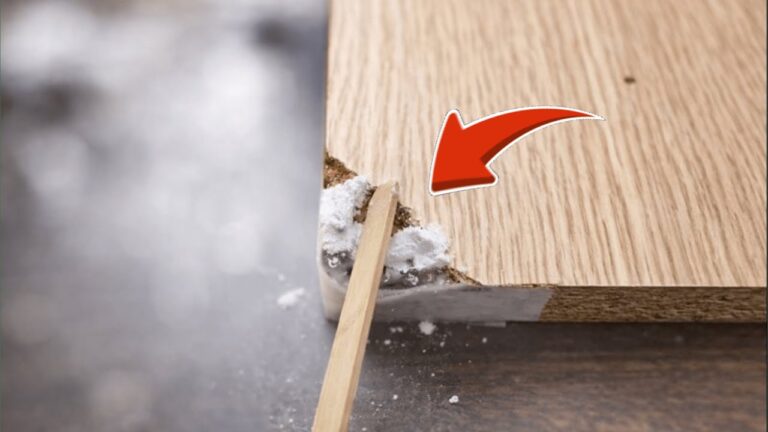
Following the manufacturer’s instructions, apply the plastic repair adhesive into and around the cracked area. Ensure you fill the crack completely, and then smooth it out using a scraper or your finger.
5. Use Heat for Better Bonding
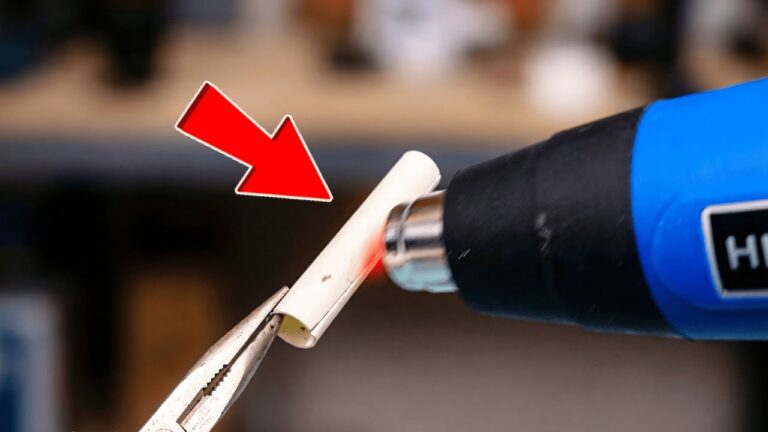
Using a heat gun or a hairdryer on a low setting, carefully warm the repaired area. This aids in curing the adhesive quickly and effectively. Keep the heat source moving to avoid overheating any one spot.
6. Sand the Repaired Area
Once the adhesive has fully cured (check the product instructions for specific times), use a finer grit sandpaper to smooth the surface. Your goal is to make it feel as flush as possible with the surrounding plastic.
7. Touch Up with Paint
If desired, apply a coat of paint to blend the repaired area with the rest of your motorcycle’s plastic. Allow enough drying time between coats if you use multiple layers for better coverage.
Common Mistakes
When restoring cracked motorcycle plastic, there are a few pitfalls to avoid to ensure a successful repair. Here are some common mistakes:
- Skipping the cleaning step can lead to poor adhesion.
- Using too much adhesive may create a mess and make the repair look sloppy.
- Overheating the plastic can cause additional warping or damage.
- Not allowing sufficient time for the adhesive to cure can result in a weak bond.
- Neglecting to sand properly may leave an uneven surface after repair.
FAQ
Q: Can I use regular glue for plastic repairs?
A: It’s best to use a specialized plastic repair adhesive to ensure strong and lasting bonds.
Q: How long will the repair last?
A: With proper technique and materials, a well-done repair can last for years, but this can depend on usage and external conditions.
Q: Is painting necessary after the repair?
A: While it’s not essential, painting can improve aesthetics and protect the repaired area from UV damage.
Conclusion
Restoring cracked Wave motorcycle plastic is absolutely achievable with the right approach and materials. By following these seven simple steps, you’ll enhance the appearance and durability of your motorcycle. What challenges have you faced while maintaining your motorcycle, and how did you handle them? Share your experiences in the comments below!