Restore Cracked Motorcycle Plastic: 5 Tips That Saved Me Thousands!
Restore Cracked Motorcycle Plastic: Essential Tips for Repairing Your Gear
- Understanding the Issue
- Necessary Materials
- Step-by-Step Guide to Repair
- Common Mistakes to Avoid
- FAQ
Understanding the Issue
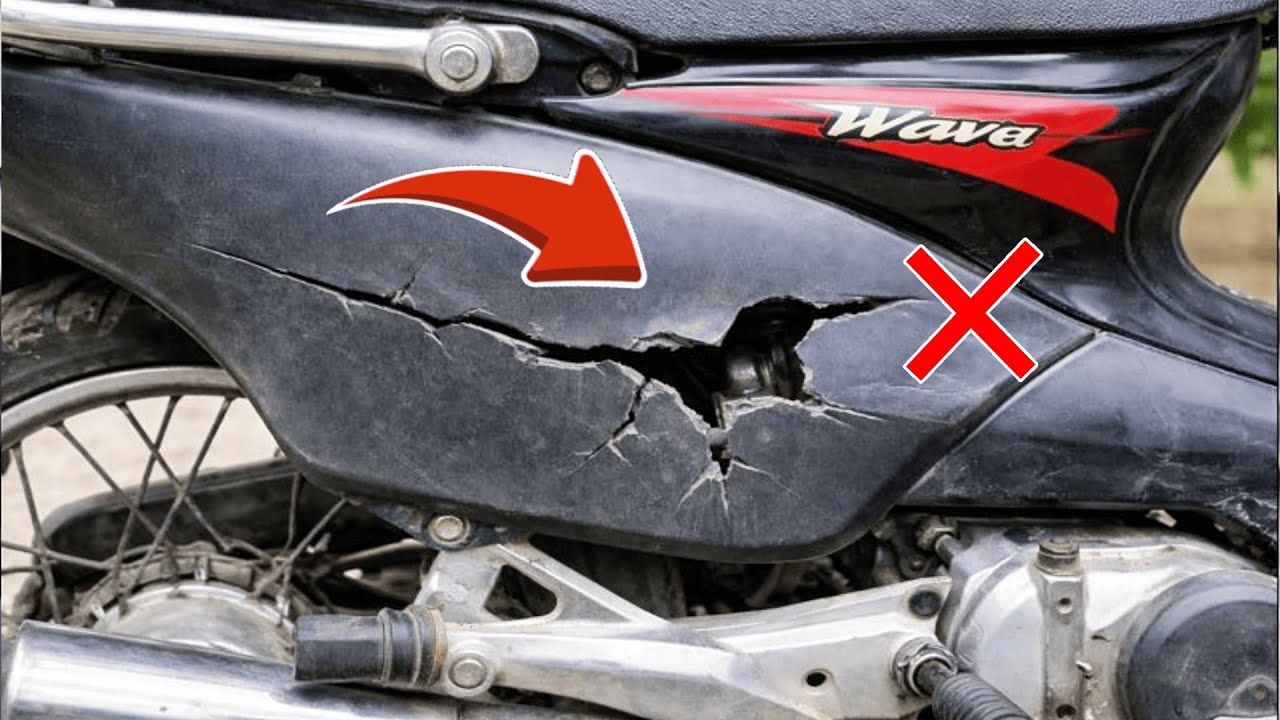
Every rider knows the heartbreak of discovering a crack in their motorcycle’s plastic parts. Whether it’s a side cover or a fender, cracks can undermine both aesthetics and functionality. You might worry about the costs of replacement or think about how this could affect your bike’s performance. Surprisingly, many cracked plastic pieces can be effectively restored with some knowledge and the right approach. The following sections will guide you through the practical details of repairing damaged sections, so you can keep your motorcycle looking its best without breaking the bank.
Necessary Materials
Before diving into the repair process, it’s essential to gather your materials. Having everything on hand not only saves time but also ensures you can complete the job efficiently. Here’s a list of necessary tools and materials you’ll need:
- Plastic welding kit – This is crucial for bonding cracked sections.
- Sandpaper – Various grits for smoothing surfaces before and after the repair.
- Epoxy or adhesive – Select a product specifically designed for plastic.
- Drop cloth – Protects your work area from spills and debris.
- Clamps – Helps hold pieces together while the adhesive sets.
Step-by-Step Guide to Repair
Now that you have gathered all the necessary materials, let’s dive into the detailed process of restoring your cracked motorcycle plastic parts. Follow these steps for effective results:
1. Clean the Area
- Wipe down the cracked area with a degreaser to remove dirt and grease.
- Dry the area thoroughly to ensure the adhesive adheres properly.
2. Prepare the Crack
- Sand the edges of the crack with fine-grit sandpaper to create a rough surface that helps the adhesive bond.
- Align the cracked edges as closely as possible; this minimizes visible marks post-repair.
3. Apply the Adhesive
- Mix the epoxy according to the manufacturer’s instructions.
- Apply a generous amount into the crack, ensuring it fills completely.
- Use a small tool or a finger to smooth any excess adhesive around the crack.
4. Hold It Together
Use clamps to secure the area for at least an hour, depending on your adhesive’s instructions. This ensures a robust bond and prevents movement during the curing process.
5. Finish Up
- Sand the repaired area with fine-grit sandpaper to create a smooth finish.
- Paint over the area if necessary, using a spray paint that matches your motorcycle’s color.
Common Mistakes to Avoid
While repairing cracked motorcycle plastic can be straightforward, there are common mistakes that you might want to watch out for:
- Skipping cleaning – Failing to clean the area may result in poor adhesion.
- Using the wrong adhesive – Not all adhesives are compatible with plastic; be sure to choose one designed for this purpose.
- Over-application of adhesive – Applying too much can lead to messy repairs and longer sanding times.
- Not clamping properly – Inadequate pressure can lead to weak repairs.
- Neglecting paint matching – Using the wrong shade can make the repair evident rather than seamless.
FAQ
How can I tell if my plastic can be repaired? Most motorcycle plastics can be repaired unless they are excessively damaged or missing significant pieces.
What type of adhesive works best for motorcycle plastics? Look for epoxy or specialized plastic adhesives that are designed for automotive use.
Is it necessary to paint over the repair? While not mandatory, painting can improve the appearance and protect the repair from the elements.
Conclusion
Restoring cracked motorcycle plastic not only saves you money but also allows you to maintain the look and functionality of your bike. With the right materials and approach, you can tackle these repairs confidently. What tips have you found helpful for maintaining your motorcycle? Feel free to share in the comments.