Stop Wasting Money: 5 Easy Steps to Fix Punctured Metal Like a Pro
How to Fix Punctured Metal: 5 Simple Steps for Your DIY Projects
Introduction
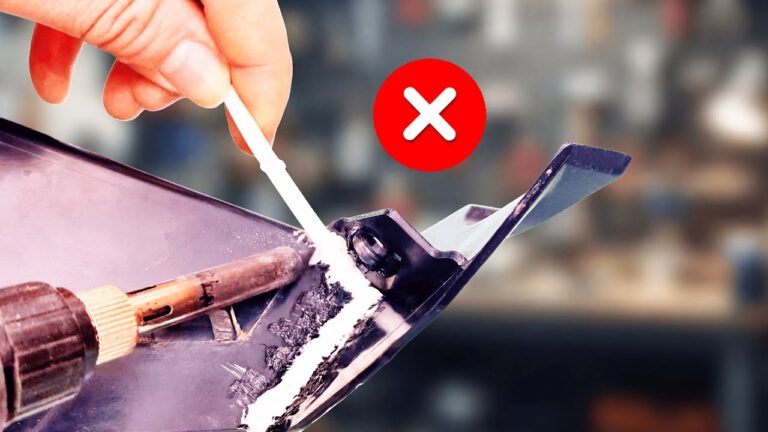
You’re about to start a project when you discover that a piece of metal has a puncture. It can be disheartening as you consider the potential cost of replacement or professional repair. Instead of letting disappointment take over, you can easily fix this issue yourself. Creating a sustainable approach to your DIY projects not only saves money but also enhances your skills and confidence. Keep reading to learn how to restore that punctured metal like a pro.
Necessary Materials
Before diving into the repair process, gather a few essential materials to ensure a smooth fix:
- Metal patch: Choose a suitable thickness based on the original material.
- Metal adhesive: A high-strength epoxy or specific metal glue will work best.
- Sandpaper: Use a coarse grit for preparing the surface.
- Gloves: Protect your hands with a sturdy pair.
- Safety goggles: Safety is always a priority when working with metal.
Step-by-Step Guide
Follow these simple steps to effectively fix the punctured metal:
- Clean the area: Remove any rust, dirt, or grease around the puncture to ensure a solid bond.
- Sand the surface: Lightly sand the area around the puncture to improve adhesion.
- Cut a metal patch: Ensure your patch is slightly larger than the puncture, allowing for adequate coverage.
- Apply the adhesive: Mix your metal adhesive thoroughly and apply a generous amount to both the patch and the punctured area.
- Press the patch firmly onto the puncture: Make sure it adheres well and wipe away any excess adhesive.
Additional Tips for Success
- Consider using clamps to hold the patch in place while it cures.
- Let the adhesive cure for at least 24 hours before applying any stress to the repair.
Visual Details to Enhance Your Project
Take a moment to ensure that your workspace is well-lit. This will help you see the details of the metal better. Additionally, using a clean surface can improve the accuracy of your work.
Common Mistakes to Avoid
To achieve a successful repair, you should steer clear of these common pitfalls:
- Neglecting to clean the surface before applying adhesive.
- Using a patch that is too small or too thin for the repair.
- Not allowing enough curing time for the adhesive to set properly.
- Failure to use safety glasses and gloves, which can lead to accidents.
FAQs
What type of adhesive is best for metal repairs?
A high-strength epoxy or specialized metal adhesive is recommended for effective bonding.
Can I paint over the repair?
Yes, once the adhesive is fully cured, you can sand and paint over the repair for a seamless look.
How can I prevent future damage to my metal items?
Regular maintenance, including cleaning and protecting against rust, can help prolong the life of your metal items.
Conclusion
Fixing a punctured metal piece can be straightforward with the right approach and materials. By following these steps, you can avoid unnecessary costs and enhance your DIY skills. Have you tried fixing metal before? Share your experiences in the comments below!