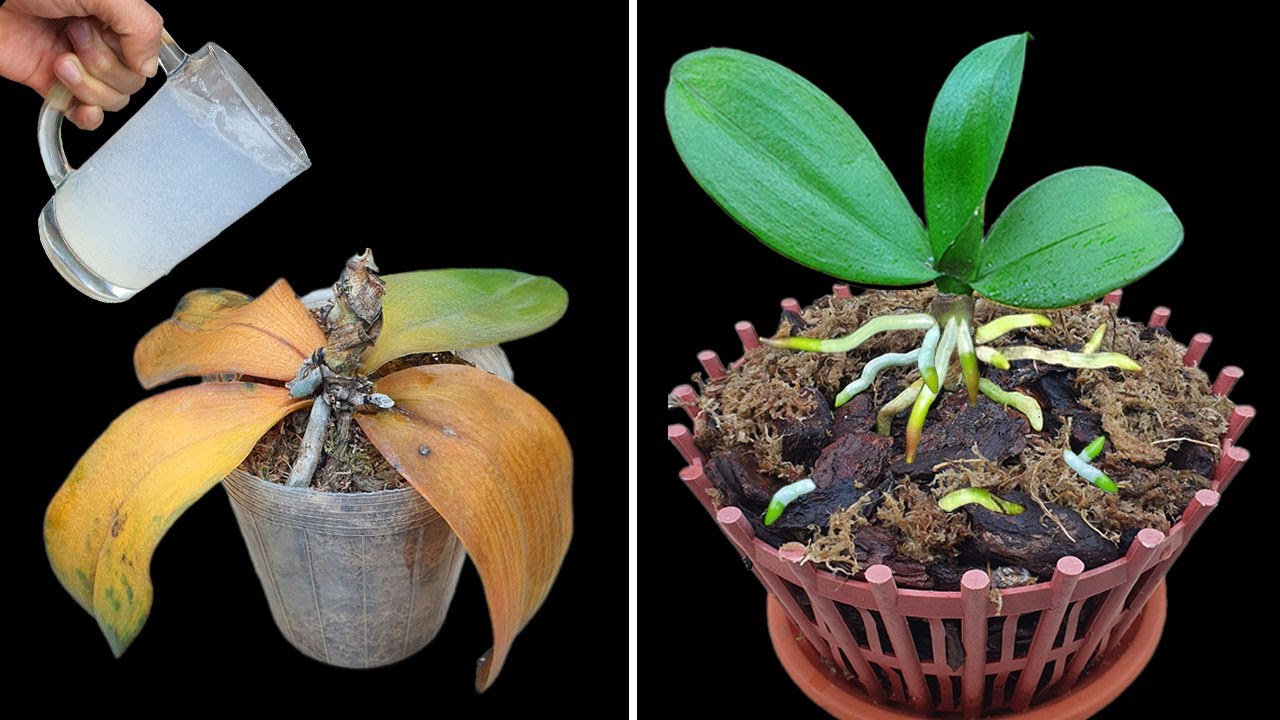
Revive 1 Rotten Orchid in Minutes with This Simple Cup Trick
Revive Your Orchid: A Simple Cup Trick to Bring it Back to Life
- Understanding Orchids and Their Needs
- The Cup Trick: Step-by-Step Guide
- Common Mistakes to Avoid with Orchids
- Frequently Asked Questions
Have you found your once-vibrant orchid wilting and looking less than its best? It’s a situation many plant lovers face, and the frustration can feel overwhelming, especially if your orchid seemed healthy just days ago. While it may seem daunting to bring it back to life, simple yet effective techniques can help you revive it without the guesswork. Read on to discover a straightforward solution that can make all the difference.
Understanding Orchids and Their Needs
Before diving into the solution, it’s essential to understand the unique needs of orchids. Unlike many other houseplants, orchids have specific care requirements that can often lead to issues if neglected.
1. Light Requirements
Orchids thrive in bright, indirect light. Too much direct sunlight can scorch their leaves, while insufficient light can hinder blooming. Place your orchid near a window where it receives filtered light for the best results.
2. Watering Essentials
Overwatering is one of the most common mistakes when caring for orchids. Ensure you allow the potting medium to dry out between waterings. Consider using ice cubes or measuring out a specific amount of water based on your orchid’s size.
3. Humidity Levels
Orchids prefer humid environments, typically around 50-70% humidity. If your home is dry, especially during winter, consider using a humidity tray or misting the plant occasionally to maintain the right moisture levels.
The Cup Trick: Step-by-Step Guide
This simple cup trick is a fantastic way to give your orchid an immediate boost. It allows for better moisture retention while reducing the risk of overwatering. Here’s how to do it:
Materials You Will Need
- A clear plastic or glass cup
- Your wilted orchid
- Potting medium suitable for orchids
Step-by-Step Instructions
- Remove your orchid gently from its pot. Be careful not to damage the roots.
- Examine the roots. Trim any that are brown or mushy, leaving the firm, healthy ones intact.
- Place the orchid in the cup, ensuring the roots are positioned comfortably without crowding.
- Add potting medium around the roots, filling the cup until it’s well secure.
- Set the cup on a shallow tray filled with water. This will help maintain humidity around the plant.
Tips for Success
Make sure to use filtered water when watering your orchid, as tap water can contain chemicals that might harm it. Additionally, check your orchid weekly to adjust its care as needed.
Common Mistakes to Avoid with Orchids
Reviving your orchid requires attention, but many common pitfalls can hinder your efforts. Avoid these mistakes to ensure the best chance of success.
1. Ignoring the Roots
Failing to assess the health of the roots can lead to further damage. Always check for rotting before repotting.
2. Overwatering
Too much water can suffocate the roots and lead to rot. Let the potting medium dry out before watering again.
3. Insufficient Light
Not providing enough light may stunt growth and blooms. Make sure your orchid is getting the right amount of filtered light.
Frequently Asked Questions
How often should I water my orchid?
Water your orchid every 1-2 weeks, allowing the potting medium to dry out between waterings.
Can I use regular potting soil for orchids?
No, orchids require a specific potting medium designed for their unique root structure, typically a mix of bark and moss.
What should I do if my orchid doesn’t bloom?
Ensure it receives enough light and appropriate nutrients. Sometimes, resting periods are also necessary for orchids to bloom again.
By understanding your orchid’s needs and employing the simple cup trick, you can breathe new life into this beautiful plant. Have you tried reviving an orchid before, or do you have any tips to share? Your experiences could help other plant enthusiasts!