Repair Broken Plastic in 1 Minute: 5 Easy Steps to Weld It Like New!
Repair Broken Plastic in 1 Minute with 5 Easy Steps
Introduction
Have you ever found yourself frustrated with a broken plastic item, whether it’s a favorite garden tool or a cherished children’s toy? The process of repairing broken plastic can seem daunting, especially if you’re unsure of the best methods. Fortunately, with a few simple steps and the right materials, you can restore it to its original state in just a minute. Keep reading to discover how you can easily tackle this common household problem.
Required Materials
Before you can start the repair process, it’s essential to gather the necessary materials. Here’s what you’ll need:
- Plastic welding glue or a suitable adhesive for plastic
- Sandpaper (medium and fine grit)
- Clean cloth for wiping
- Safety gloves to protect your hands
- Clamps or weights for holding pieces together
Step-by-Step Instructions
Now that you have your materials handy, follow these steps to achieve a successful plastic repair.
- Clean the broken edges: Carefully remove any dust or debris from both sides of the break using a clean cloth.
- Sand the surfaces: Gently sand the edges of the broken plastic with medium grit sandpaper. This helps provide a better surface for the adhesive.
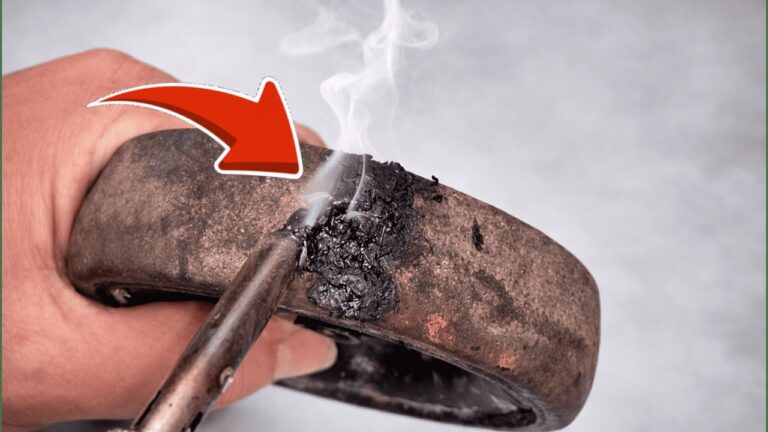
- Apply the adhesive: Use the plastic welding glue or adhesive, applying it generously to one side of the break. Ensure it covers all the edges.
- Align the two pieces: Press the broken parts together, ensuring they are snugly fitted without gaps.
- Secure the joined pieces: Use clamps or weights to hold the pieces in place while the adhesive sets. Check the manufacturer’s instructions for how long to leave it clamped.
Practical Tips for Effective Repairs
- Work in a well-ventilated area to avoid inhaling fumes from adhesives.
- Consider using colored adhesives if the item will remain visible after repair.
- For larger breaks, multiple applications may be required — simply repeat the process as needed.
Visualizing Your Process
As you proceed, visualize how the pieces fit together like a puzzle. This mental image will help guide your hands during the adhesive application and alignment.
Common Mistakes
When attempting to repair plastic, there are several common pitfalls to watch out for. Avoid these mistakes to ensure a successful repair:
- Not cleaning the surfaces properly before applying adhesive can lead to weak bonds.
- Skipping the sanding step may prevent the adhesive from properly adhering to the plastic.
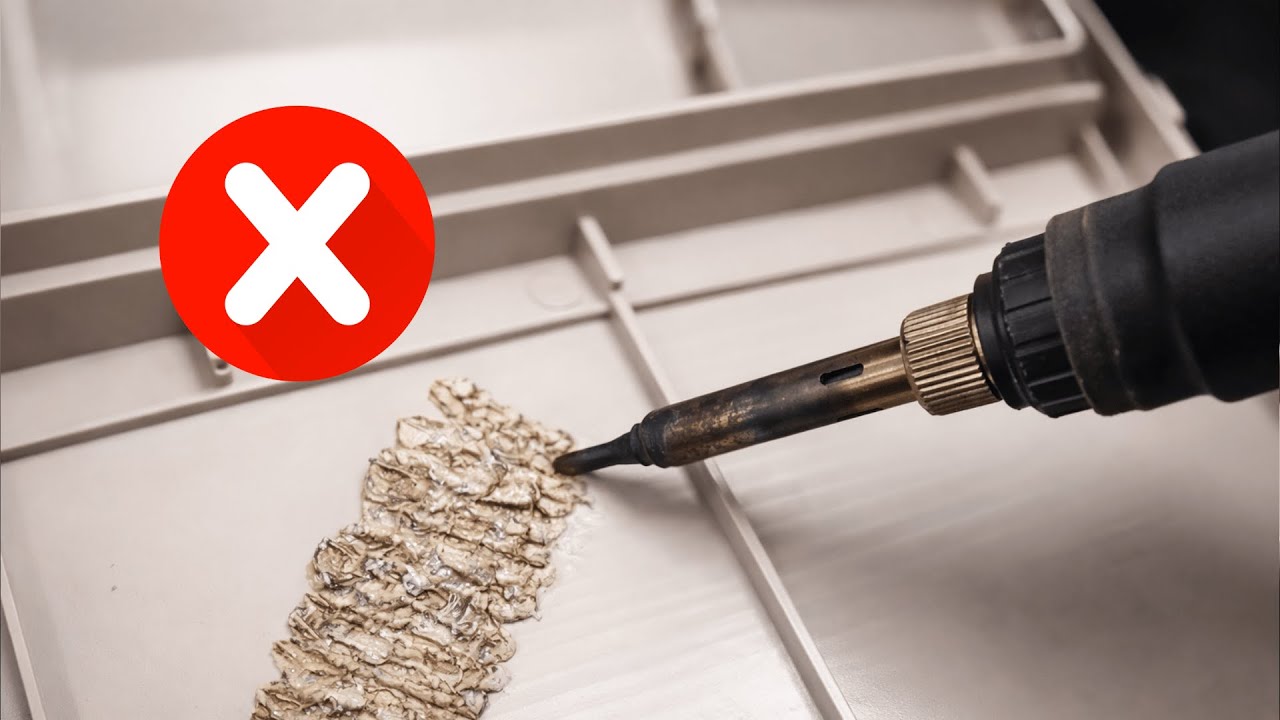
- Using too much or too little adhesive can be detrimental; aim for an even, thin layer.
- Failing to secure the pieces while the adhesive cures might result in misalignment.
FAQs
What types of plastic can be repaired?
Many types of plastic can be repaired, including PVC, ABS, and polycarbonate. Always check the manufacturer’s specifications for the best adhesive options.
How long does it take for the adhesive to set?
Setting times can vary based on the adhesive used. Typically, most adhesives require at least 30 minutes to 1 hour to set properly.
Can I paint over the repaired area?
Yes, once the adhesive is fully cured, you can sand the area smooth and apply paint for a seamless look.
Conclusion
Repairing broken plastic is not only straightforward but also incredibly beneficial for reducing waste. By following the five easy steps outlined here, you can restore your items in no time. Have you ever tried repairing plastic? Share your experiences in the comments below!