Create 5 Stunning Baskets for Just $1 Using Boxes and Unleash Your Creativity!
Create 5 Stunning Baskets for Just $1 Using Boxes and Unleash Your Creativity!
- Introduction
- Materials Needed
- Creative Basket Designs
- Step-by-Step Instructions
- Common Mistakes to Avoid
- FAQ
- Conclusion
Introduction
Have you ever looked at empty boxes and wondered if they could transform into something useful and beautiful? Instead of tossing them in the recycling bin, you can turn these everyday items into stunning, functional baskets for your home. Not only do these baskets allow for creative expression, but they also help you organize and declutter effortlessly. Let’s explore how to unleash your creativity and craft these beautiful baskets.
Materials Needed
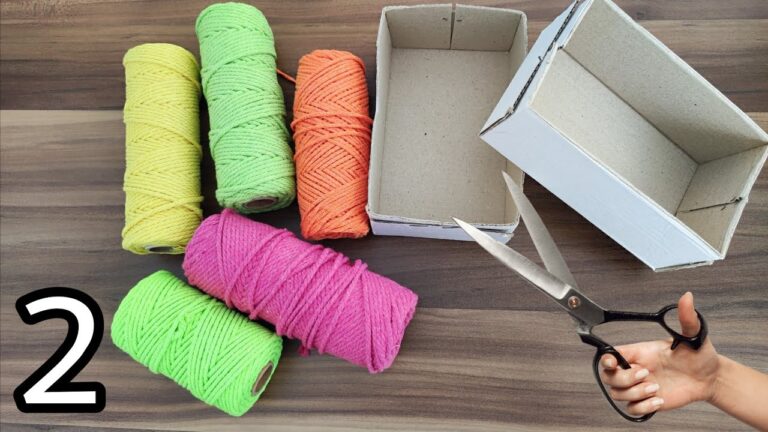
Before you start crafting your baskets, gather the following materials. Most of these items are likely already in your home, making this a budget-friendly project.
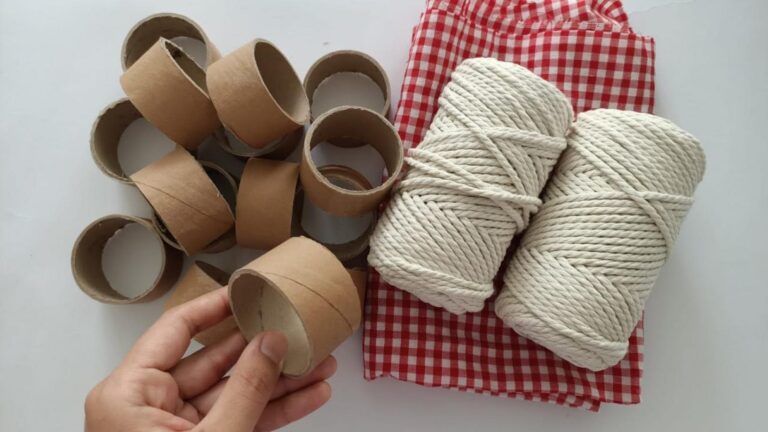
- Empty cardboard boxes (shoe boxes or cereal boxes work well)
- Scissors
- Glue or tape
- Paint or wrapping paper (for decoration)
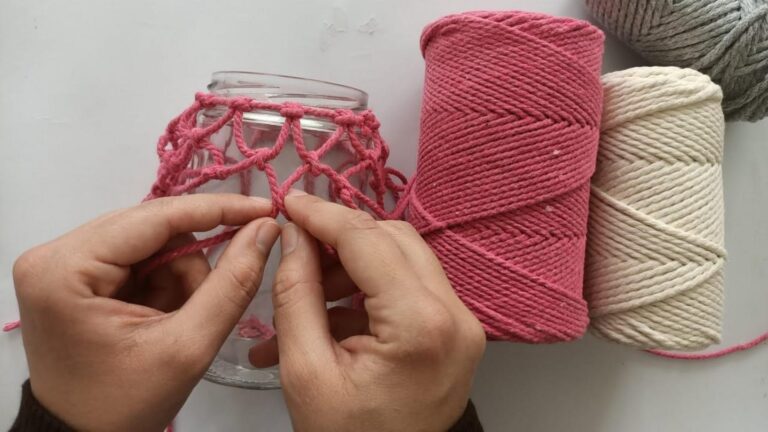
- Rope or ribbon (for handles)
Creative Basket Designs
There are countless designs you can create with just a few materials. Here are some ideas to inspire you:
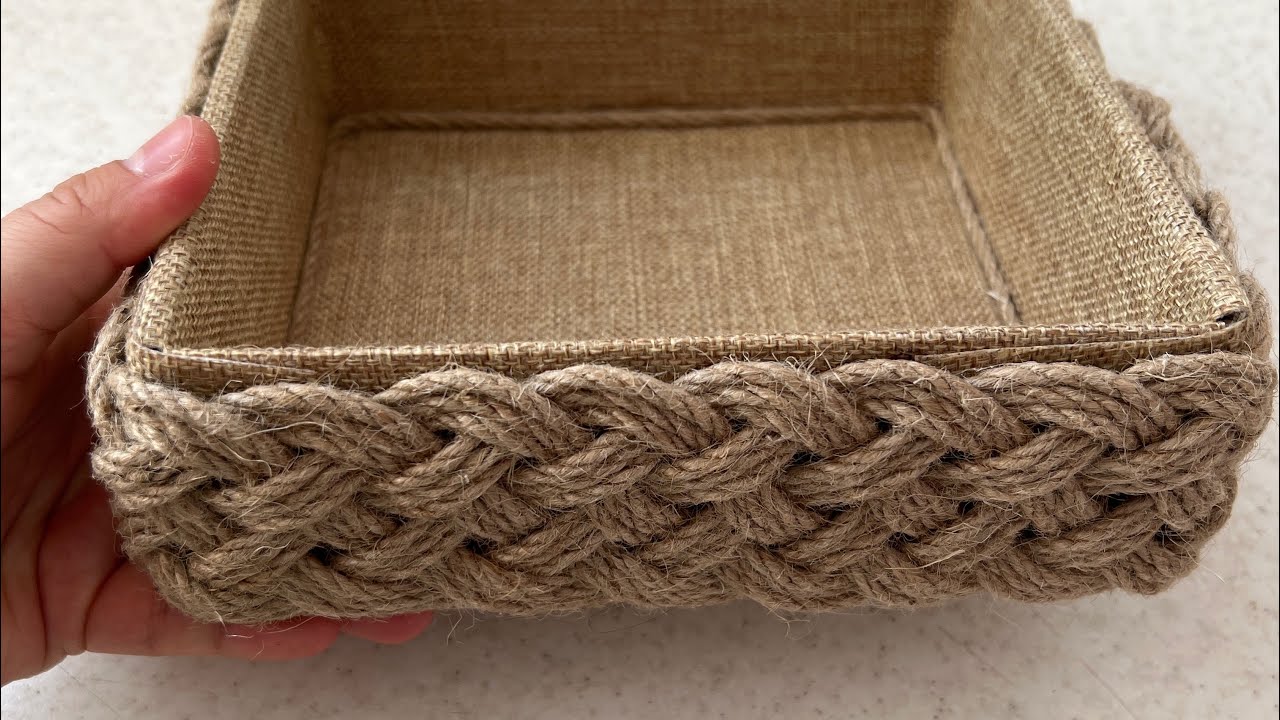
- Classic Rectangular Basket: A simple design perfect for storage.
- Round Woven Basket: Create a charming look using strips of paper or fabric.
- Decorative Hanging Basket: Ideal for small plants or herbs.
- Toiletry Basket: Organize bathroom essentials in style.
- Gift Basket: A personalized touch for gift-giving.
Step-by-Step Instructions
Follow these instructions to create your stunning baskets:
1. Preparing the Boxes
- Choose your box and cut it to your desired size.
- Remove the flaps and create a bottom if necessary.
- Reinforce the corners with glue or tape for stability.
2. Decorating the Basket
- Paint the exterior in your favorite color or use wrapping paper to cover it.
- Personalize it with stencils or hand-painted designs.
- Coat with a clear sealant if using paint for durability.
3. Adding Handles
- Cut a length of rope or ribbon based on your basket’s size.
- Puncture small holes on opposite sides of the basket for handles.
- Thread the rope or ribbon through and tie knots inside to secure.
4. Final Touches
- Fill your basket with items like blankets or books.
- Display your creation proudly in your home.
Common Mistakes to Avoid
Creating baskets should be fun, but there are common pitfalls to keep in mind:
- Using flimsy boxes: Ensure the box is sturdy enough for your intended use.
- Skipping the reinforcement: Not securing corners can lead to collapse when items are added.
- Overloading with decorations: Keep it simple to maintain a clean look.
- Neglecting the finishing touches: A protective coat enhances durability and appearance.
- Ignoring symmetry: This may lead to an unbalanced final result.
FAQ
What types of boxes can I use for making baskets? You can use any type of cardboard box, such as shoe boxes or cereal boxes, as long as they are sturdy.
How can I decorate my basket? Consider using paint, wrapping paper, or fabric to give your basket a personal touch. Adding ribbons or decorative elements can also enhance its look.
Can these baskets hold heavy items? Yes, but make sure you use sturdy boxes and reinforce the structure properly to prevent collapse.
Conclusion
Creating beautiful baskets from cardboard boxes is not only budget-friendly but also a fun way to express your creativity. With just a few materials and steps, you can craft practical items that enhance your living space. What unique ideas do you have for your baskets? We’d love to hear your thoughts in the comments!