Discover 5 Surprising Tips for Successfully Propagating Orchids
5 Essential Tips for Successfully Propagating Orchids
- Understanding Orchid Propagation
- Required Materials
- Step-by-Step Guide to Orchid Propagation
- Common Mistakes to Avoid
- FAQ
Many orchid enthusiasts often face challenges when attempting to propagate their beloved plants. Perhaps you’ve tried to create new plants from your existing orchids, only to find that they simply aren’t thriving. It’s not uncommon to feel discouraged; however, with the right guidance, you can successfully propagate orchids and enhance your collection. Let’s explore some valuable tips that will help you on this rewarding journey.
Understanding Orchid Propagation
Before diving into the practical aspects, it’s crucial to understand what orchid propagation entails. Orchids can be propagated in various ways, including division, keiki (baby plant) propagation, and seed propagation. Each method has its benefits and specific care requirements. Knowing these differences will arm you with the knowledge you need to choose the best propagation method for your particular orchid species.
Types of Orchid Propagation
- Division: This method involves splitting an existing orchid into smaller sections, each with its own roots.
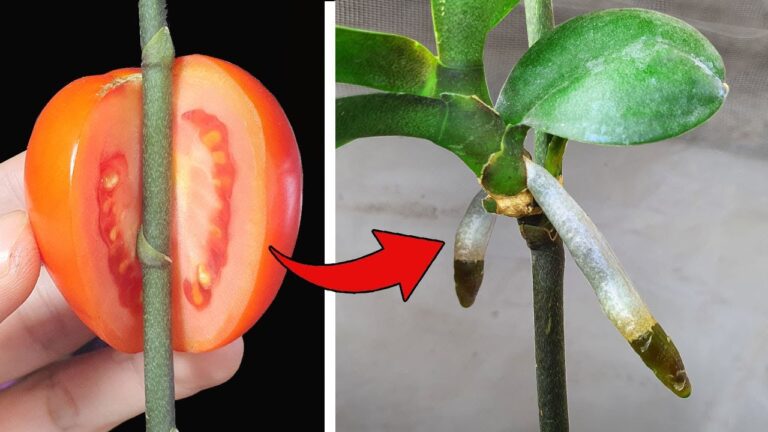
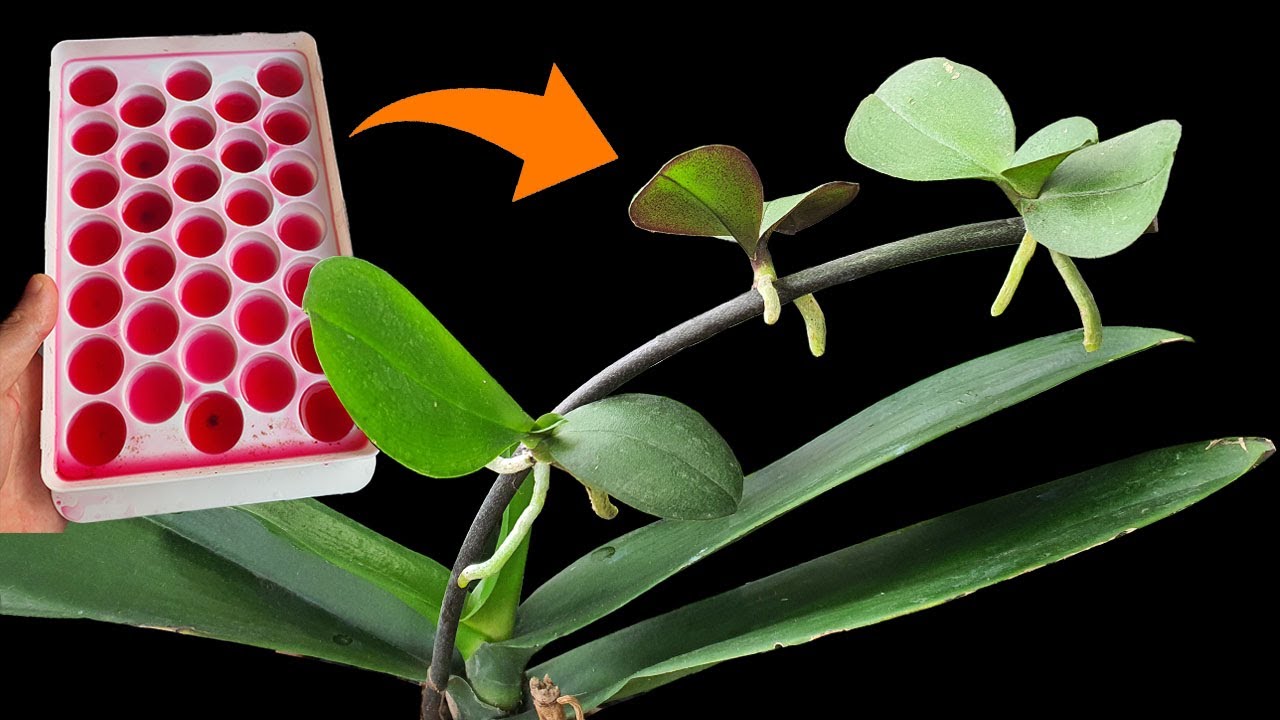
- Keiki propagation: Often seen in Phalaenopsis orchids, this method allows you to take a small plant that develops on a flower stalk.
- Seed propagation: This is a more advanced option and requires special techniques to ensure successful germination.
Required Materials
Before you start propagating, gathering the right supplies is essential. Here’s a list of items you’ll need to facilitate the propagation process:
- Fresh potting mix: Look for a mixture specifically designed for orchids, as it provides the necessary drainage and aeration.
- Clean shears: Ensure your tools are sterilized to prevent infections.
- Container: Choose pots that allow for good air circulation around roots.
Additional Supplies
- Watering can or spray bottle for moisture management.
- Humidity tray to maintain proper humidity levels.
- Labels for identifying your propagated orchids.
Step-by-Step Guide to Orchid Propagation
Now that you have the materials ready, let’s get into the detailed steps for propagating your orchids effectively.
1. Choose the Right Time
The best time to propagate orchids is during their growing season, typically in spring or early summer. This ensures optimum growth for the new plants.
2. Prepare Your Orchid
Carefully examine your orchid plant. If you’re using the division method, look for healthy roots and at least two growths or pseudobulbs. If using keikis, ensure they are well-developed before detaching them.
3. Make the Cut
With your sterilized shears, make sure to cut the orchid section cleanly. For divisions, aim for a cut that ensures each section has roots and growths. For keikis, gently detach them from the mother plant.
4. Potting the New Orchid
Once you have your cuttings, place them in the prepared pots with the orchid mix. Be sure to firmly secure them, without overly compacting the medium.
5. Water and Care
Water your newly potted orchids lightly and place them in a location with indirect sunlight. Monitor their moisture levels to ensure they aren’t too dry or soggy.
Common Mistakes to Avoid
As you embark on your orchid propagation journey, being aware of common pitfalls can save you time and heartache.
- Ignoring the right season: Propagating during the dormant season can lead to failure.
- Overwatering: Too much water can lead to root rot; always ensure proper drainage.
- Not sterilizing tools: Failing to sterilize can introduce diseases to your plants.
- Neglecting light requirements: Providing too much or too little light can stress your orchids.
- Forgetting about humidity: Orchids thrive in humid environments; consider using a humidity tray.
FAQ
What is the best way to propagate orchids?
The best methods include division and keiki propagation, depending on the orchid type. Ensure you choose a method that suits your orchid’s growth characteristics.
How long does it take for orchids to grow after propagation?
It typically takes several months for orchids to develop roots and start growing after successful propagation.
Can I propagate orchids from cuttings?
Generally, orchids are not propagated successfully from stem cuttings. Methods like division or keikis work better.
Conclusion
Successfully propagating orchids can be a fulfilling experience when you know what to do. Be mindful of the right materials and techniques to use. Have you tried propagating orchids before? Share your experiences in the comments below!