Restore Your Burnt Knife Handle in 5 Easy Steps! Discover the Secret Now
Restore Your Burnt Knife Handle in 5 Easy Steps
Introduction
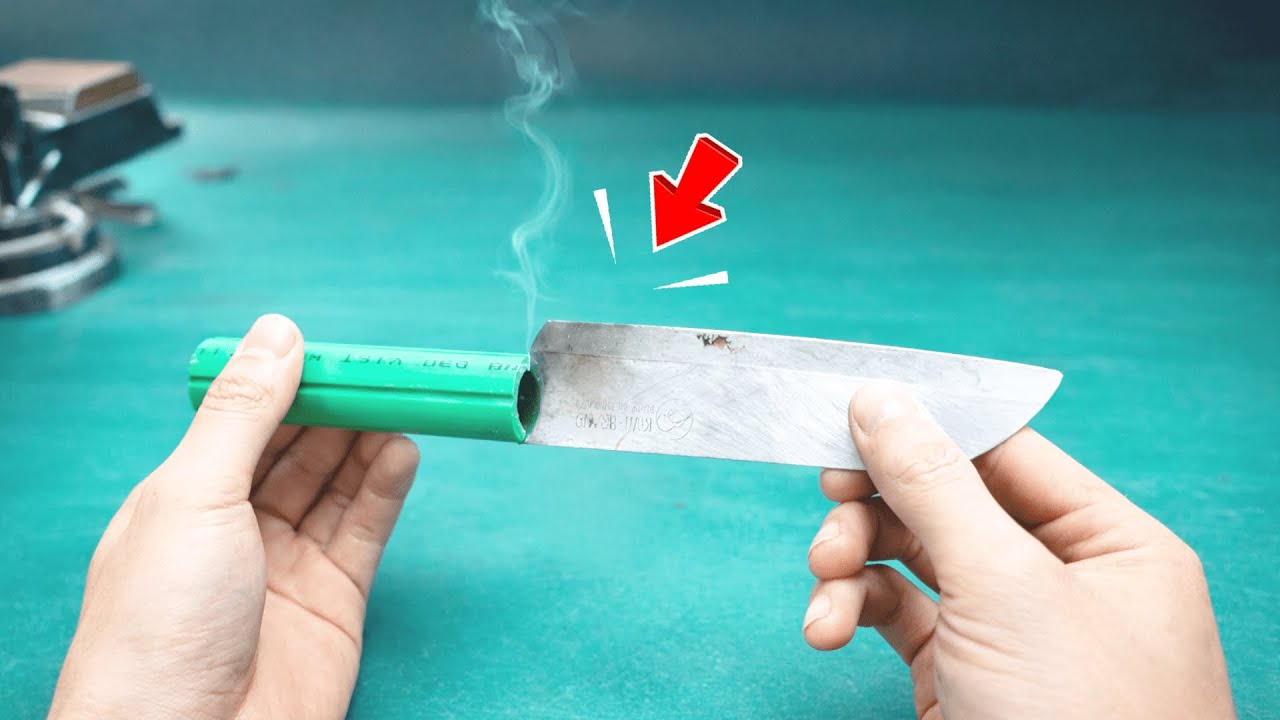
Have you ever accidentally burned the handle of your favorite knife while cooking? It can be disheartening to see your kitchen tools damaged, especially if they hold sentimental value. You might feel uncertain about how to reclaim the functionality and appearance of your knife. Fortunately, restoring your burnt knife handle is achievable without needing professional tools or extensive woodworking skills. Let’s explore how you can bring your knife back to life with some simple steps.
Step-by-Step Guide
In this section, you will find a straightforward approach to restore your burnt knife handle. By following these clear steps, you’ll breathe new life into your beloved kitchen tool.
Required Materials
Before you begin, gather the following materials:
- Fine-grit sandpaper
- Wood glue or epoxy
- Cloth for polishing
- Natural oil (like mineral or food-grade oil)
- A soft brush
Step 1: Assess the Damage
Carefully examine the knife handle to understand the extent of the burn. Look for discoloration, cracks, or any structural damage. This assessment will guide your next steps.
Step 2: Sand the Affected Area
Using the fine-grit sandpaper, gently sand the burnt area in the direction of the grain. This will help remove the charred surface and smooth out any imperfections. Remember to apply light pressure to avoid damaging the surrounding wood.
Step 3: Clean the Handle
After sanding, use a damp cloth to clean the handle thoroughly. Make sure all dust and debris are removed to prepare it for the next step.
Step 4: Apply Wood Glue or Epoxy
If you found any cracks during your assessment, now is the time to apply wood glue or epoxy into them. Be sure to wipe away any excess before it sets. Allow it to cure as per the manufacturer’s instructions.
Step 5: Finish with Oil
Once everything has dried and set properly, apply a thin layer of natural oil using a soft brush. This will help restore the wood’s natural shine and protect it from future damage.
Common Mistakes
As you work on restoring your knife handle, it’s essential to be aware of some common pitfalls to avoid.
- Skipping the assessment: Not thoroughly checking the damage can lead to inadequate repairs.
- Using coarse sandpaper: This can cause further damage; always opt for fine-grit for smoothing.
- Neglecting to clean: Failing to remove dust before applying glue can affect adhesion.
- Over-application of glue: Using too much glue can result in a messy finish and weaker bonds.
- Ignoring drying times: Cutting corners by not allowing adequate drying time compromises the repair.
FAQ
What type of oil should I use for my knife handle? Natural oils like mineral oil or food-grade oil are ideal, as they protect the wood without introducing harmful chemicals.
Can I restore my knife handle if it’s severely burnt? While some severe damage may require professional help, many burnt handles can still be restored with careful steps.
How often should I maintain my knife handle? Regular maintenance, such as oiling, every few months will keep the handle in good condition and prolong its life.
Conclusion
Restoring your burnt knife handle is a simple yet rewarding process that can breathe new life into your kitchen tool. By following these steps, you can ensure your knife remains functional and beautiful. Have you ever attempted a similar DIY project? Share your experiences in the comments below!