Revive Your Car: 5 Steps to Fix a Torn Roof Liner Like New!
Revive Your Car: 5 Steps to Fix a Torn Roof Liner Like New
- Introduction
- Understanding Roof Liners
- Gathering Materials
- Step-by-Step Fix for Your Roof Liner
- Mistakes to Avoid
- FAQ
- Conclusion
Introduction
Have you ever noticed your car’s roof liner sagging or tearing? This common issue can affect both the appearance and comfort of your vehicle, making it seem older than it is. Perhaps you’ve tried various quick fixes, only to find them falling short. With a little effort and the right guidance, you can restore that fresh look and feel to your car’s interior. Read on to discover how you can tackle this project efficiently.
Understanding Roof Liners
A roof liner serves not only as an aesthetic component but also plays a role in sound insulation and temperature control within your car. Understanding its purpose can help you appreciate the importance of keeping it in good condition. Here’s why you may find your roof liner damaged:
- Age and wear over time
- Excessive humidity or heat
- Improper installation of aftermarket accessories
Being aware of these factors can guide you in maintaining your vehicle and preventing further damage.
Gathering Materials
Before you start fixing your roof liner, it’s essential to gather the necessary materials. Here’s a list of what you will need:
- Fabric: Choose a complementary fabric for your car’s interior.
- Adhesive: A high-quality spray adhesive or fabric glue.
- Tools: Scissors, a utility knife, and a fabric roller.
- Cleaners: Mild soap and water for surface preparation.
Having these materials on hand will make your project go smoothly.
Step-by-Step Fix for Your Roof Liner
Now, let’s dive into how you can repair a torn roof liner in five manageable steps. Following these instructions will help you achieve a professional-looking finish.
1. Prepare the Surface
Start by cleaning the area around the tear. Use a mixture of mild soap and water to remove any dirt and grime. Allow the surface to dry completely.
2. Measure and Cut the Fabric
Once the area is clean, measure the dimensions of the torn section. Cut your new fabric slightly larger than the measured area to ensure complete coverage.
3. Apply Adhesive
Carefully spray your adhesive on both the fabric and the roof lining. Make sure to follow the manufacturer’s instructions for the best results.
4. Place the Fabric
Center your fabric over the torn area. Using a fabric roller, smooth out any bubbles or wrinkles, working towards the edges to ensure a snug fit.
5. Allow to Set
Let the adhesive cure as per the instructions—usually around 24 hours. Avoid using the vehicle during this time to ensure a strong bond.
Mistakes to Avoid
While fixing your roof liner, it’s crucial to steer clear of common pitfalls that could compromise your efforts. Here are some mistakes to watch for:
- Skipping cleaning the surface, which can lead to poor adhesion.
- Using the wrong type of adhesive, resulting in peeling.
- Measuring inaccurately, causing misalignment of the fabric.
- Applying too much adhesive, which can create a mess and uneven finish.
- Neglecting the curing time, which might weaken the repair.
FAQ
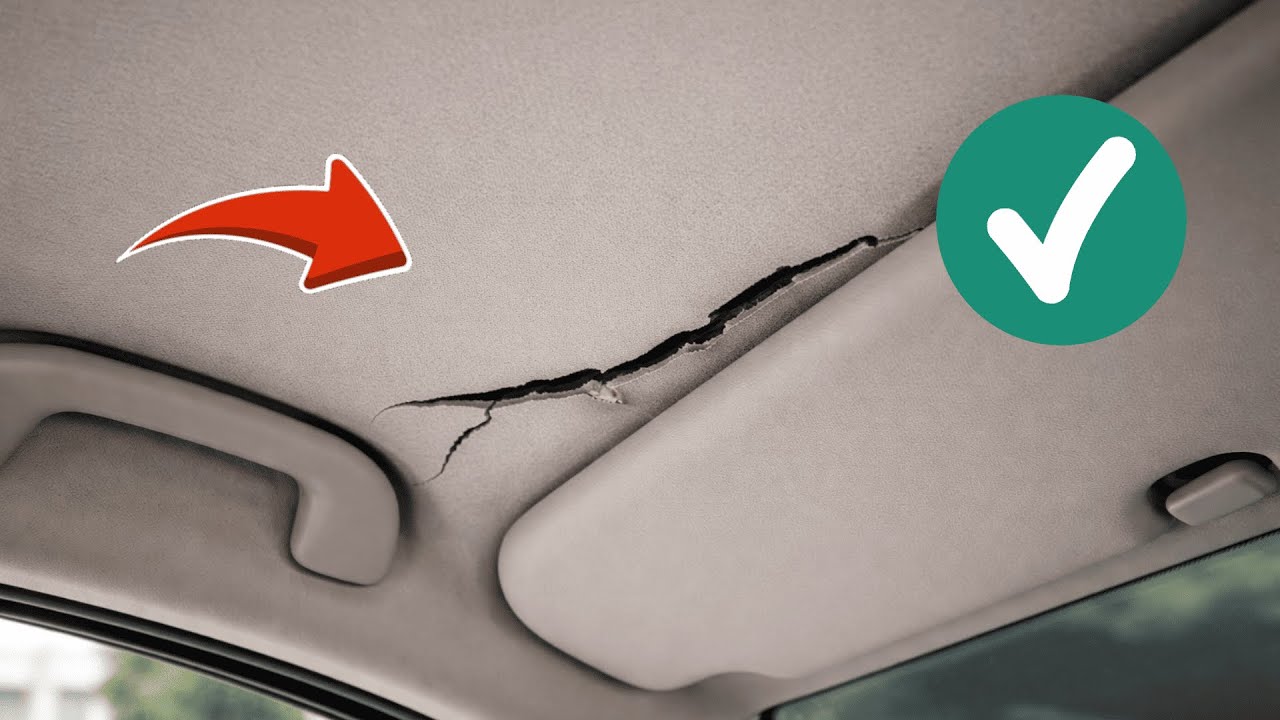
How do I know if my roof liner needs replacement? If your roof liner is sagging, peeling, or has visible tears, it may be time for a repair or replacement.
Can I use any fabric for the repair? It’s best to use automotive-grade fabric that can withstand temperature changes and moisture.
How long will my repair last? If done correctly and with the right materials, your repair can last several years before needing attention.
Conclusion
Repairing your car’s roof liner can enhance both its appearance and value, making your driving experience more enjoyable. By following these steps and avoiding common mistakes, you’ll keep your car looking its best. Have you ever attempted a DIY car project? Share your experiences in the comments below!