This simple trick transforms a leaking faucet into a fully functioning one…
This Simple Trick Transforms a Leaking Faucet into a Fully Functioning One
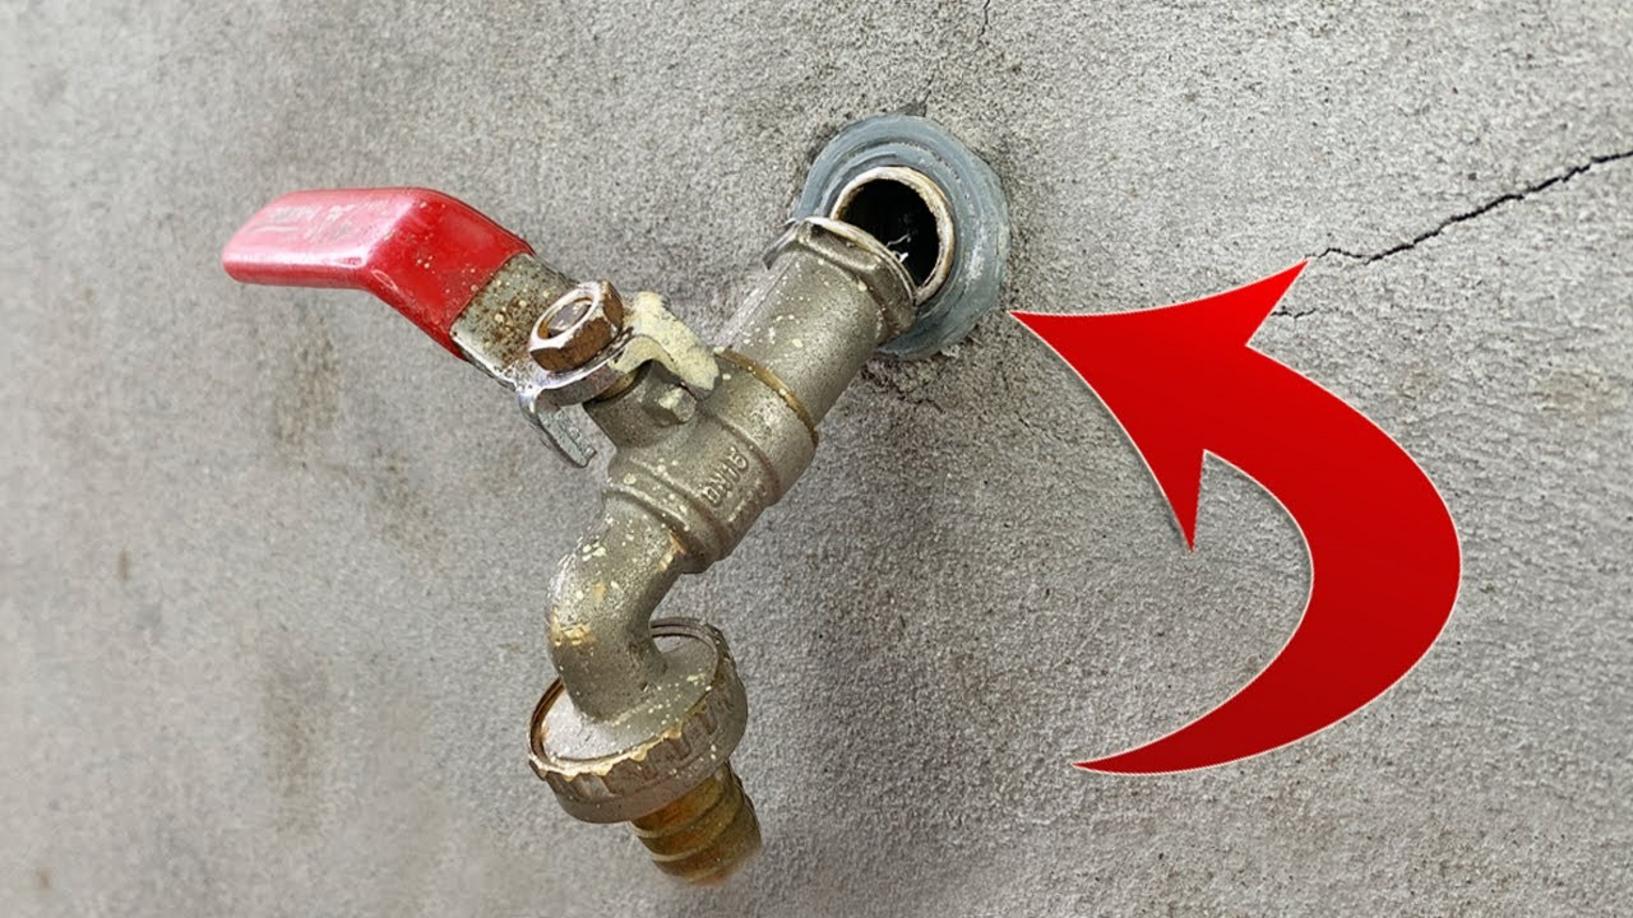
If you’ve ever dealt with a **leaking faucet**, you know how frustrating it can be. Fortunately, there’s a quick, effective, and **budget-friendly** way to address this problem without tearing down your walls. In just four minutes, you can transform that **drippy nuisance** into a fully functional fixture using a **PVC pipe**. Let’s dive into how you can achieve this remarkable DIY fix!
Step-by-Step Guide to Fixing a Leaking Faucet
Supplies You’ll Need
- PVC pipe (appropriate diameter for your faucet)
- PVC end caps
- PVC primer and cement
- Adjustable wrench
- Plumber’s tape
- Bucket (to catch any drips)
Step 1: Turn Off the Water Supply
Before you begin, ensure that you turn off the water supply to your faucet. This will prevent any unwanted water flow while you’re working on the fix. Don’t forget to drain any remaining water from the faucet, using a bucket to catch any drips.
Step 2: Measure and Cut the PVC Pipe
Measure the length of PVC pipe needed to reach from the faucet to the point where water exits. **Cut the PVC pipe** accordingly, ensuring that it fits snugly between the faucet and the existing plumbing. A good fit will prevent leaks in the future.
Step 3: Attach the End Caps
Attach end caps to both ends of the cut PVC pipe. This will create a seal to prevent water from escaping. Use **PVC primer** and **cement** to secure the caps in place. Allow it to cure as per the manufacturer’s instructions for the best results.
Step 4: Install the PVC Pipe
Now, it’s time to install the PVC pipe. Use plumber’s tape on the threads of your faucet to create a watertight seal. Connect the pipe carefully, making sure it’s tightly fitted. Use an adjustable wrench to ensure everything is snug but be careful not to over-tighten.
Step 5: Turn the Water Back On
With everything securely in place, turn the water supply back on. Test the faucet to check for leaks. If everything is dry and functioning well, you’ve successfully transformed your leaking faucet!
Practical Tips Based on Experience
- Be patient: Take time to measure accurately before you cut the PVC to avoid mistakes.
- Wear gloves: PVC cement can be messy; wearing gloves helps keep your hands clean.
- Double-check connections: Ensuring everything is fitted properly can prevent future leaks.
Common Mistakes to Avoid
- Not measuring the pipe length correctly.
- Skipping the use of plumber’s tape, which can lead to leaks.
- Rushing the drying time of PVC cement—always follow the product instructions.
Conclusion
Fixing a leaking faucet doesn’t have to be a daunting or expensive task. Armed with just a few supplies and this **simple trick**, you can restore the functionality of your faucet in minutes! If you found this guide helpful, don’t hesitate to dive into other DIY projects. **Subscribe to my channel** for more tips, tricks, and fun hacks that will unleash your creativity. Let’s tackle those DIY challenges together!