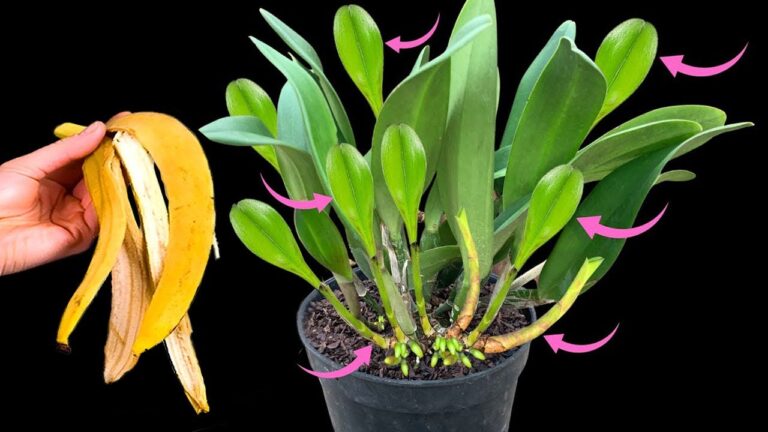
10 Simple Steps to Propagate Phalaenopsis Orchids with Amazing Results
Propagation of Phalaenopsis Orchids: A Practical Guide
- Introduction
- Required Materials
- Step-by-Step Propagation Process
- Common Mistakes to Avoid
- FAQ
- Conclusion
Introduction
Owning a Phalaenopsis orchid can bring beauty and tranquility into your home, but nurturing these stunning plants can sometimes leave you puzzled, especially when it comes to propagation. You may wonder how to encourage your orchids to thrive without breaking the bank. Understanding the basics of propagation can unlock a world of potential: creating new plants from existing ones can be both fulfilling and economical. Read on to discover step-by-step guidance and useful advice to ensure your propagation efforts are successful.
Required Materials
To successfully propagate your Phalaenopsis orchids, gathering the right materials is essential. Here’s what you’ll need:
- Healthy parent plant – Choose a robust orchid that displays healthy leaves and blooms.
- Sharp, clean scissors or shears – This helps prevent infection when cutting the plant.
- Orchid potting mix – A well-draining medium provides the necessary support and nutrients.
- Plastic or glass container – For holding cuttings while they develop roots.
- Rooting hormone – Optional, but can enhance root growth.
Step-by-Step Propagation Process
Now, let’s delve into the steps necessary for propagating your Phalaenopsis orchids effectively.
1. Choose the Right Time of Year
The best time to propagate Phalaenopsis orchids is during their active growing season, typically spring and early summer. This timing increases the chances of success.
2. Prepare the Parent Plant
Make sure your orchid is well-watered and has healthy leaves before you begin. Assess it to identify the stem where you want to make your cuts.
3. Make the Cut
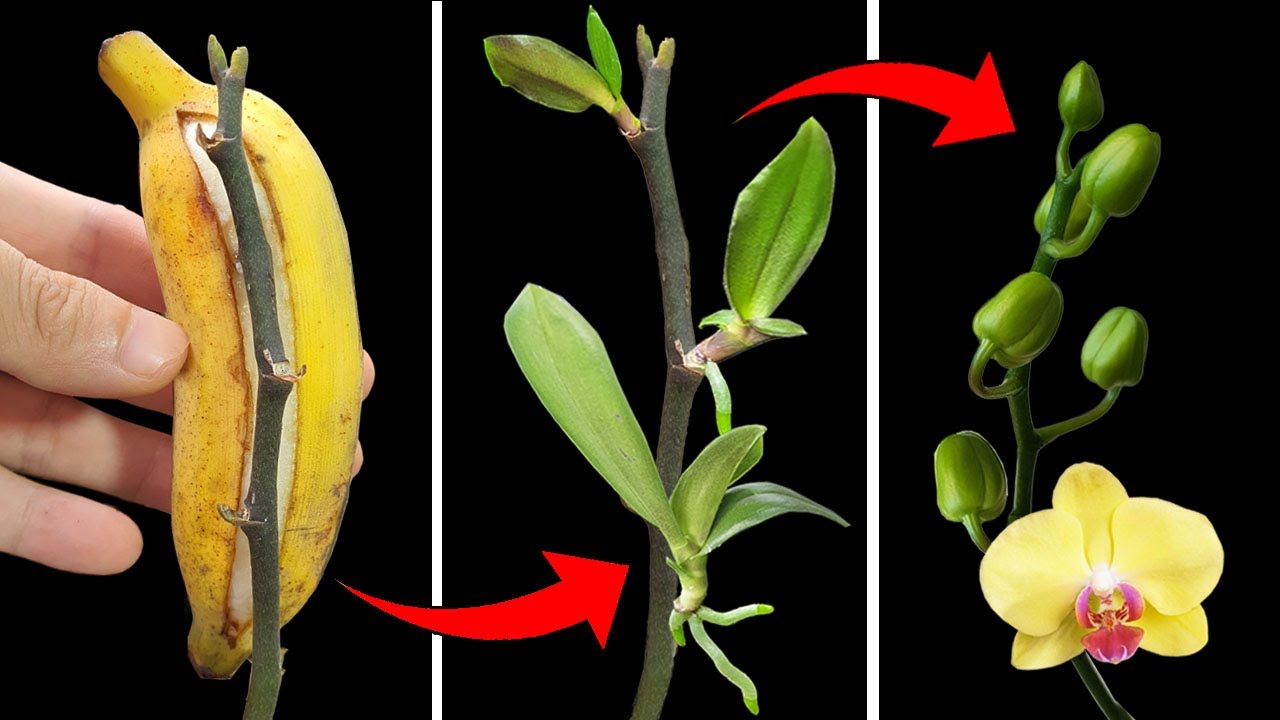
- Use your scissors to carefully cut a stem or keiki (a small offshoot) from the parent plant.
- Ensure the cutting has at least two nodes, which are critical for future growth.
4. Apply Rooting Hormone
If you have rooting hormone, dip the cut end of the stem into it. This can encourage robust root formation.
5. Place in Container
Insert the cutting into a plastic or glass container with the orchid potting mix, ensuring that the nodes are buried in the medium.
6. Provide Adequate Moisture
Keep the mix lightly moist—not soggy. Too much moisture can lead to rot, while too little can hinder root growth.
7. Monitor Light and Temperature
Place the container in a spot with bright, indirect sunlight, and maintain a warm temperature to encourage growth.
8. Wait for New Growth
Be patient! In a few weeks to months, you should see roots developing. The new orchid will be ready for transplanting once the roots are at least a couple of inches long.
9. Transplant the New Orchid
Once your cutting has a robust root system, move it to its permanent pot with the orchid potting mix.
10. Care for Your New Plant
Water your new orchid as needed, and ensure it receives proper light and humidity to thrive in its new home.
Common Mistakes to Avoid
While propagating Phalaenopsis orchids can be rewarding, there are pitfalls to watch for:
- Cutting from unhealthy plants can lead to failure.
- Overwatering is a common mistake that leads to root rot.
- Ignoring light and temperature requirements may hinder growth.
- Failing to use clean tools can introduce disease into your plants.
FAQ
What is the best time to propagate Phalaenopsis orchids?
The ideal time to propagate Phalaenopsis orchids is during the spring and early summer when they are in their active growth phase.
Can I propagate orchids without a keiki?
Yes, you can propagate orchids by cutting a stem, as long as it has at least two nodes which can produce new growth.
How long does it take for orchid cuttings to root?
It generally takes a few weeks to a few months for orchid cuttings to develop roots, depending on environmental conditions.
Conclusion
Following these steps for propagating Phalaenopsis orchids can lead to rewarding results, expanding your floral display at minimal cost. What has been your experience with orchid propagation? Your thoughts and tips are welcome in the comments!