10 Unique Steps to Easily Replicate Orchids at Home!
10 Unique Steps to Easily Replicate Orchids at Home
- Introduction
- Understanding Orchid Replication
- Preparing the Orchids
- Care After Replication
- Common Mistakes
- FAQ
- Conclusion
Introduction
If you’ve ever admired the stunning beauty of orchids, you may have wondered how to cultivate these remarkable plants in your own home. Despite their reputation for being challenging, replicating orchids can be a rewarding endeavor. You might find yourself staring at a lovely orchid, envisioning how wonderful it would be to enhance your collection with more of these elegant blooms. Let’s explore how you can easily replicate orchids at home, step by step.
Understanding Orchid Replication
Before jumping into the process, it’s important to understand the basics of orchid replication, specifically through propagation. This involves taking specific parts of the plant to create new orchids.
1. Types of Orchid Propagation
- **Division**: Separating the plant into multiple parts.
- **Keikis**: Utilizing young plants that grow on mature orchids.
- **Seeds**: A more advanced technique often requiring specific conditions.
2. Choosing the Right Time
Timing is crucial when propagating orchids. The best period is typically during their active growth phase, which varies by species. Observing the health and bloom cycle of your orchids will help you identify the ideal moment.
3. Essential Tools
Gathering the right tools is essential for successful replication. Consider keeping these items handy:
- Clean, sharp scissors or shears
- Peat moss or orchid mix
- Pots with drainage holes
Preparing the Orchids
Once you’ve gathered your tools and chosen the right time, it’s time to prepare your orchids for replication.
4. Watering Before Propagation
Ensure your orchids are well-watered a few days before you begin. This will help the plant recover better once propagated.
5. Cutting at the Right Spot
To start the process: make clean cuts at specific areas:
- **For division**: Cut between the pseudobulbs, ensuring each division has roots.
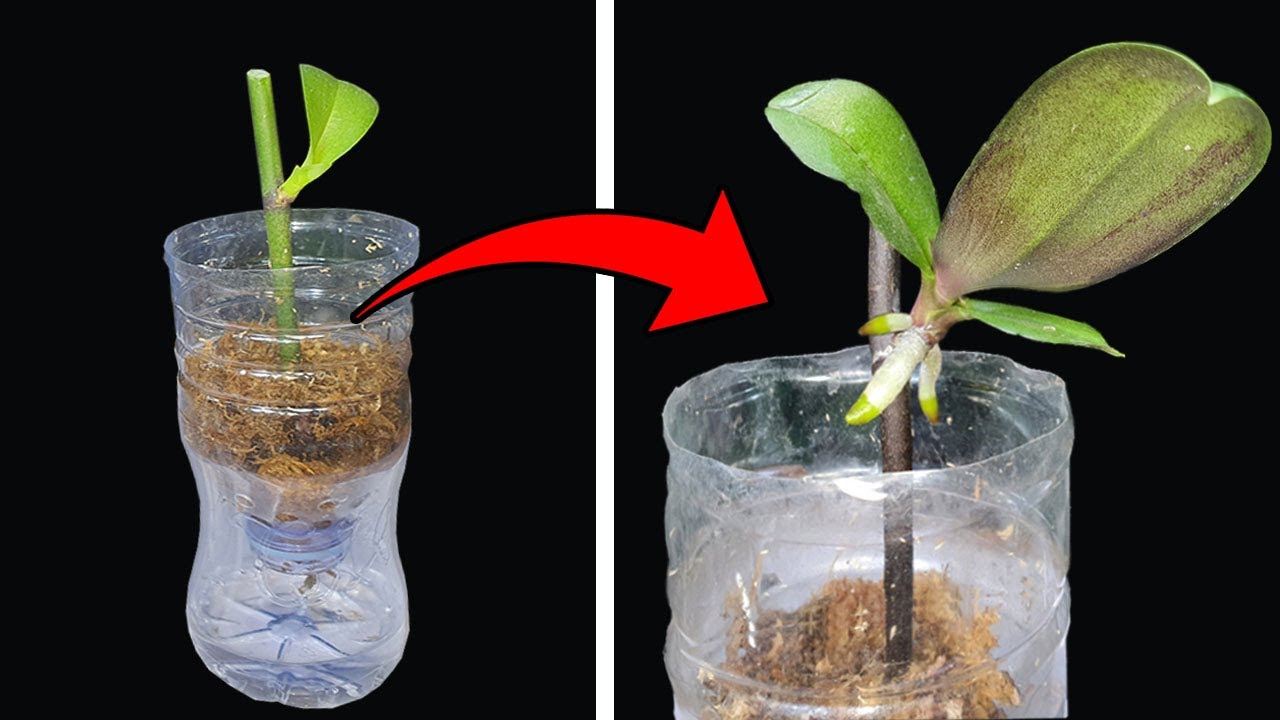
- **For keikis**: Locate small plantlets growing at the nodes and cut them off.
6. Choosing the Right Medium
Your choice of medium impacts the success of your orchid replication. A well-draining orchid mix is ideal to promote healthy root growth.
Care After Replication
After you’ve completed the propagation process, it’s crucial to provide the right care for your new orchids.
7. Providing Consistent Light
Orchids thrive in bright, indirect sunlight. Position your newly replicated plants near a window, but avoid harsh direct light.
8. Monitoring Water Levels
Maintaining proper moisture levels is essential:
- Water when the top of the medium feels dry.
- Avoid over-watering, which can lead to root rot.
9. Fertilization Tips
After a few months, introduce a diluted orchid fertilizer. This will help your new plants gain strength and vitality as they grow.
Common Mistakes
Even the most experienced plant lovers can make mistakes in the replication process. Here are some common pitfalls to avoid:
1. Propagating During Dormancy
Attempting to replicate orchids while they’re not actively growing may lead to unsuccessful attempts.
2. Not Using Sterile Tools
Using non-sterile tools can introduce diseases to your orchids, harming your efforts.
3. Overcrowding Pots
Ensure each orchid has enough space in its pot to grow; overcrowded plants may struggle to thrive.
FAQ
1. How long does it take for replicated orchids to bloom?
It usually takes about 1 to 3 years for a newly propagated orchid to bloom, depending on the species and care.
2. Can orchids propagate without a keiki?
Yes, orchids can be propagated through division and seed sowing, although these methods may require more expertise.
3. What is the best temperature for orchids after replication?
Orchids prefer temperatures between 65°F to 85°F (18°C to 29°C) for optimal growth.
Conclusion
Replicating orchids at home is a wonderfully satisfying hobby that allows you to expand your floral collection while deepening your connection with these stunning plants. Have you ever tried propagating orchids? Sharing your experiences can help others on their gardening journey.