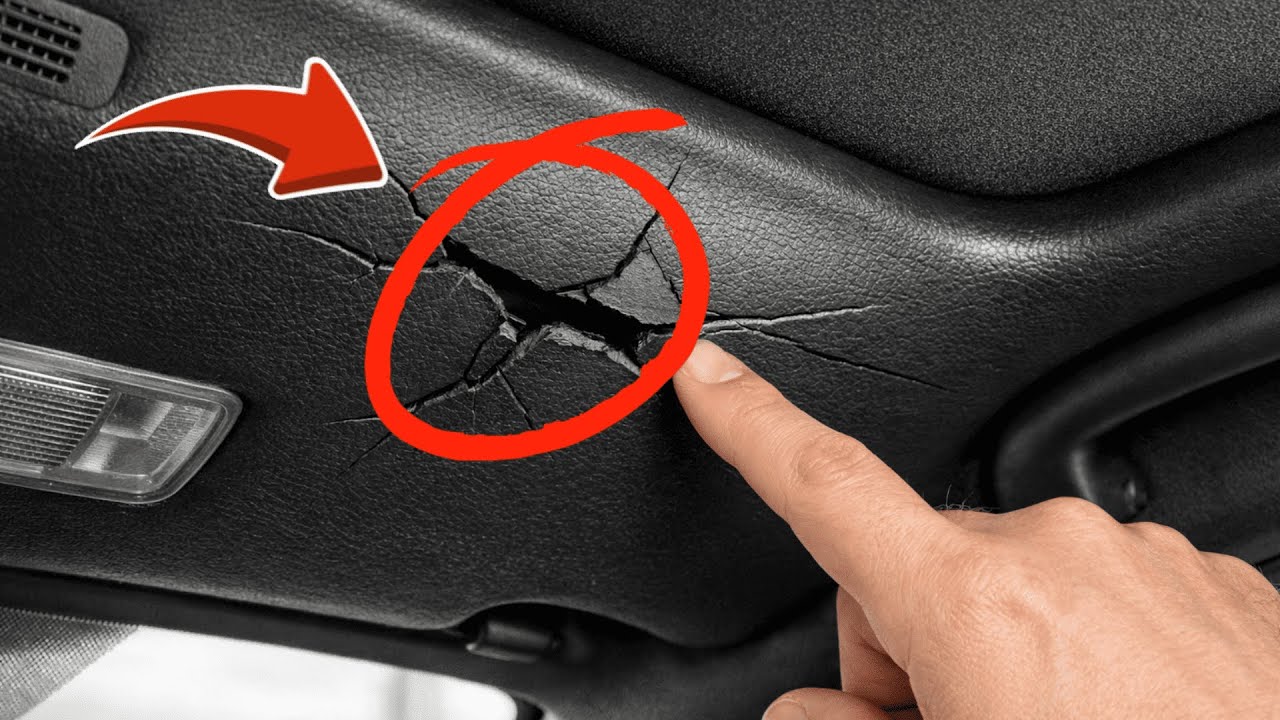
5 Essential Tips to Repair Cracked Car Plastic You Need to Know
5 Essential Tips for Repairing Cracked Car Plastic
- Introduction
- Understanding the Cause of Cracks
- Necessary Materials for Repair
- Effective Repair Techniques
- Common Mistakes to Avoid
- FAQ
- Conclusion
Introduction
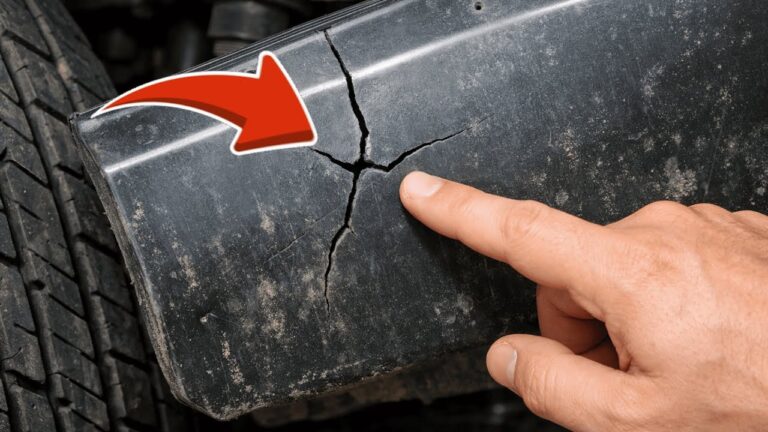
Seeing a crack on your car’s plastic parts can be frustrating, especially when it affects the overall appearance and integrity of your vehicle. Whether it’s a tear in your dashboard or a dent on your bumper, dealing with these imperfections can feel overwhelming. Many people worry about the cost of professional repairs or aren’t sure where to start. Understanding how to approach these repairs can not only save you money but also bring back your car’s aesthetic appeal. Let’s dive into the essential tips you need to know for repairing cracked car plastic.
Understanding the Cause of Cracks
Before jumping into repairs, it’s crucial to identify what caused the cracks in the first place. A few common causes include:
- Temperature changes: Extreme heat or cold can make plastic brittle.
- Impact damage: Accidental bumps or scrapes can lead to cracks.
- Age and wear: Over time, materials can naturally degrade.
By understanding these causes, you can better prevent future damage and choose the right repair methods.
Necessary Materials for Repair
Having the right materials on hand is vital for effective repairs. Here’s a list of essential items you should gather:
- Plastic adhesive: This will bond the cracked pieces securely.
- Sandpaper: Useful for smoothing the surface before and after repair.
- Clamps: These will hold the plastic in place as the adhesive cures.
- Paint or dye: To match the repair with the existing color of your vehicle.
Once you’ve gathered these necessary materials, you’re ready to start the repair process.
Effective Repair Techniques
There are various methods for repairing cracked car plastic, and the right one depends on the nature of the crack. Here are a few effective techniques:
1. Surface Adhesive Method
If the crack is relatively minor, applying a plastic adhesive may be all you need.
- Clean the area: Remove any dirt or grease from the surface.
- Apply adhesive: Squeeze the adhesive into the crack, ensuring full coverage.
- Clamp the crack: Use clamps to hold the pieces together until the adhesive sets.
2. Reinforcement with Fiberglass
For a more significant crack, reinforcing with fiberglass can provide added strength.
- Prepare the area: Sand the surface around the crack.
- Cut fiberglass mat: Cut a piece slightly larger than the crack.
- Mix resin: Combine the resin and hardener following package instructions.
- Apply fiberglass: Lay the mat over the crack and saturate it with resin.
- Allow it to cure: Give it time to harden before sanding smooth.
3. Plastic Welding
For permanent repairs, plastic welding can be your best bet.
- Heat the welder: Follow the manufacturer’s instructions to warm your plastic welding tool.
- Feed the plastic rod: While melting the edges of the crack, feed a rod to fill the gap.
- Let it cool: Allow the weld joint to cool completely.
Common Mistakes to Avoid
Even experienced DIYers can make mistakes during repairs. Here are some pitfalls to watch out for:
- Skipping surface preparation: Not cleaning the area can lead to poor adhesion.
- Using too much adhesive: Overapplication can create an unsightly finish.
- Forgetting to clamp: Failing to secure the pieces can result in misalignment.
- Neglecting proper mixing: Not following the resin mixing instructions can weaken your repair.
FAQ
1. Can I use super glue for car plastic repairs? Super glue isn’t recommended for car plastic repairs as it may not provide a durable bond.
2. How long does it take for plastic adhesive to cure? Most plastic adhesives set within a few hours but may take up to 24 hours for complete curing.
3. Is it safe to paint over repaired plastic? Yes, once the adhesive fully cures, you can paint over the area to match the rest of your car.
Conclusion
Repairing cracked car plastic can be a straightforward process if you approach it with the right knowledge and materials. By understanding the causes, using the necessary techniques, and avoiding common mistakes, you can restore your vehicle’s appearance. What repair techniques have worked best for you? Share your experiences in the comments below.