Master 5 Perfect Wood Joinery Techniques at Your DIY Carpentry Bench!
Mastering 5 Essential Wood Joinery Techniques for Your DIY Projects
- Introduction
- Top 5 Wood Joinery Techniques
- Materials Needed
- Common Mistakes to Avoid
- FAQs
- Conclusion
Introduction
Every DIY woodworking enthusiast has faced the challenge of creating strong, lasting connections between pieces of wood. Whether you’re assembling that perfect bookshelf or crafting a custom table, the right joinery technique can make all the difference. With so many options available, it can be overwhelming to decide which method suits your project best. By mastering a few essential wood joinery techniques, you’ll enhance your craftsmanship and improve the quality of your work. Read on to discover five joinery methods that can elevate your DIY projects.
Top 5 Wood Joinery Techniques
1. Butt Joint
The butt joint is one of the simplest and most commonly used wood joinery techniques. It involves connecting two pieces of wood by simply butting them together at their ends.
- Cut the ends of each piece of wood to ensure they are square.
- Apply wood glue to the edges and align the pieces.
- Clamp them together until the glue dries fully.
2. Dado Joint
A dado joint is a groove cut into a piece of wood to fit another piece snugly. This technique is great for shelves and cabinet construction.
- Measure and mark where the groove will be cut.
- Use a table saw or router to cut the groove to the desired depth and width.
- Insert the intersecting piece into the groove and secure with wood glue.
3. Mortise and Tenon Joint
The mortise and tenon joint is a traditional technique that provides excellent strength. It consists of a mortise hole and a corresponding tenon that fits into it.
- Drill a mortise hole into one piece of wood using a chisel or router.
- Shape the tenon on the end of the adjoining piece.
- Glue the pieces together and clamp until dry.
4. Pocket Hole Joint
The pocket hole joint is a popular method for creating strong, hidden connections. It’s often used in furniture making.
- Drill angled holes into one piece of wood using a pocket hole jig.
- Insert screws into the drilled holes to connect the pieces.
- Cover the holes with wood filler for a clean finish.
5. Biscuits Joint
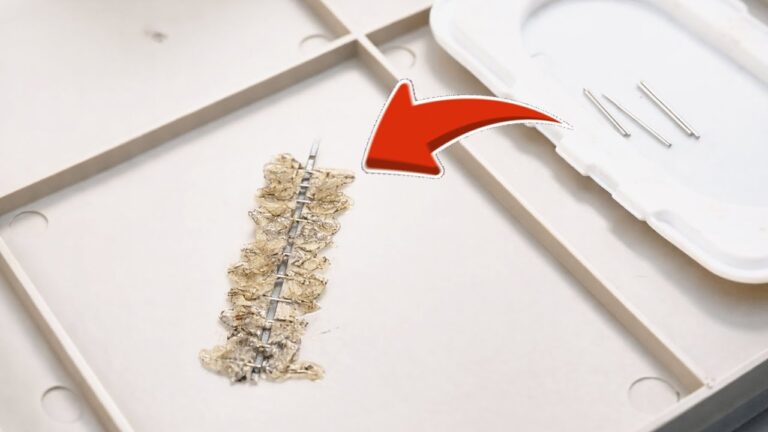
The biscuits joint involves using oval-shaped wooden biscuits to align and strengthen two pieces of wood.
- Cut slots into both pieces of wood using a biscuit joiner.
- Insert the biscuits with wood glue and join the pieces together.
- Clamp until the glue sets for a secure bond.
Materials Needed
To effectively perform these joinery techniques, you’ll need the following materials:
- Wood of your choice
- Wood glue
- Clamps
- Drill and drill bits
- Saw (table saw, chisel, or jigsaw)
- Pocket hole jig (for pocket hole joints)
- Biscuit joiner (for biscuits joint)
Common Mistakes to Avoid
While learning these wood joinery techniques, it’s essential to steer clear of common pitfalls:
- Skipping proper measurements, which can lead to misaligned joints.
- Using inadequate glue or ignoring drying times, compromising joint strength.
- Neglecting to use clamps, resulting in loose fitting joints.
FAQs
What is the strongest wood joinery technique? The mortise and tenon joint is often considered one of the strongest methods due to its increased surface area for glue.
Can I use screws with wood joints? Yes, many wood joints, such as pocket holes, often utilize screws for added strength.
What wood types are best for joinery? Hardwoods like oak, maple, and walnut are preferred due to their durability, but softwoods can also be suitable for lighter projects.
Conclusion
Mastering these five wood joinery techniques can significantly enhance the durability and quality of your DIY projects. Understanding when and how to use each method will lead to better craftsmanship in your woodworking endeavors. What project are you looking forward to trying these techniques on next? Share your thoughts in the comments below!