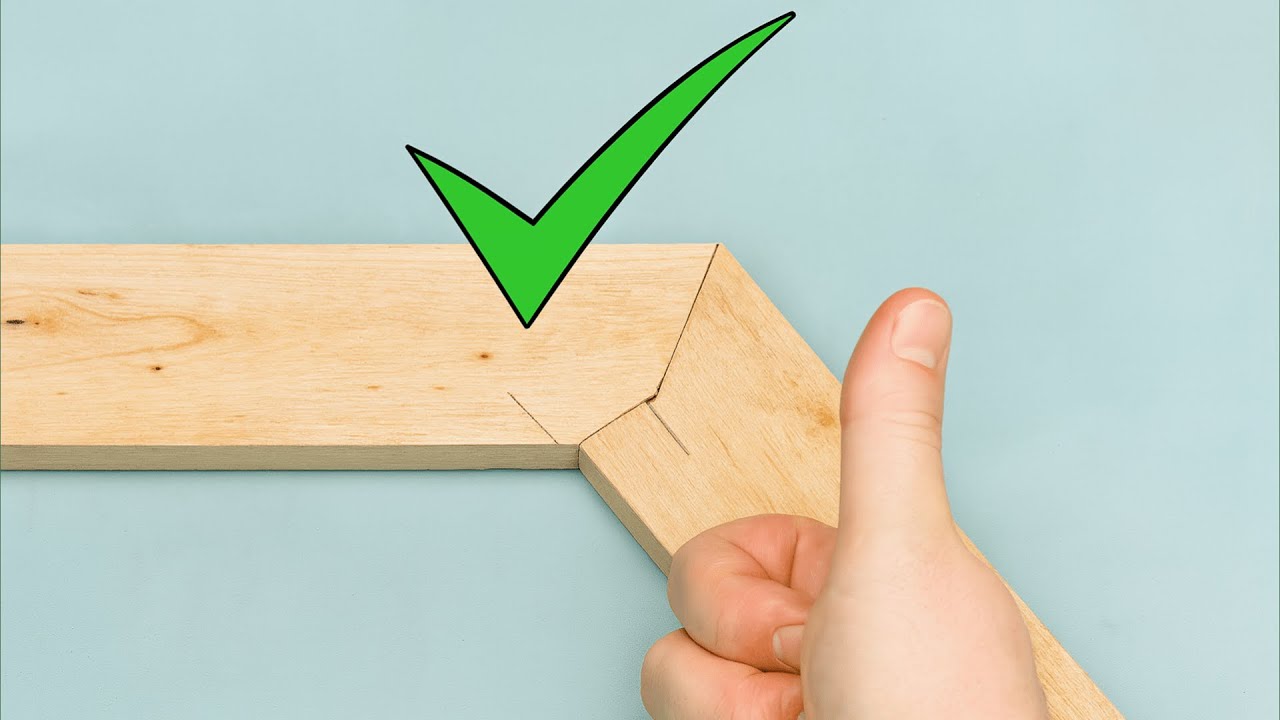
5 Tips for Perfect Wood Joints: My First DIY Carpentry Experience
5 Tips for Perfect Wood Joints in Your DIY Carpentry Projects
- Introduction
- Necessary Tools for Wood Joints
- Step-by-Step Guidance for Strong Joints
- Common Mistakes to Avoid
- FAQ
Introduction
When you decide to tackle a DIY carpentry project, one of the most critical elements to master is creating strong and precise wood joints. You might often find yourself struggling with alignment or durability, leading to frustration that can dampen your enthusiasm. Whether you’re constructing a piece of furniture or building a simple shelf, understanding the intricacies of wood joints is essential. Exploring these tips will help you achieve the results you desire, making your next project a pleasure to complete.
Necessary Tools for Wood Joints
Before diving into the world of wood joints, it’s essential to gather your tools. Having the right equipment not only simplifies the process but also ensures a more professional finish.
1. Essential Hand Tools
- Measuring tape: Precision starts with accurate measurements.
- Saws: Choose a hand saw or circular saw based on your project size.
- Chisels: A set of chisels helps create clean cuts for fitting joints.
2. Power Tools Recommendations
- Router: Ideal for creating grooves and decorative edges.
- Drill: Useful for making pilot holes and adding screws securely.
- Sander: Ensures smooth finishes and helps align pieces properly.
3. Safety Gear
Don’t forget to equip yourself with protective gear, such as safety goggles and gloves. Safety should always come first while working with sharp tools and heavy materials.
Step-by-Step Guidance for Strong Joints
Creating wood joints might seem daunting at first, but following these steps will yield impressive results.
1. Choose the Right Joint Type
Different projects call for different types of joints. Here are a few common options:
- Butt joints: Simple and quick, but not the strongest.
- Dado joints: Excellent for shelving, providing better support.
- Mortise and tenon joints: Favored for their strength in furniture making.
2. Accurate Cutting and Fitting
- Measure your wood carefully to ensure accurate cuts.
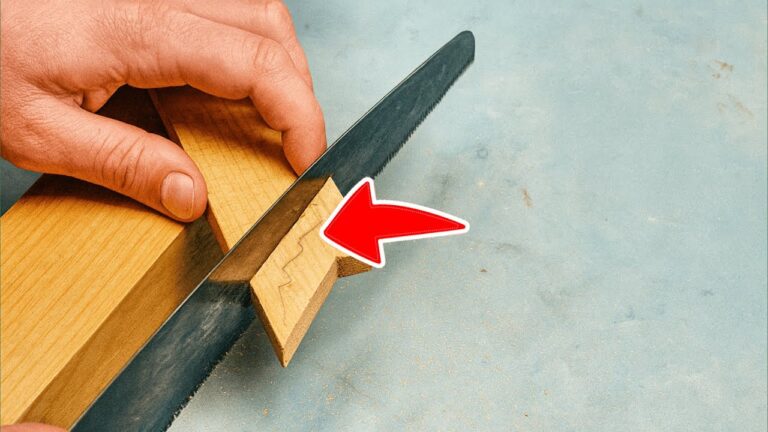
- Cut the wood pieces, using a saw suited for the type of joint.
- Fit them together during a dry run to check for any adjustments.
3. Securing the Joints
With your joints cut and fitted, it’s time to secure them.
- Glue: Use wood glue for a strong bond—apply evenly to surfaces.
- Screws: Optionally, reinforce with screws for added stability.
- Clamps: Hold joints together while the glue dries for optimal strength.
Common Mistakes to Avoid
Even experienced DIYers can fall into traps while working on wood joints. Here are some common pitfalls to steer clear of.
1. Skipping Measurements
Failing to measure multiple times can lead to irregular pieces that won’t fit together properly.
2. Poor Surface Preparation
Not sanding the edges can cause gaps and weaken the joint. Always ensure surfaces are smooth.
3. Ignoring Drying Time
Rushing the process without allowing sufficient drying time for the glue can weaken your joints—patience is essential.
FAQ
What type of wood is best for joints?
Hardwoods like oak and maple are great for durable joints, while softwoods like pine are easier to work with for beginners.
Can I use nails instead of screws for joints?
While nails can work, screws provide better holding power and are often more reliable for long-term projects.
What is the best glue for wood joints?
PVA wood glue is commonly recommended for woodworking as it dries transparent and creates a strong bond.
Conclusion
Mastering wood joints is crucial for successful DIY carpentry projects, allowing you to create sturdy and aesthetically pleasing pieces. By avoiding common mistakes and following these guidelines, you can elevate your skills. What projects do you envision implementing these tips on? Share your thoughts in the comments!