7 Secrets to Make Cracked Car Plastic Rock Solid and Look Brand New!
7 Secrets to Restore Cracked Car Plastic to Pristine Condition
Introduction
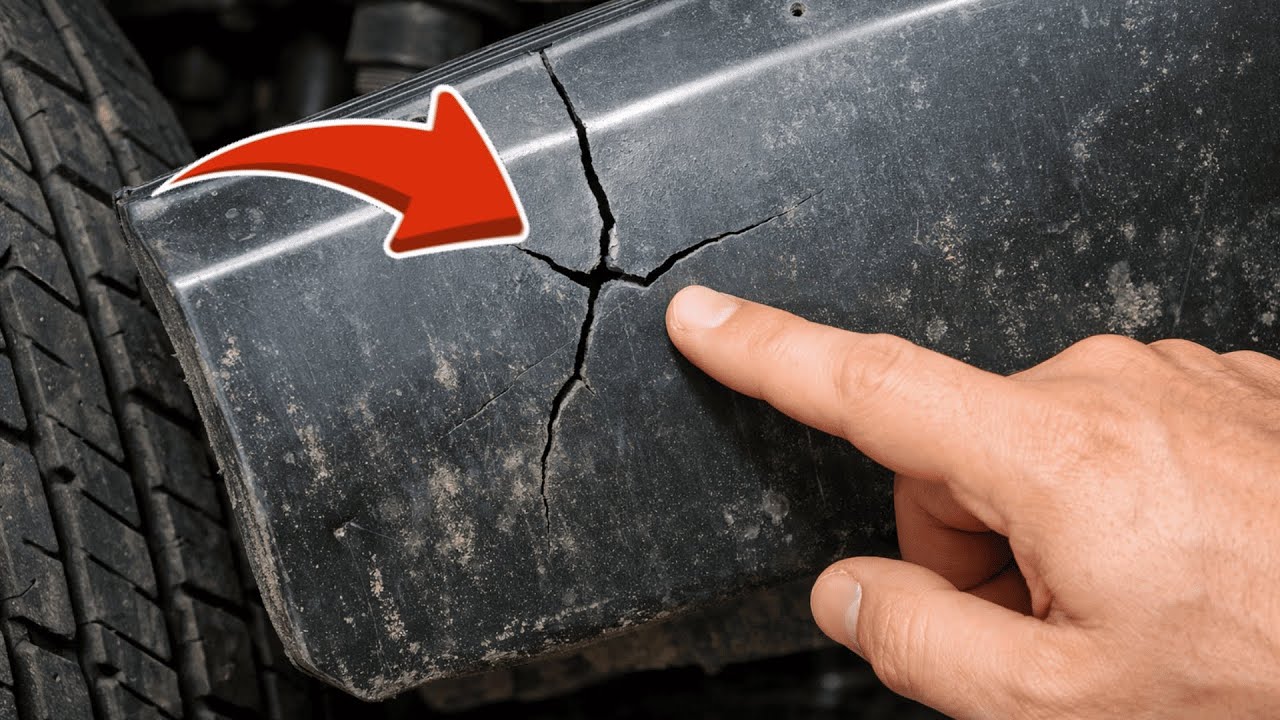
It’s a common frustration—your car’s plastic components have developed unsightly cracks over time, making your vehicle look worn and aged. These issues might seem insignificant, but they can affect the overall appearance and value of your car. Instead of resigning yourself to these flaws, you can restore your car’s plastic to its former glory. Read on to discover effective secrets that will help you achieve that brand-new look.
Necessary Materials
Before diving into the restoration process, you’ll need to gather a few essential materials. Having everything ready will streamline your efforts and enhance your results.
- Plastic adhesive or epoxy
- Sandpaper (various grits)
- Primer designed for plastic surfaces
- Automotive spray paint or plastic restorer
- Microfiber cloths
Step-by-Step Guide
Now that your materials are ready, let’s explore the steps to effectively restore your car’s plastic surfaces.
1. Clean the Area
- Thoroughly clean the cracked area with a microfiber cloth to remove dirt and grime.
- Use a mild detergent and water to ensure the surface is completely free from contaminants.
- Dry the area completely before proceeding.
2. Prepare the Crack
Getting the crack ready is crucial for the adhesive to bond properly.
- Sand the edges of the crack lightly with medium-grit sandpaper to create a rough surface.
- Wipe away any dust with a clean microfiber cloth.
3. Apply the Adhesive
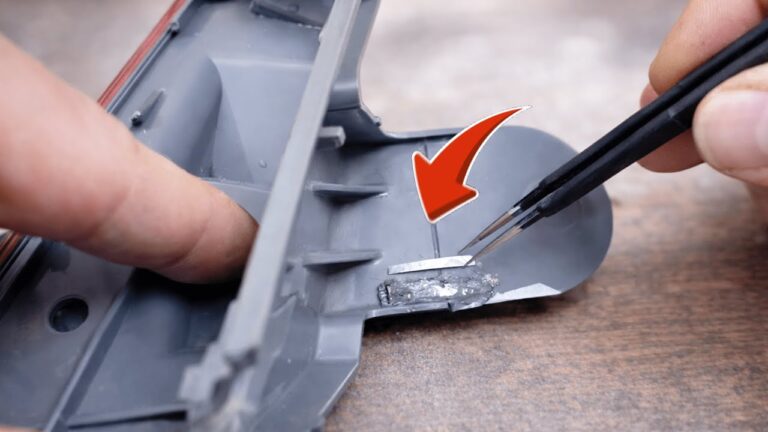
- Carefully apply the plastic adhesive into the crack.
- Press the edges of the crack together firmly, ensuring they bond.
- Allow the adhesive to cure according to the manufacturer’s instructions.
4. Sand and Prime
Once the adhesive has cured, you’ll want to make the surface smooth.
- Start with a coarse grit sandpaper and gradually move to finer grits for a smooth finish.
- Clean off any dust from sanding.
- Apply a plastic primer to the repaired area.
5. Paint and Finish
- Select a matching automotive spray paint.
- Spray the repaired area lightly, following the manufacturer’s guidelines.
- Let the paint dry, and apply additional coats if needed to achieve the desired look.
Common Mistakes
As you embark on this restoration journey, be aware of common mistakes that can hinder your progress.
- Applying adhesive to a dirty surface can prevent proper bonding.
- Rushing the drying process can lead to weak repairs.
- Using the wrong type of paint may result in poor adhesion and discoloration.
- Skipping the sanding step can leave the surface uneven and noticeable.
- Neglecting to check for other cracks can lead to fragmented results.
FAQ
Can I use regular glue for repairing plastic?
No, regular glue is not designed for plastic surfaces. It’s best to use a specialized plastic adhesive to ensure a secure bond.
How long does the adhesive need to cure?
The curing time varies by product, but most adhesives require at least 24 hours for optimal bonding. Always check the instructions on the adhesive you’ve chosen.
What if the crack is too large to repair?
If the crack is extensive, you may need to consider replacing the panel or seeking professional help, as larger damages can compromise the overall integrity of the plastic.
Conclusion
Restoring cracked car plastic doesn’t have to be daunting. By following these simple steps and avoiding common mistakes, you can significantly improve your vehicle’s appearance and durability. Have you tried restoring your car’s plastic parts? Share your experience in the comments!