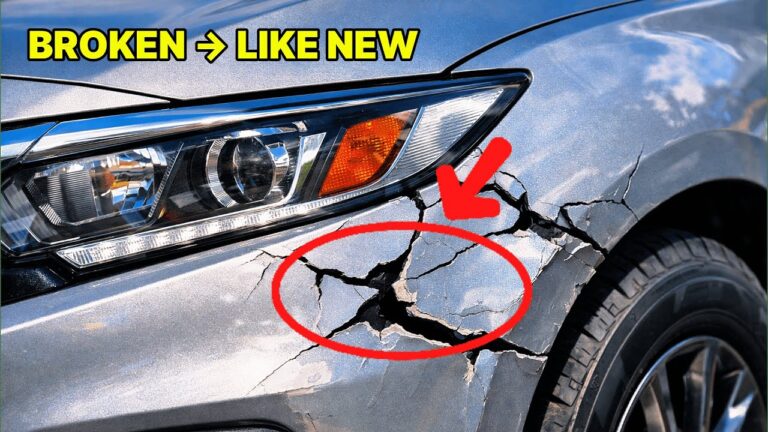
7 Simple Steps to Fix Broken Plastic Parts Like New – You’ll Be Amazed!
7 Simple Steps to Restore Broken Plastic Parts
Introduction
It’s frustrating when a favorite item breaks, especially when it’s a plastic part that seems impossible to fix. Whether it’s a beloved toy, a kitchen gadget, or an outdoor item, seeing it in disarray can be disheartening. However, with a bit of time and some common materials, you can restore it to its former glory. Keep reading to discover how you can breathe new life into your broken plastic parts.
Required Materials
Before diving into the restoration process, gather the necessary materials. Here’s a list of what you’ll need:
- Plastic adhesive or epoxy
- Sandpaper (fine and coarse grit)
- Cloth or paper towel
- Scissors for any clean-up
- Protective gloves (optional but recommended)
Having everything at hand will make your project smoother and more efficient.
Step-by-Step Guide
Follow these simple steps to effectively restore your broken plastic parts:
- Clean the broken surfaces thoroughly. Remove any dirt, dust, or grease using a cloth or paper towel.
- Sand the edges of the broken pieces to create a smooth surface, allowing for better adhesion.
- Apply the plastic adhesive or epoxy directly to one of the broken edges. Ensure you cover enough area for a strong bond.
- Press the pieces together firmly, aligning them properly. You may want to hold them in place with a clamp if available.
- Let the adhesive cure as per the manufacturer’s instructions. This usually takes a few hours, so patience is key.
- Sand any excess dried adhesive for a smooth finish, creating a more refined look.
- Clean the area once more to remove any dust from the sanding process.
Following these steps meticulously will yield a surprisingly sturdy and visually appealing result.
Tips for Effectiveness
- Use clamps to hold pieces together while drying for maximum stability.
- For a more seamless finish, consider using a paint that matches the original color post-repair.
Variations
If you’re dealing with larger or more complex pieces, consider using a strengthening method like reinforcing your repair with a piece of mesh or cloth under the adhesive.
Common Mistakes to Avoid
While restoring broken plastic parts can seem straightforward, there are several pitfalls to watch for:
- Not cleaning the surfaces properly can lead to weak adhesion.
- Using too much adhesive can make the repair look messy and may not set properly.
- Rushing the curing process increases the chances of failure. Always follow the suggested drying time.
- Choosing the wrong type of adhesive can result in a bond that doesn’t hold. Make sure to select one specifically for plastics.
FAQ
What type of adhesive should I use for plastic repairs?
Using a plastic-specific adhesive or epoxy is ideal, as it’s designed to bond plastic materials effectively.
How long does the adhesive take to cure?
Curing times vary by product, but most adhesives will require a few hours; always check the instructions for specific guidelines.
Can I paint over the repaired area?
Yes, once the adhesive has fully cured and dried, you can use sandpaper to smooth any rough edges and then paint to match the original color.
Conclusion
Restoring broken plastic parts is a straightforward process that can save you from throwing away otherwise useful items. By following these steps and avoiding common mistakes, you can extend the life of your treasured belongings. What plastic items have you restored successfully? Share your experiences in the comments!