7 Simple Steps to Weld Plastic at Home and Make It Stronger Than Ever!
Welding Plastic at Home: A Simple Step-by-Step Guide
- Introduction
- Required Materials
- Step-by-Step Process
- Practical Tips for Success
- Common Mistakes to Avoid
- FAQ
- Conclusion
Introduction
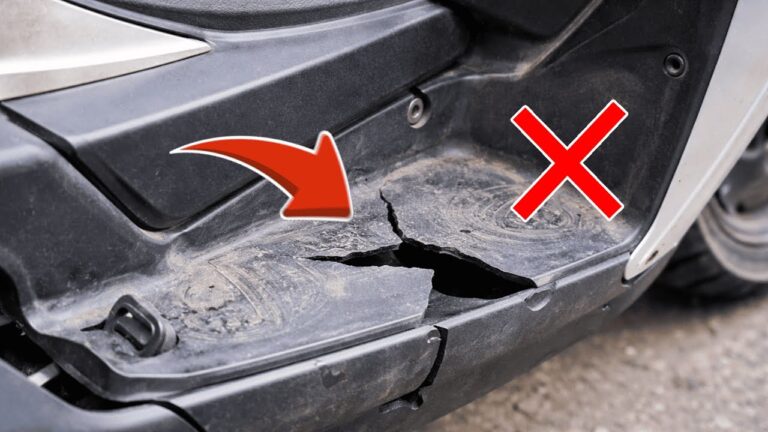
Have you ever found yourself struggling with broken plastic items around the house that seem impossible to repair? Maybe it’s a piece of your garden equipment or a beloved toy that has seen better days. The frustration of throwing away plastics that could be fixed is real. Fortunately, there’s a way to bring these items back to life through welding, an effective method to create strong and lasting bonds. Let’s dive into this simple process that will empower you to tackle your plastic repair projects.
Required Materials
Before you begin welding plastic, gather the following materials to ensure a smooth process:
- Plastic welding gun – This tool provides the heat necessary to melt the plastic.
- Welding rods – Make sure to select rods that match the type of plastic you’ll be welding.
- Safety goggles – Protect your eyes from any fumes or debris.
- Heat-resistant gloves – Keep your hands safe from burns.
- Work surface – A flat, heat-resistant surface is essential to support your work.
Step-by-Step Process
Following these steps will help you effectively weld plastic at home:
- Prepare the surfaces – Clean the areas to be welded thoroughly. Remove dirt, grease, and any old adhesive.
- Heat the welding gun – Allow your plastic welding gun to reach the appropriate temperature according to the material’s specifications.
- Align the parts – Position the plastic pieces you want to weld together. Make sure they fit snugly.
- Start welding – Move the welding gun along the seam where the two pieces meet, applying gentle pressure to melt both surfaces.
- Add welding rod – Insert the welding rod into the seam, allowing it to melt and fill the gap. Ensure even distribution for strength.
Cooling and Finishing
After welding, allow the plastic to cool completely before handling. This ensures a firm bond and prevents warping. Once cool, you can trim or scrape any excess material for a smoother finish.
Practical Tips for Success
Here are some tips to help you achieve the best results when welding plastic:
- Experiment with different welding rods to find the one that matches your plastic best.
- Practice on scrap pieces before working on valuable items.
- Work in a well-ventilated space to avoid inhaling fumes.
- Keep your welding gun moving to prevent overheating any one area.
Common Mistakes to Avoid
When welding plastic, avoid these pitfalls to ensure successful repairs:
- Not cleaning the plastic surfaces adequately, which can lead to weak bonds.
- Using the wrong type of welding rod for the plastic you are repairing.
- Applying too much heat, which can cause melting or warping of the plastic.
- Rushing the cooling process, which can lead to incomplete bonds.
FAQ
Can all types of plastic be welded? Some plastics, like polypropylene and polyethylene, weld well, while others, like PVC and polystyrene, may not provide a strong bond.
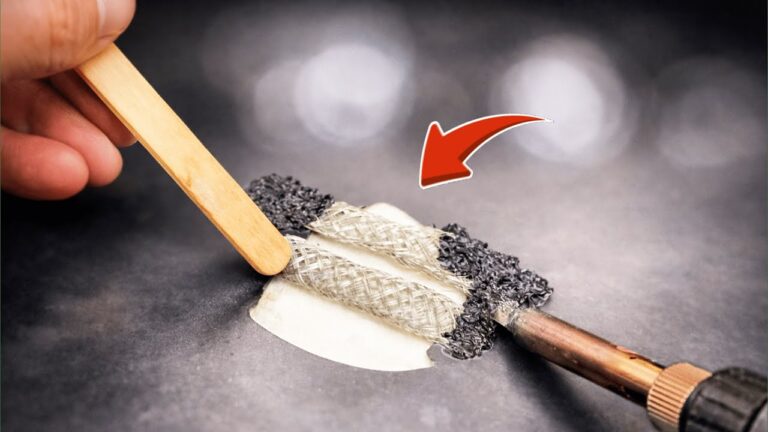
What if I don’t have a welding gun? For small repairs, you can use a soldering iron or a heat source in a controlled manner, but it may not be as effective.
Is plastic welding safe? When proper precautions are taken, including wearing safety goggles and gloves, plastic welding can be safe.
Conclusion
Welding plastic at home can restore function to broken items and reduce waste. With the right materials and technique, you can create durable repairs that stand the test of time. Have you tried welding plastic before? Share your experience in the comments below!