Repair Plastic Like a Pro: 5 Incredible Glue Hacks You Need to Try!
Expert Glue Hacks for Repairing Plastic
- Introduction
- Essential Materials for Plastic Repair
- Techniques for Effective Plastic Repair
- Common Mistakes in Plastic Repair
- FAQ
Introduction
Have you ever found yourself frustrated when a beloved plastic item breaks? Whether it’s a cherished toy, a kitchen gadget, or a decorative piece, seeing plastic items crack or shatter can be disheartening. Many people feel unsure about how to effectively repair them. Fortunately, with the right techniques and materials, you can restore your plastic items to their former glory. Continue reading to discover effective glue hacks for plastic repair that could change the way you approach your projects.
Essential Materials for Plastic Repair
To start your repair journey, gather these essential materials that will help you tackle a variety of plastic repairs.
1. Types of Adhesives
- Super glue: Excellent for quick fixes and small cracks.
- Epoxy resin: Ideal for strong, lasting bonds on larger breaks.
- Plastic welding kit: Useful for larger repairs requiring significant strength.
2. Additional Supplies
Besides adhesives, consider having these items on hand:
- Sandpaper: For preparing the surface before applying adhesive.
- Clamps: To hold pieces together while the glue cures.
- Clean cloth: For cleaning surfaces before repair.
Techniques for Effective Plastic Repair
Now that you have the materials, it’s time to explore various techniques to effectively repair plastic items.
1. Surface Preparation
Before applying any adhesive, preparing the surface is crucial.
- Clean the broken edges with a cloth to remove any dirt or grease.
- Sand the edges gently to create a rough surface for better adhesion.
- Dry the area thoroughly before applying glue.
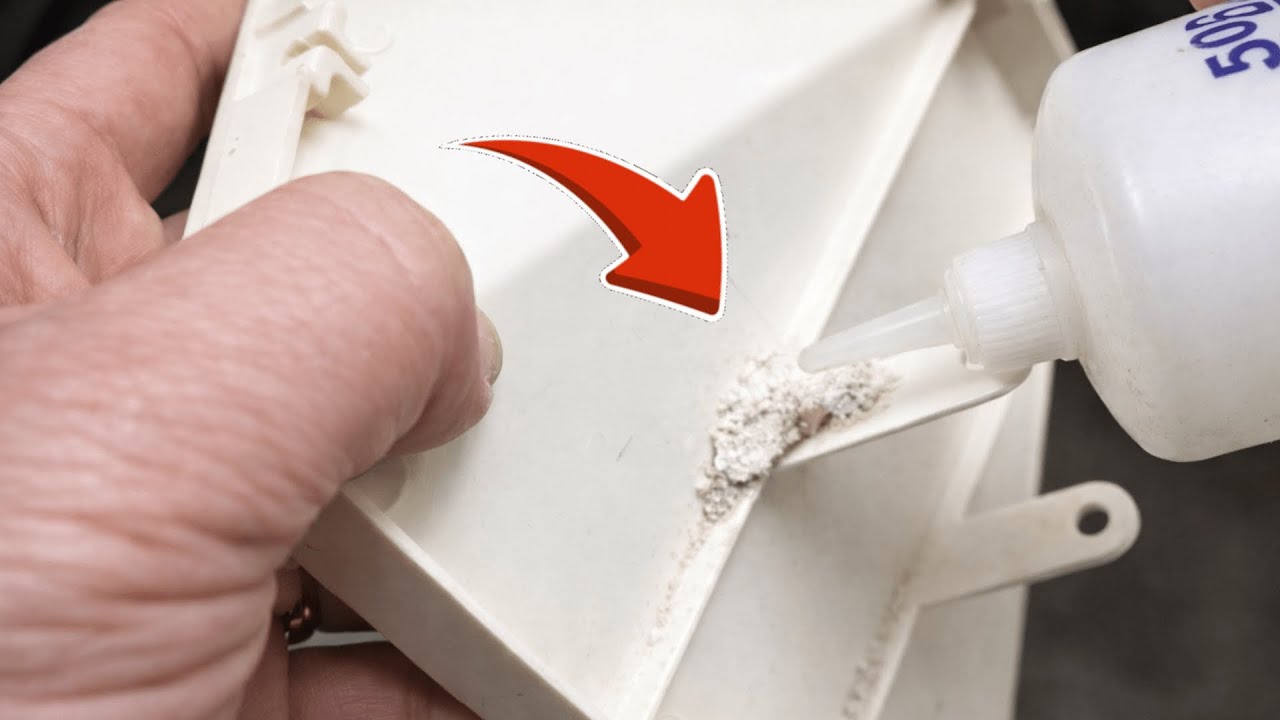
2. Applying the Adhesive
With the surface ready, you can move on to applying the adhesive:
- Choose the appropriate adhesive based on the type of plastic and damage.
- Apply a small amount of glue evenly on both surfaces to be bonded.
- Hold the pieces together firmly, using clamps if necessary.
3. Curing and Finishing
The curing process is essential for a lasting bond:
- Allow the adhesive to cure as per the manufacturer’s instructions.
- Trim any excess glue with a craft knife for a clean finish.
- Paint or touch up the repair if needed to match the original color.
Common Mistakes in Plastic Repair
Even with the right materials and techniques, certain pitfalls can hinder your repair efforts. Here are common mistakes to avoid:
- Skipping surface preparation: Not cleaning or sanding can lead to poor adhesion.
- Overusing glue: Applying too much can cause mess and weakness in the bond.
- Ignoring curing time: Removing clamps too early can compromise the repair.
- Using the wrong adhesive: Ensure the glue is suitable for the specific type of plastic.
FAQ
What type of glue works best for plastic?
Super glue and epoxy are often the best choices for bonding plastic, with epoxy providing a stronger bond for larger repairs.
Can plastic be repaired at home?
Yes, many plastic items can be effectively repaired at home using the right materials and techniques.
How long does it take for glue to cure on plastic?
Curing time varies by adhesive type; generally, super glue sets in minutes while epoxy may take several hours to fully cure.
Conclusion
Repairing plastic can be a straightforward task with the right approaches and materials. By following the recommended techniques and avoiding common mistakes, you can breathe new life into broken items. What repairs have you tackled recently that needed a little extra care? Share your experiences in the comments.