10 Stunning Wall Hanging Ideas with Macrame and Wood Sticks to Try Now
10 Stunning Wall Hanging Ideas with Macrame and Wood Sticks
- Introduction
- Creative Inspiration
- Material Selection
- Step-by-Step Process
- Mistakes to Avoid
- FAQ
- Conclusion
Introduction
Have you ever walked into a room and felt that something was missing? Often, it’s the wall decor that leaves a space feeling incomplete. Adding a handmade wall hanging can elevate your décor and introduce a cozy vibe, perfect for any home. If you’re drawn to the charm of macrame and the natural look of wood sticks, you’ll discover that combining these materials opens the door to endless creative possibilities. Keep reading to explore some stunning wall hanging ideas that you can easily try at home.
Creative Inspiration
There are so many beautiful ways to design a wall hanging using macrame and wood sticks. Here are some inspiring ideas to get your creativity flowing:
- Bohemian Style: Use various knots and patterns to create a unique piece that echoes the bohemian aesthetic.
- Natural Elements: Incorporate dried flowers or leaves within your design for an organic touch.
- Geometric Shapes: Arrange the macrame in geometric patterns for a modern twist.
- Layered Textures: Mix different thicknesses of cords to add depth and interest.
Material Selection
Choosing the right materials is crucial for creating a stunning wall hanging. Here’s what you’ll need:
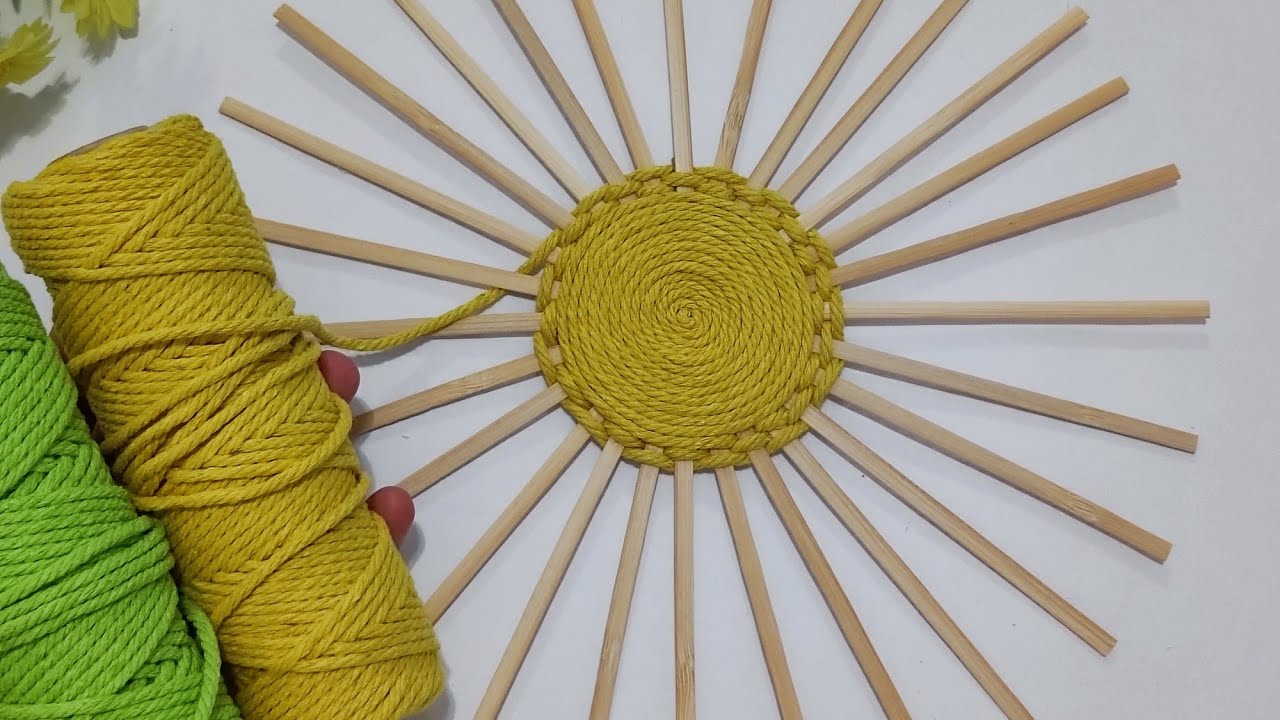
- Macrame cord in varying thicknesses
- Wood sticks or dowels
- Scissors
- Tape or a clip to hold your cords in place while you work
- Optional: beads or decorative elements
When selecting your wood sticks, look for pieces with interesting textures or shapes. This can enhance the visual appeal of your wall hanging.
Step-by-Step Process
Creating your wall hanging can be broken down into simple steps for a smooth crafting experience.
1. Prepare Your Workspace
Find a well-lit area where you can comfortably work. Lay out all your materials to ensure everything is within reach.
2. Cut Your Macrame Cord
Determine the length of cord you need based on your desired design. As a general rule, cut each piece to at least four times the length of the finished piece. This allows for knots and hanging length.
3. Start Knotting
Begin attaching your cords to the wood stick using the following basic knots:
- Lark’s Head Knot: This initial knot will attach your cords to the stick.
- Square Knot: Use this knot to create the patterns you’ve chosen.
- Half Hitch Knot: This knot can be used to create more intricate designs and textures.
4. Arrange Your Design
As you progress, keep stepping back to ensure the design flows well. Don’t hesitate to adjust as needed.
5. Finishing Touches
Once you’ve reached your desired length, secure all knots and trim any excess cord. You may also wish to add decorative elements like beads or feathers at this stage to personalize your hanging.
Mistakes to Avoid
When creating your wall hanging, it’s easy to overlook details. Here are some common mistakes you might encounter:
- Using cords that are too short for your design can lead to frustrations.
- Overcrowding knots can make the hanging look cluttered instead of airy and light.
- Neglecting to secure your knots properly will cause your wall hanging to fall apart.
FAQ
What type of wood sticks are best for wall hangings?
Choose sticks that are sturdy yet lightweight, such as driftwood or bamboo, which also add a natural aesthetic.
Can I use other materials with macrame?
Yes, macrame can be combined with various materials like metal rings, beads, or even fabric for unique designs.
How do I care for my macrame wall hanging?
Gently dust your wall hanging regularly and spot clean as needed with a damp cloth to keep it looking fresh.
Conclusion
Creating a stunning wall hanging using macrame and wood sticks is a rewarding project that can enhance your home. With careful selection of materials and attention to design, you can personalize your space beautifully. What unique touches will you add to your wall hanging project? Please share your thoughts in the comments below.