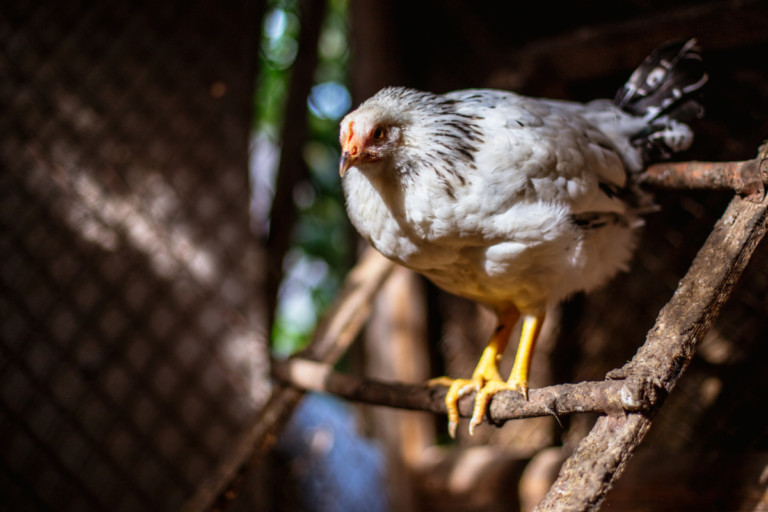
Create a Cozy Chicken Roost Using Recycled Tree Branches
Create a Cozy Chicken Roost Using Recycled Tree Branches
Transform your chicken run into a natural haven by creating a roost using recycled tree branches. Not only is this project budget-friendly, but it also aligns with chickens’ instinctual behaviors, making it a delightful space for your feathered friends.
Why a Ladder-Style Chicken Roost?
Chicken roosts come in various designs, but one of the simplest and most effective styles is the ladder-style roost. Resembling a traditional ladder, this structure features two side rails with rungs for the chickens to perch on. Best of all, it doesn’t require any complicated securing—just lean it against the coop wall for a cozy setup!
Materials Needed
Roost Materials
- 2 long and straight tree branches for side rails
- 4-8 smaller tree branches for rungs
- Saw for cutting branches to size
Building Materials (choose one or more)
- Rope and scissors
- Screws and a drill
- Zip ties
Step-by-Step Guide to Building Your Chicken Roost
Step 1: Gather and Prepare Your Materials
Start by selecting two sturdy, straight branches to serve as your side rails. Look for thick, robust pieces, preferably from small saplings or fresh-cut branches, which offer the best strength. Strip them of any small twigs or leaves, but retain the bark for a rustic touch. Measure the coop or run space to ensure the rails fit well against the wall, cutting them to approximately 8 feet, if needed.
Step 2: Arrange the Rungs
Lay the side rail branches parallel and place smaller branches on top for the rungs. Leave 1-2 feet of space between each rung for the chickens to sit comfortably. It’s advisable to assemble the roost inside the coop to avoid size mismatches and ensure proper fitting through doorways.
Step 3: Secure the Rungs
Now that your rails are in place, it’s time to secure the rungs. You have three options to choose from:
Option 1: Assembly with Rope
Advantages: No power tools required, fully biodegradable, and provides a beautiful rustic look.
- Cut about four feet of rope for each side of each rung.
- Secure the rung tightly against the rail, wrapping the rope diagonally and tying a square knot.
- Wrap the remaining rope around both branches in a figure-eight pattern, pulling tightly. Finish with another square knot.
Option 2: Assembly with Screws
Advantages: Quicker assembly, straightforward, and offers strong durability.
- Drill a guide hole through both the rung and rail.
- Using 2-3 inch screws, attach the rung to the side rail securely.
Option 3: Assembly with Zip Ties
Advantages: Super fast, easily disassembled, and great for temporary setups.
- Hold the two branches tightly together and cross the zip tie diagonally around them. Pull tight, then repeat on the opposite side for a secure fit.
Letting Your Chickens Enjoy Their New Roost
Once your chicken roost is assembled, simply lean it against the wall of the coop and let your chickens explore their new perch. It’s a joyful sight to watch them hop from rung to rung, embracing their natural instincts. Your chickens will surely enjoy their cozy new digs!
Conclusion
Building a chicken roost from recycled tree branches is not only cost-effective but also enriches your chickens’ living environment. With a little creativity and effort, you can create a cozy spot that they will love, all while utilizing sustainable materials. Happy building!