This simple method transforms soil bags into the sweetest watermelons you’ll ever taste…
This Simple Method Transforms Soil Bags into the Sweetest Watermelons You’ll Ever Taste
If you’ve ever dreamed of biting into a juicy, **sweet watermelon**, you’re in for a treat! Growing watermelons in soil bags is not only a fun gardening project but also an effective way to produce delicious fruit with minimal hassle. This method is perfect for those who want to elevate their gardening game while keeping weeds, pests, and soil moisture in check. Ready to get started? Let’s dive in!
Step-by-Step Guide to Growing Watermelons in Soil Bags
1. Gather Your Materials
Before you start, ensure you have the following:
- Soil bags: Use bags that are at least 24 inches long and wide.
- Watermelon seeds: Choose your favorite variety.
- Trellis setup: A sturdy trellis to support the climbing plants.
- Watering can: For regular moisture checks.
2. Prepare the Soil Bags
Begin by drilling several holes in the bottom of each soil bag. This ensures **proper drainage**, preventing water from pooling which can rot the roots. Fill the bags with quality potting soil, leaving a few inches of space at the top.
3. Plant the Seeds
Once your bags are prepared, it’s planting time! Make small holes in the soil, about an inch deep, and place 2-3 watermelon seeds in each hole. Cover them gently with soil and give them a little watering to settle the seeds in.
4. Set Up the Trellis
As your watermelon plants begin to grow, they will need support. Install a trellis close to your bags for the vines to climb. This maximizes space and encourages healthy growth.
5. Care for Your Watermelons
Keep an eye on the moisture levels in your soil bags. They should be consistently moist but not soggy. Regularly check your plants for any signs of pests or disease. Use organic pesticides if necessary.
6. Harvest Time!
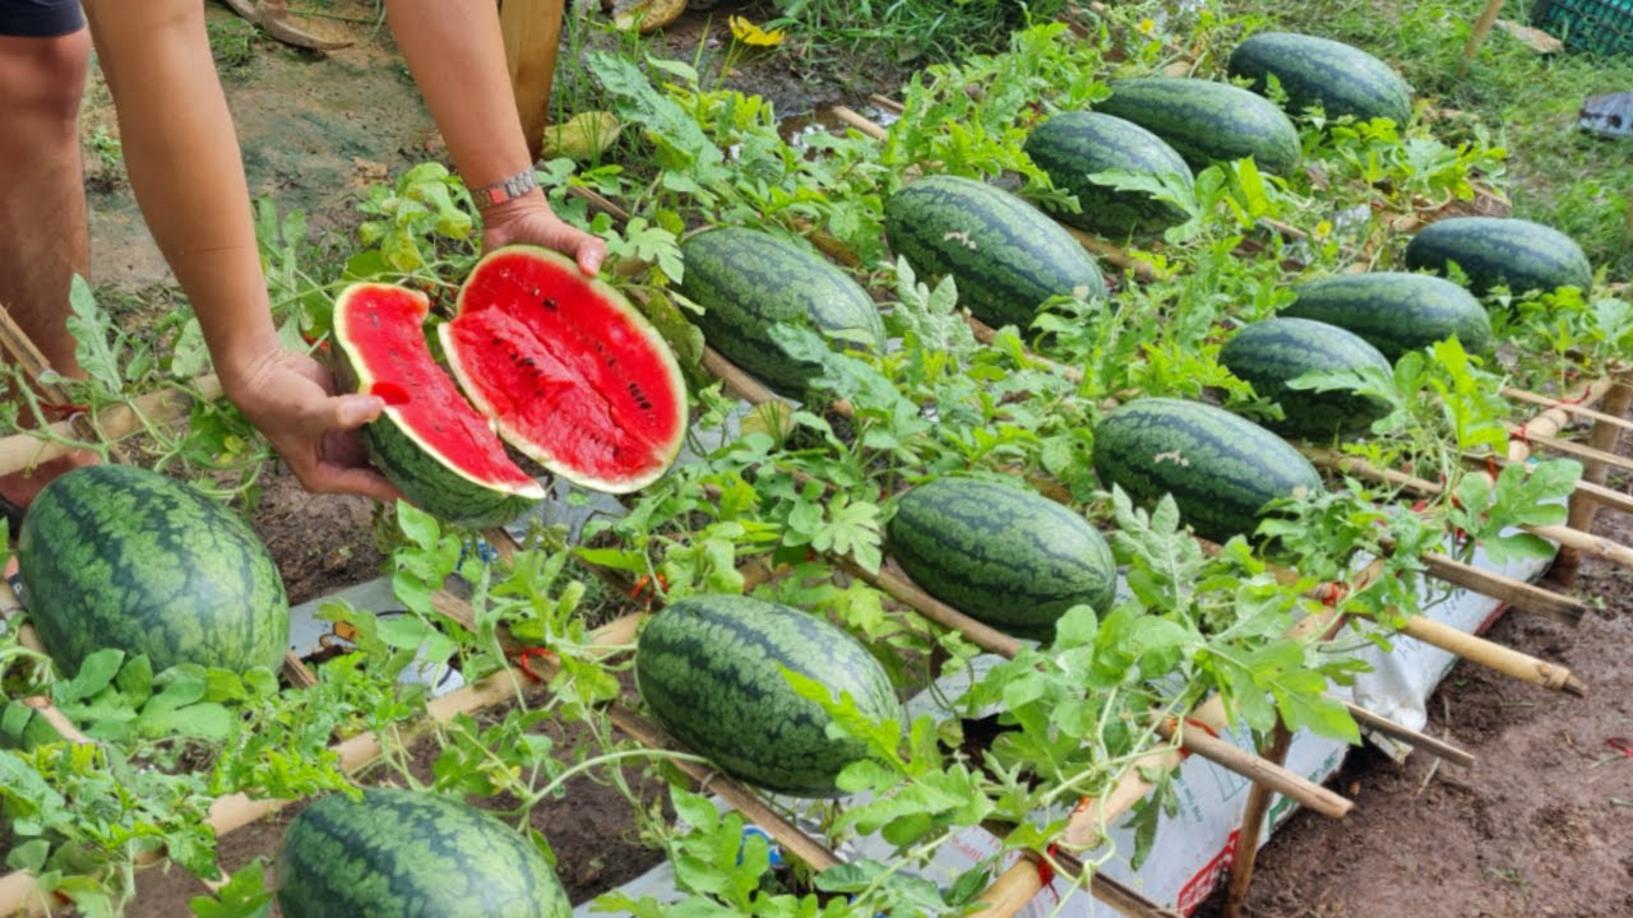
After about three months, it’s time to reap the rewards! Look for watermelons that are deep green and have a uniform shape. The tendril closest to the fruit should turn brown, signaling they are ready for harvest.
Practical Tips Based on Experience
- Choose a sunny location for your soil bags; watermelons thrive in full sunlight.
- Don’t overcrowd the seedlings; give each plant enough space to grow.
- Consider companion planting to deter pests naturally, like planting marigolds nearby.
Common Mistakes to Avoid
- **Overwatering**: Too much water can lead to root rot; ensure your bags drain well.
- **Ignoring sunlight**: Watermelons need at least 6-8 hours of direct sunlight a day.
- **Neglecting pests**: Regular monitoring will help you catch and deal with problems early.
Conclusion: Your Delicious Watermelon Journey Awaits!
Now that you’ve learned how to transform soil bags into the sweetest watermelons you’ll ever taste, it’s time to take action! Gather your materials, follow the steps, and enjoy the fruits of your labor. Nothing beats the satisfaction of eating a **homegrown watermelon** fresh from your garden. So roll up your sleeves and start planting today!