80-Year-Old Craftsman Creates 1 Perfect Wood Joint You Won’t Believe!
Mastering the Perfect Wood Joint: Tips and Techniques
- Introduction
- Essential Tools for Woodworking
- Step-by-Step Guide to Creating Wood Joints
- Common Mistakes to Avoid
- Frequently Asked Questions
Introduction
Imagine spending hours in your workshop, only to have a wood joint fall apart during the final assembly. This frustrating scenario can leave you questioning your skills and the quality of your materials. As a woodworker, achieving that perfect joint is essential for strong and lasting projects. Understanding the techniques and tools involved can elevate your craftsmanship. Continue reading to discover practical steps to master your wood joints.
Essential Tools for Woodworking
Having the right tools is fundamental for creating strong wood joints. Here are some essential tools that will aid your woodworking journey:
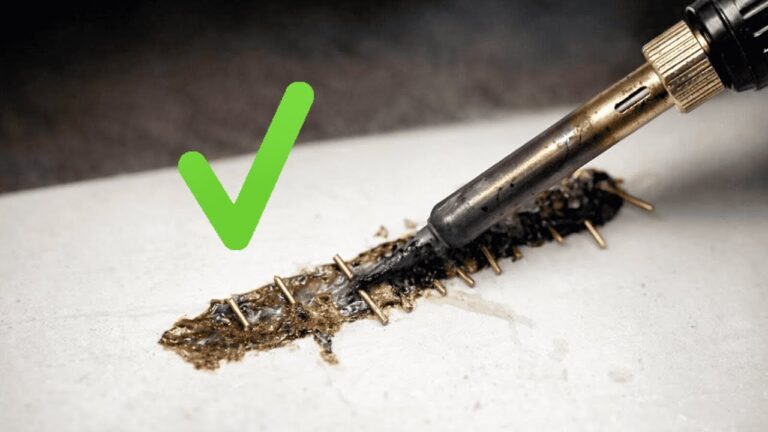
- Hand saw: A clean cut is crucial in woodworking. Use a fine-toothed hand saw for precision.
- Chisels: Sharp chisels will help you refine joints, especially in intricate designs.
- Wood glue: A high-quality wood glue is vital for permanent connections.
- Clamps: These are necessary for holding pieces securely while the glue dries.
Choosing Quality Wood
Always select wood that is straight and free from knots or other flaws. This care will prevent future splitting and ensure a more stable joint. Consider using hardwoods like oak or maple for their durability.
Maintaining Your Tools
Well-maintained tools not only make your work easier but also enhance the quality of your joints. Always keep your chisels sharpened and your saws cleaned after use.
Step-by-Step Guide to Creating Wood Joints
Creating a perfect wood joint involves a few careful steps. Here’s how you can achieve it:
- Measure and mark your wood pieces exactly where the joints will be made.
- Cut the wood pieces according to your measurements. Ensure a straight and clean cut.
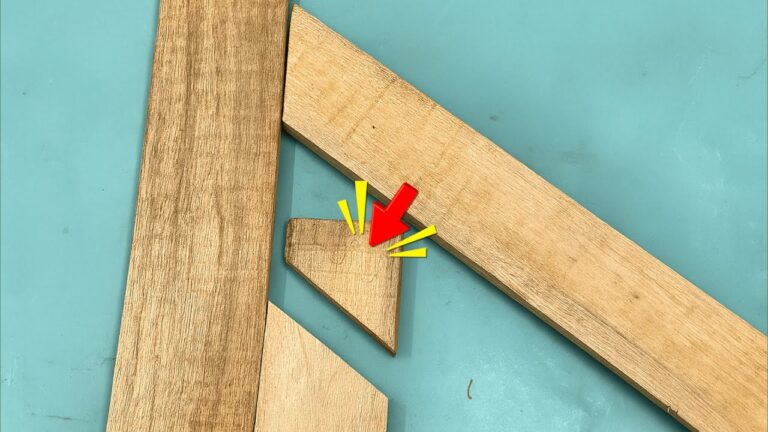
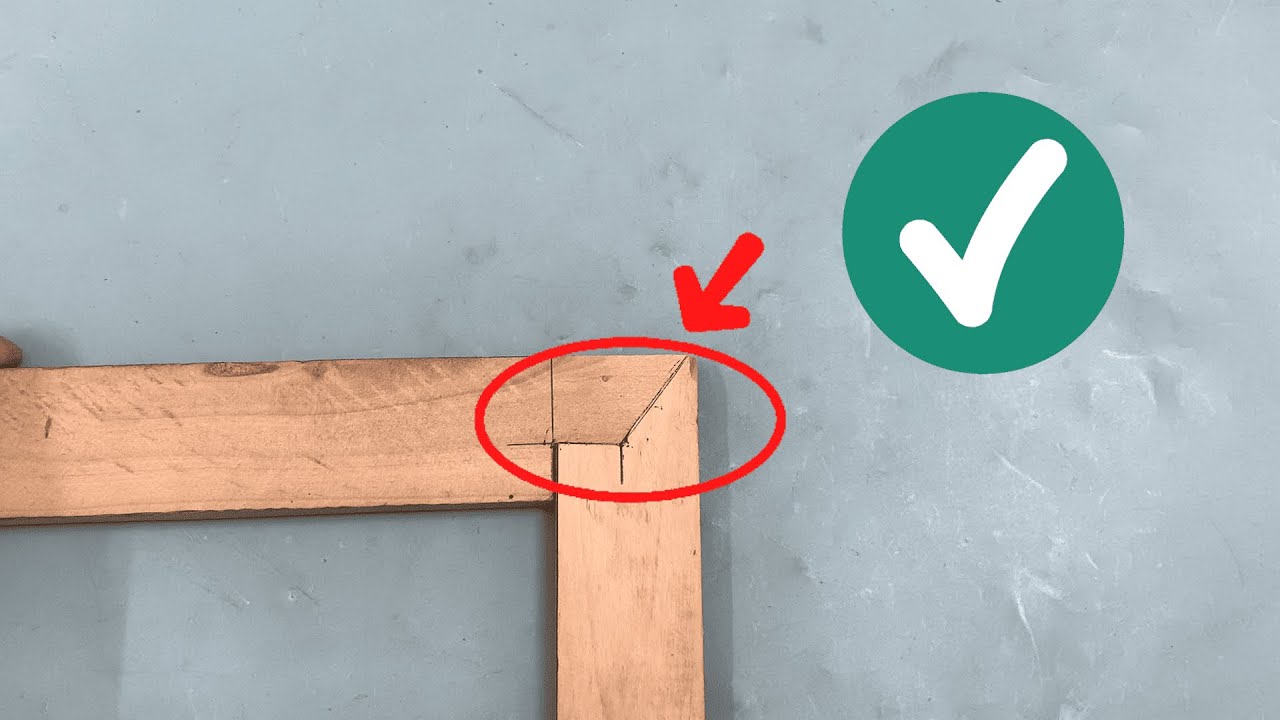
- Chisel the edges where the joints meet. This step is crucial for a snug fit, especially in dovetail or mortise joints.
- Test the fit by joining the pieces without glue. Adjust as necessary for a tight connection.
- Apply wood glue to the joint surfaces and fit the pieces together once more.
- Clamp the joint together and let it dry for several hours or overnight for maximum strength.
Types of Wood Joints
There are various types of joints, each serving different purposes:
- Butt joints: Simple to make, but they require additional reinforcement.
- Dovetail joints: Ideal for drawers and boxes, providing strength and aesthetic appeal.
- Mortise and tenon joints: Excellent for frame construction, offering durability.
Common Mistakes to Avoid
Even experienced woodworkers can fall prey to common errors that may compromise joint quality. Here are some mistakes to avoid:
- Inaccurate measurements: Double-check your dimensions to avoid mismatched pieces.
- Ignoring wood grain: Always align your cuts with the grain for better strength.
- Neglecting clamping time: Rushing the drying process can weaken your joints.
- Using too much glue: Excess glue can create a mess and weaken the joint.
Frequently Asked Questions
What type of wood is best for joints?
Hardwoods like oak, maple, or cherry are often preferred for their durability and strength, making them excellent choices for strong joints.
How long should I let wood glue dry?
Most wood glues recommend a drying time of at least 30 minutes for handling, but it’s best to leave clamps in place for 2-4 hours and allow full strength for 24 hours.
Can I use screws instead of glue for joints?
While screws can provide additional support, they should not replace glue. Combining them with glue often results in a stronger joint.
Conclusion
Creating the perfect wood joint requires precision, the right tools, and patience. By following these tips and understanding common pitfalls, you can improve your woodworking projects significantly. Have you encountered any challenges when working on wood joints? Share your experiences in the comments below!