Revive Your Car: 5 Easy Steps to Repair Cracked Leather Armrests Like a Pro!
Revive Your Car: 5 Easy Steps to Repair Cracked Leather Armrests Like a Pro
Introduction
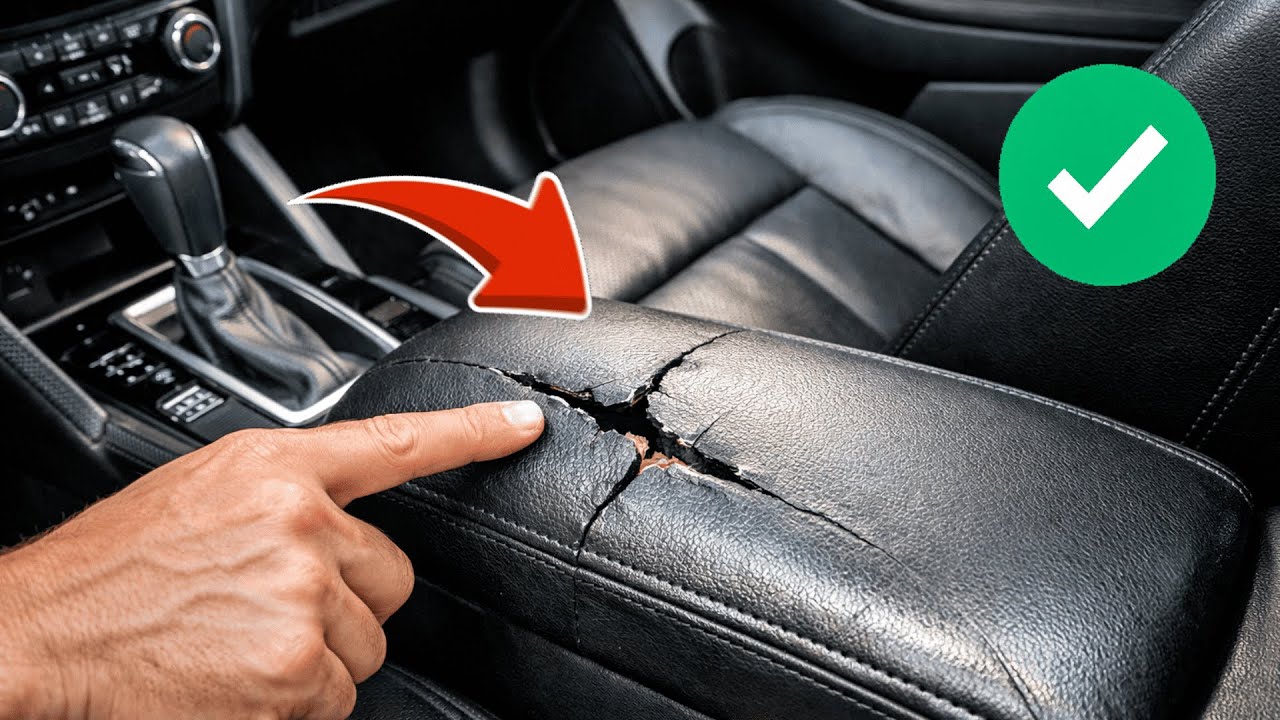
Have you ever noticed the unsightly cracks on your car’s leather armrests? This common issue not only detracts from your vehicle’s interior aesthetic but can also diminish its overall value. Over time, exposure to sunlight, heat, and even everyday wear can lead to these cracks. Fortunately, there is a way to bring your armrests back to life without needing a professional. Read on to discover a practical approach to fixing those leather cracks yourself!
Required Materials
Before you embark on the repair process, gather the following materials to ensure a smooth experience:
- Leather cleaner: Essential for cleaning the cracked surface.
- Leather conditioner: Helps restore moisture to the leather.
- Leather repair kit: Usually includes adhesives, color matching compounds, and tools.
- Soft cloths: For application and cleaning.
- Masking tape: Helpful for protecting areas around the cracks.
Step-by-Step Process
Now that you have your materials ready, follow these outlined steps to effectively repair your cracked leather armrests.
1. Clean the Area
- Apply the leather cleaner to a soft cloth.
- Wipe the cracked area gently to remove dirt and oils.
- Let the leather dry completely before moving to the next step.
2. Prepare the Cracks
- Inspect the extent of the damage to understand how deep the cracks are.
- Use a leather repair filler from the kit to fill in any gaps.
- Smooth the area using a spatula or similar tool.
3. Color Matching
Achieving the right color for your leather can make a significant difference.
- Test the color compound on an inconspicuous area first.
- Mix colors as needed to match the original leather shade.
- Apply the matched color over the filled cracks using a soft cloth.
4. Conditioning the Leather
Once the color has set and dried, conditioning is crucial.
- Take your leather conditioner and apply it evenly over the repaired area.
- Massage it into the leather for deeper penetration.
- Allow it to absorb completely, which will enhance the sheen and durability.
5. Final Touches
- Remove any masking tape used to protect surrounding areas.
- Inspect the repair to ensure it meets your expectations.
- Repeat the process if necessary for areas that need more attention.
Common Mistakes to Avoid
Successful repairs depend on avoiding these common errors:
- Skipping the cleaning step can lead to poor adhesion.
- Over-applying filler may create uneven surfaces.
- Rushing the drying process can compromise the repair quality.
- Using the wrong color can make repairs noticeable instead of seamless.
- Neglecting conditioning can result in future cracking.
FAQ
What if the cracks are too deep to repair? If the damage is extensive, consider consulting a professional for better results.
How long does the repair last? With proper care, a DIY repair can last several years, but it’s important to maintain the leather regularly.
Can I use normal paint for leather repair? No, normal paint may not adhere well and can cause further damage. Always use a dedicated leather repair kit.
Conclusion
Repairing your car’s cracked leather armrests is both achievable and rewarding. By following these steps and avoiding common mistakes, you can enhance your vehicle’s interior without the need for professional help. Have you tried repairing leather before? Share your experiences in the comments below.