7 Smart Angle Tips to Perfect Your Wood Joints Like a Pro Carpenter
7 Essential Tips to Perfect Your Wood Joints Like a Pro Carpenter
- Introduction
- Understanding Wood Joints
- Preparation Tips
- Tools and Materials
- Common Mistakes
- FAQ
- Conclusion
Introduction
When working on woodworking projects, you might find yourself struggling with the precision of your wood joints. If the angles aren’t perfect, your entire project can suffer, leaving you frustrated and unsure how to proceed. Building sturdy and visually appealing wood joints is crucial to creating furniture or crafts that last. Understanding the techniques and tools is essential for achieving those clean, professional finishes. Read on to discover tips that will transform your woodworking experience.
Understanding Wood Joints
Wood joints are essential for connecting pieces in carpentry, providing strength and stability. Familiarizing yourself with different types of joints will greatly enhance your skills.
Types of Wood Joints
- Butt joint: the simplest joint where two pieces are joined at their ends.
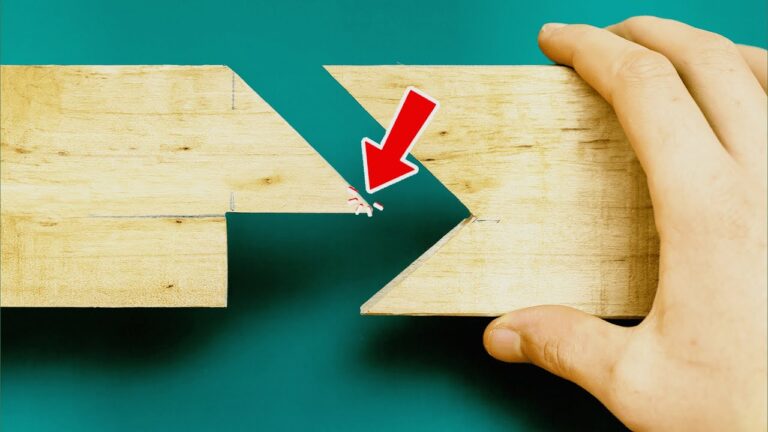
- Miter joint: similar to a butt joint but cut at an angle, ideal for corners.
- Dado joint: a slot cut into one piece where another piece fits into it.
The Importance of Precision
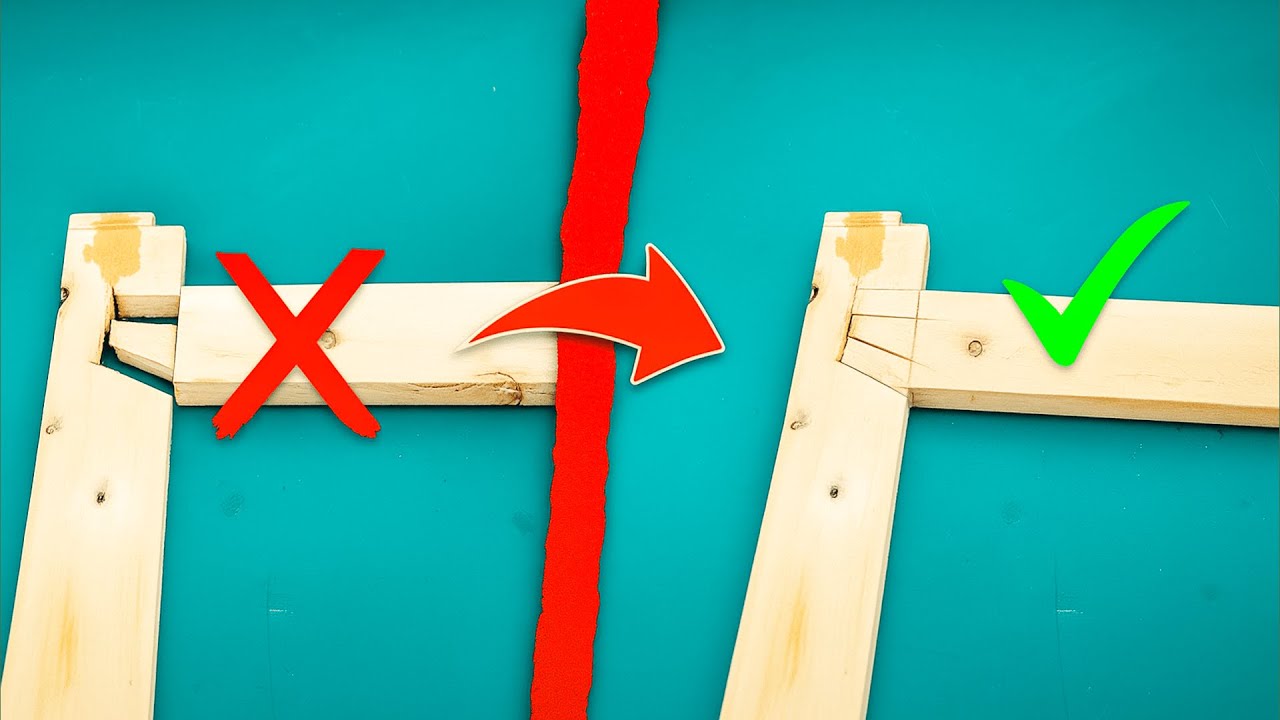
Precision is crucial as it affects the overall quality of your project. Gaps can lead to weak joints, while overly tight connections can crack the wood. Understanding how to achieve the right fit will set you apart.
Preparation Tips
Proper preparation is the foundation of any successful woodworking project involving joints.
Selecting the Right Wood
Choose wood that is suited to your project. Hardwoods are more durable for furniture, while softwoods may suffice for decorative items.
Measuring Accurately
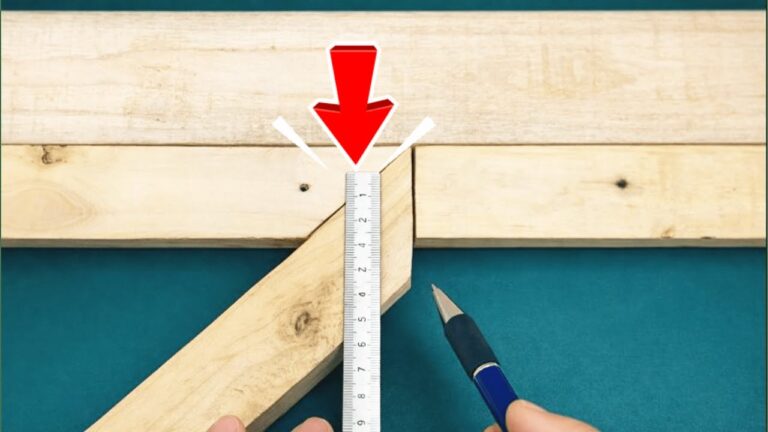
- Measure: Use a quality tape measure for precise dimensions.
- Mark: Use a square to mark clear cut lines.
- Double-check: Always check your measurements twice to avoid errors.
Tools and Materials
Using the right tools and materials is vital for crafting perfect wood joints.
Essential Tools
Investing in good tools can save you time and effort:
- Table saw: For accurate cuts.
- Router: For creating clean edges.
- Clamps: To hold pieces securely while they dry.
Quality Adhesives
Choosing the right adhesive is key for strong joints. Wood glue is commonly used, but make sure it’s appropriate for your wood type.
Common Mistakes
Even seasoned carpenters can stumble upon mistakes when working with wood joints.
Overlooking Grain Direction
Ignoring the grain can lead to unpredictable weaknesses in your joints.
Skipping Dry Fitting
Failing to dry fit pieces before gluing can result in a poor fit.
Using Inadequate Clamping Pressure
Applying insufficient pressure when clamping can weaken joints and lead to gaps.
FAQ
What are the best types of wood for joints?
Hardwoods are generally better for furniture, while softwoods can work for decorative items or crafts.
How important is grain direction?
Grain direction is very important, as it affects the strength and durability of the joint.
Can I use regular glue for wood joints?
While regular glue can work, using wood glue formulated for your type of wood is always recommended.
Conclusion
Mastering wood joints requires understanding, preparation, and the right tools. By following these essential tips, you can enhance your woodworking projects significantly. What joint techniques are you excited to try in your next project? Share your thoughts in the comments!