5 Precision Marking Tips to Ensure Perfect DIY Cuts Every Time
5 Precision Marking Tips for Perfect DIY Cuts Every Time
- Necessary Tools
- Step-by-Step Guide
- Creative Techniques for Accurate Cuts
- Common Mistakes to Avoid
- FAQ
Have you ever found yourself frustrated with uneven cuts in your DIY projects? Whether you’re crafting a beautiful piece of furniture or simply cutting wood for home repairs, precision is key. Inaccurate cuts can lead to wasted materials and a lot of extra effort. But don’t worry—there are effective strategies you can use to ensure your cuts are accurate every time. Keep reading to explore these tips and elevate your DIY skills.
Necessary Tools
Before diving into the marking process, it’s essential to gather the right tools. Having quality tools will not only make your job easier but will also improve the accuracy of your cuts.
1. Measuring Tools
Invest in a reliable measuring tape and a good square. A 16-foot measuring tape is typically sufficient for most DIY projects, while a carpenter’s square can help you ensure your angles are correct.
2. Marking Tools
- Pencils: Use a fine-point pencil for clear, accurate lines.
- Chalk Line: Great for longer straight cuts. Simply snap the line for a precise mark.
- Marker: A permanent marker can be handy for darker materials.
3. Cutting Tools
Make sure you’re using a saw that’s appropriate for the material you’re cutting. A handsaw is fine for small projects, while a miter saw is ideal for precise angles and clean cuts on larger pieces.
Step-by-Step Guide to Precision Marking
Now that you have your tools ready, let’s break down the steps to ensure each cut is made accurately.
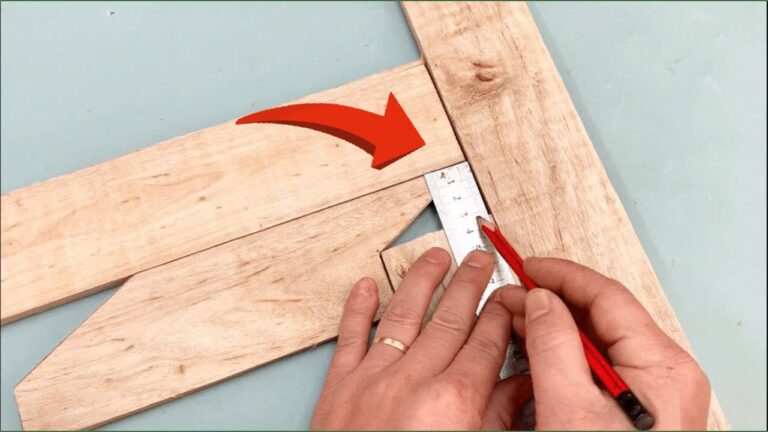
1. Measure Twice, Cut Once
- Measure: Carefully measure the length you need.
- Mark: Use a pencil to lightly mark the point.
- Double-check: Measure again to confirm your markings before cutting.
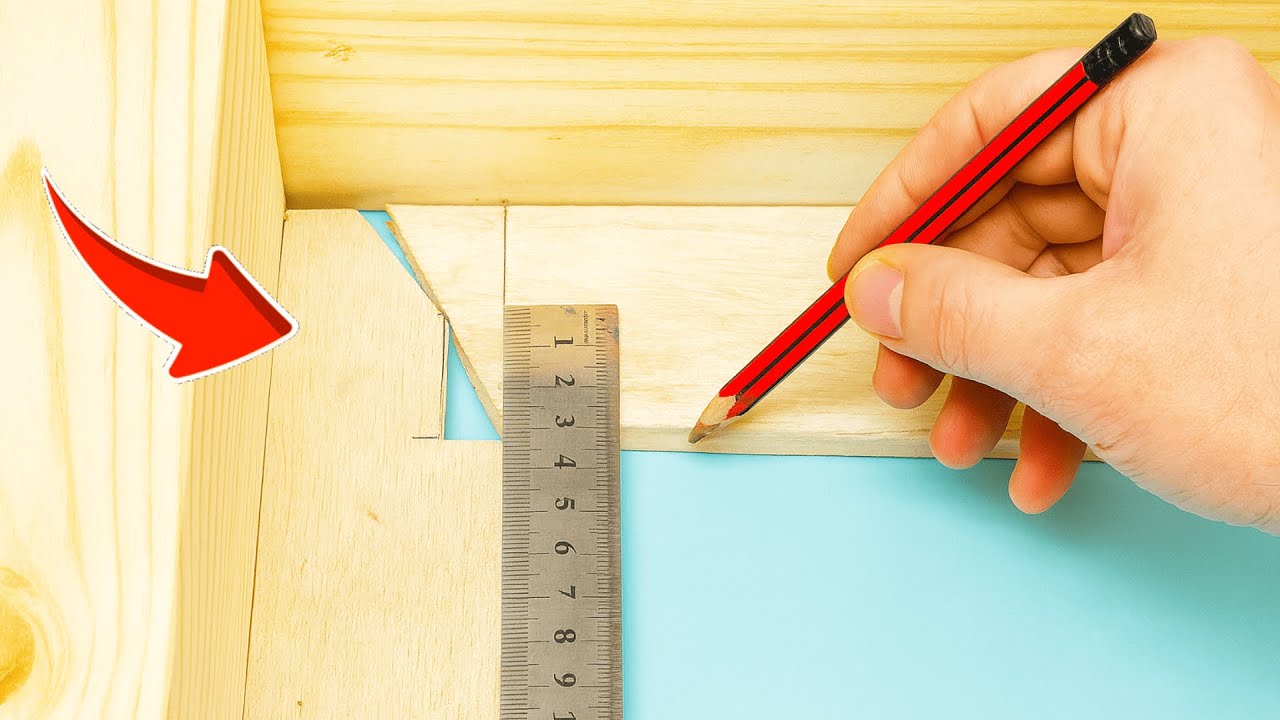
2. Use a Straightedge
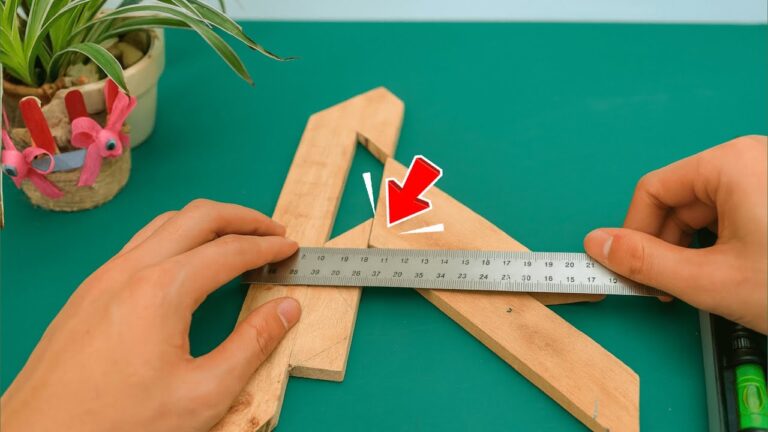
For long cuts, using a straightedge can greatly improve your precision. Here’s how to do it:
- Align: Place the straightedge so it lines up with your marked line.
- Secure: Use clamps to hold the straightedge in place.
- Trace: Draw a clear line along the edge of the straightedge. This will be your cutting line.
3. Choose the Right Saw
Selecting the right saw for the job is crucial. For example:
- A jigsaw works well for curves.
- A circular saw is great for straight cuts.
- A table saw is ideal for repetitive cuts.
Creative Techniques for Accurate Cuts
In addition to standard practices, there are some creative techniques you can incorporate to enhance your cutting precision.
1. Use Painter’s Tape
Applying painter’s tape along your cut line can prevent splintering and provide a clearer marking surface. Just press it down firmly and draw your line over the tape before cutting.
2. Colored Markings
Using brightly colored markers or chalk can help your lines stand out, especially on darker materials. This can improve visibility as you make your cuts.
3. Drafting Software
If your project is intricate, consider using drafting software to plan out your cuts. This allows you to visualize the finished product and determine the most efficient cuts beforehand.
Common Mistakes to Avoid
Even seasoned DIY enthusiasts can make mistakes when it comes to marking and cutting. Here are some frequent pitfalls to watch out for:
1. Skipping Measurements
One of the biggest mistakes is not measuring accurately or enough. Always measure twice to minimize errors.
2. Poor Lighting
Inadequate lighting can make it difficult to see your markings. Always ensure your workspace is well-lit to help you see what you’re doing.
3. Rushing the Process
Sometimes DIYers rush through preparations to get to the cutting. Take your time to ensure all markings are correct and clear before making any cuts.
FAQ
What is the best way to mark wood for cutting?
Use a fine-point pencil and a straightedge for precise markings, and ensure your workspace has good lighting.
Can I use a regular pen to mark materials?
While a pen can work, it’s better to use a pencil or chalk for clearer visibility, especially on lighter surfaces.
How can I prevent splintering when cutting?
Using painter’s tape along your cut line can help prevent splintering, especially on wood.
Conclusion
Precision marking is essential for achieving perfect DIY cuts. By using the right tools, following these guidelines, and avoiding common mistakes, you can enhance your projects significantly. What are your go-to tips for ensuring accuracy in your DIY work? Share your thoughts in the comments below!