Revive Your Vehicle: 5 Simple Steps to Fix Cracked Plastic Like New!
Repair Cracked Plastic: A Practical Guide to Reviving Your Vehicle
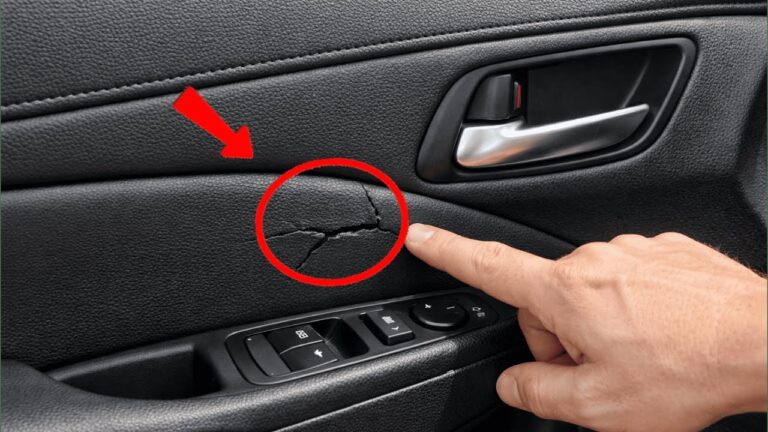
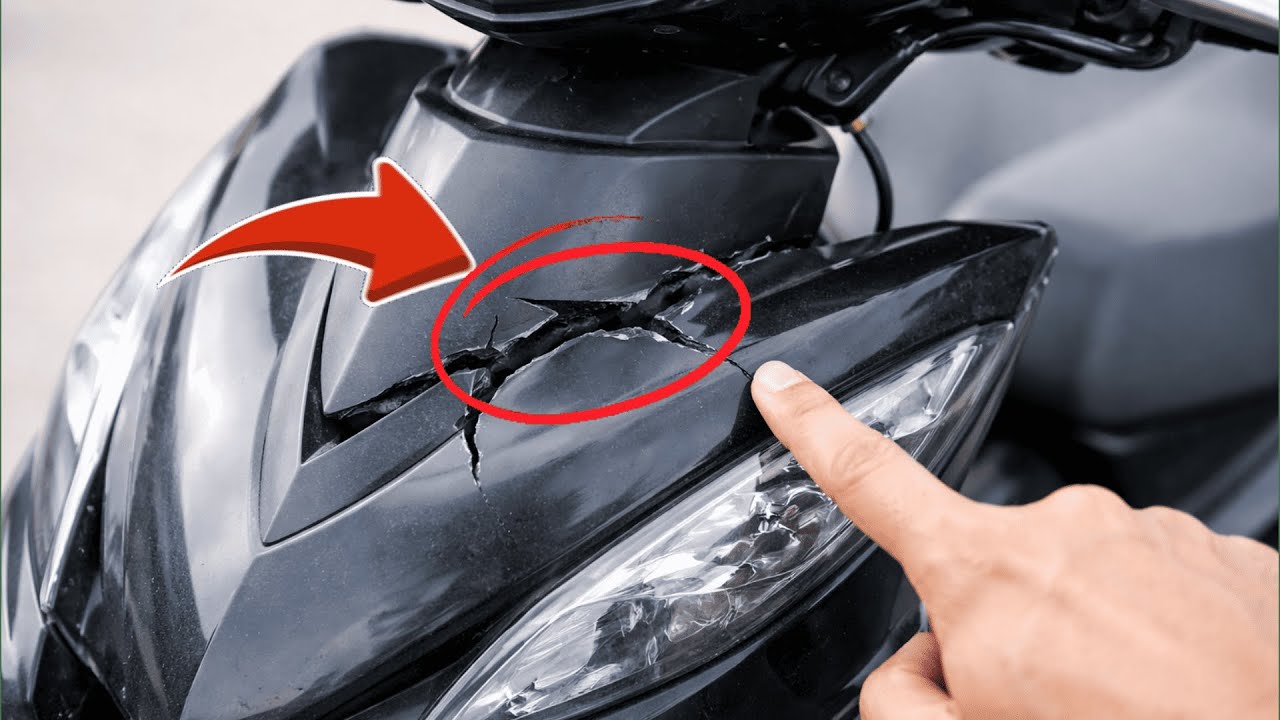
You may have noticed unsightly cracks on your vehicle’s plastic parts, whether it’s the dashboard, bumpers, or trims. These imperfections can be frustrating, not only affecting the appearance of your vehicle but also potentially leading to more significant issues down the line. Fortunately, with some simple techniques, you can restore those cracked surfaces to their former glory. Keep reading to discover how you can make your vehicle’s plastic look new again.
Required Materials
Before diving into the repair process, gather the necessary materials to ensure a smooth and effective restoration experience. Here’s what you’ll need:
- Plastic adhesive – Choose a high-quality adhesive designed for plastic surfaces.
- Sandpaper – Fine-grit sandpaper (around 400-grit) will help smooth out the area.
- Cloth – A clean, lint-free cloth for cleaning surfaces prior to repair.
- Paint – Use touch-up paint that matches your vehicle’s color for a seamless finish.
- Protective gloves – Safety first! Keep your hands safe during the process.
Step-by-Step Process to Fix Cracked Plastic
Now that you have your materials ready, follow these steps to effectively repair the cracks in your vehicle’s plastic parts.
1. Clean the Area
Start by cleaning the cracked surface thoroughly. Use soap and water, and dry it off with your cloth. Removing any dirt or grease ensures better adhesion for the repair materials.
2. Sand the Crack
Using your sandpaper, gently sand around the crack. This will create a rough surface that allows the adhesive to bond better. Be cautious not to sand too deeply—just enough to prepare the surface.
3. Apply Plastic Adhesive
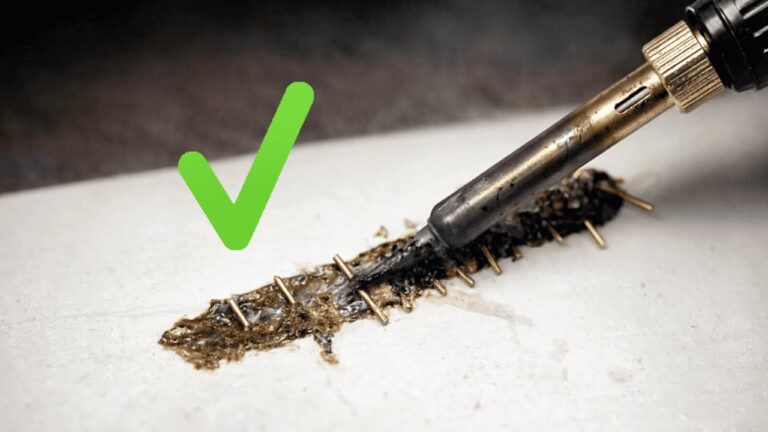
Next, apply the plastic adhesive generously into the crack. Use a small applicator or a toothpick for precision. Make sure it fills the crack completely, as this will provide structural integrity once it hardens.
4. Allow to Dry
Follow the manufacturer’s instructions for drying time. This is crucial as it allows the adhesive to cure properly and bond the plastic back together. Avoid moving the part during this period.
5. Finishing Touches
Once dry, sand any excess adhesive to create a smooth surface. Then, apply your matching paint to camouflage the repair. This final touch will make the crack virtually invisible.
Common Mistakes to Avoid
As you embark on your plastic repair journey, here are some common pitfalls to steer clear of:
- Skipping surface preparation – Not cleaning or sanding can prevent the adhesive from bonding effectively.
- Rushing the drying process – Allow adequate time for the adhesive to cure properly to ensure a durable repair.
- Using the wrong adhesive – Always choose an adhesive specifically made for plastic, as general glues may not hold.
- Not matching the paint – Failing to use the correct touch-up paint can result in an unsightly appearance.
- Neglecting safety precautions – Always wear gloves and work in a well-ventilated area to avoid inhalation of fumes.
FAQ
What types of plastics can I repair? Most common vehicle plastics like PVC, ABS, and polystyrene can be effectively repaired using plastic adhesives.
How long will the repair last? If done correctly, a repair can last for several years, depending on environmental factors and usage.
Can I apply heat to speed up the process? It is not recommended to use heat as it can weaken the adhesive. Always follow specific product guidelines for best results.
Conclusion
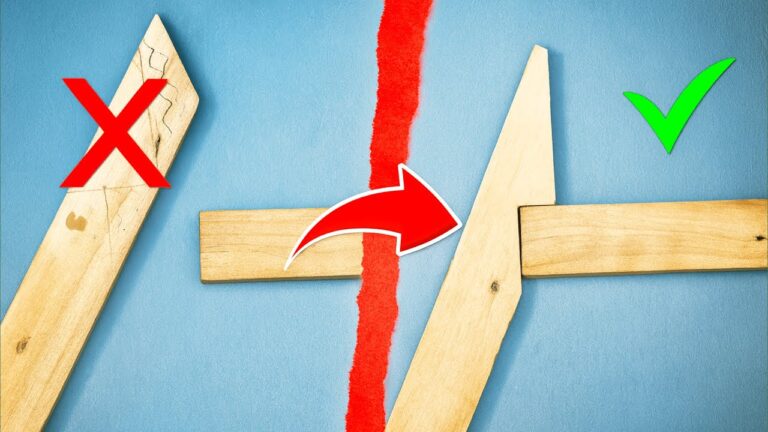
Repairing cracked plastic in your vehicle is a straightforward process that, when done with care, can restore the integrity and appearance of your car. With the right materials and steps, you can bring those fractured parts back to life. Have you tried repairing plastic yourself? Share your experiences or tips in the comments below!