5 Common Carpentry Mistakes and How to Fix the Wrong Wood Joint
5 Common Carpentry Mistakes and How to Fix the Wrong Wood Joint
- Introduction
- Understanding Wood Joints
- Common Carpentry Mistakes
- Fixing Wrong Wood Joints
- Mistakes to Avoid
- FAQ
- Conclusion
Introduction
Many DIY enthusiasts encounter frustrating moments when their wood joints don’t fit as planned. This common issue can lead to wasted time and materials, sending you back to the drawing board. Whether you’re assembling a simple bookshelf or embarking on more complex projects, a wrong wood joint can compromise both the function and aesthetics of your work. Understanding these mistakes and knowing how to address them can transform your woodworking experience, so read on to discover invaluable insights.
Understanding Wood Joints
Before diving into common mistakes, it’s essential to grasp the types of wood joints you’ll be working with. Each joint serves a unique purpose in carpentry and has specific strengths.
Types of Wood Joints
- Butt joint: The simplest form where two pieces of wood meet at a right angle.
- Mortise and tenon joint: A classic, strong connection often used in furniture making.
- Dado joint: Typically utilized for shelving, it involves cutting a groove into one piece to hold another.
Importance of Proper Joints
Using the correct joints not only enhances stability but also impacts the overall appearance of your project. Selecting the appropriate joint for your specific task is crucial in achieving a polished result.
Common Carpentry Mistakes
Even seasoned carpenters make simple errors during their woodworking projects. Here’s a look at some typical mistakes regarding wood joints, so you can recognize and avoid them in your work.
1. Not Considering Wood Expansion
Wood naturally expands and contracts with changes in humidity. Failing to account for this can lead to joints that become loose over time.
2. Incomplete or Improperly Sized Joints
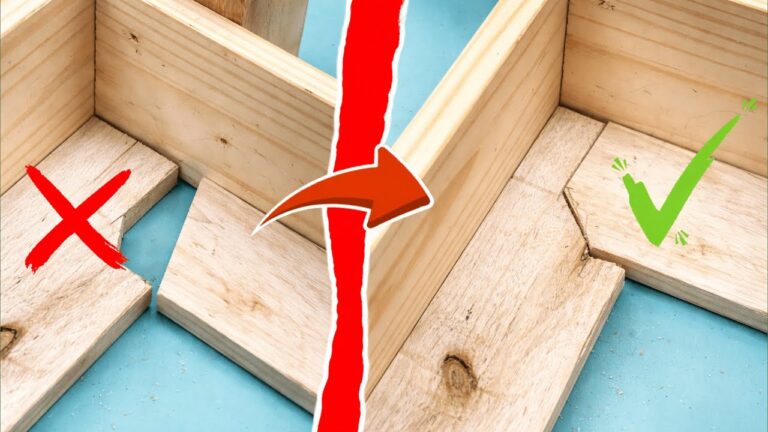
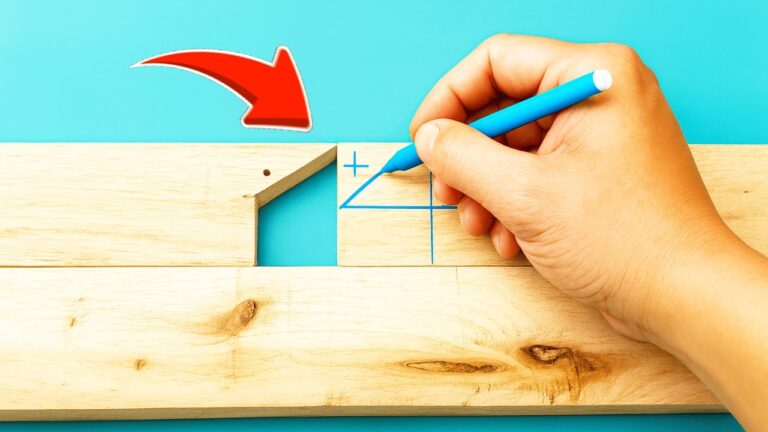
Sometimes, your joints may not fit perfectly. A joint that is too shallow or doesn’t match the dimensions of connecting pieces can compromise integrity.
3. Overusing Glue
While glue can be an effective adhesive, excessive application can create a mess and impede joint fitting, leading to uneven surfaces.
4. Ignoring Layout and Measurement
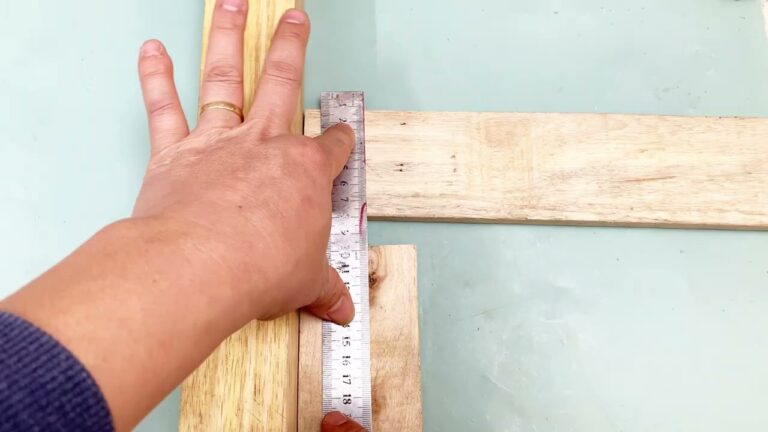
Accurate measurements are crucial in carpentry. Using tools such as measuring tapes or squares improperly can lead to misaligned joints.
5. Skipping Wood Conditioning Steps
Conditioning wood before assembling joints, like sanding, helps ensure a smooth fit, but many overlook this important step.
Fixing Wrong Wood Joints
If you encounter mistakes, don’t worry; you can easily make adjustments to ensure a robust and aesthetically pleasing joint.
1. Correcting Joint Depth
- Measure: Take exact measurements of your current joint.
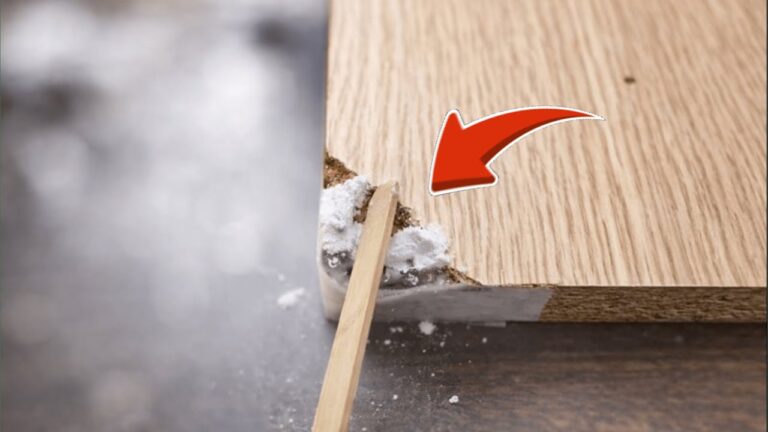
- Adjust: If a joint is too shallow, consider using wood filler or doweling.
- Test fit: Always check before finalizing.
2. Glue Adjustments
If you’ve over-applied glue, you may need to remove excess carefully.
- Use a chisel: Gently chisel away any unwanted glue.
- Sand: Smooth the surface afterward for a better fit.
3. Realigning and Resanding
When your pieces don’t align, try to readjust them:
- Disassemble: Take the joint apart carefully.
- Re-align: Ensure everything fits snugly before reassembling.
- Sand down: Re-sand edges to provide better alignment.
Mistakes to Avoid
Preventing errors can save you time and ensure the longevity of your projects. Here are some common pitfalls to keep in mind:
- Neglecting Surface Preparation: Always sand surfaces before assembly.
- Skipping the Dry Fit: Test fit your pieces before applying glue.
- Using Incorrect Fasteners: Ensure your nails or screws are appropriate for the joint type.
FAQ
What is the best wood for joints?
Hardwoods like oak or maple are often recommended for their strength and stability, providing a durable joint.
How can I strengthen a weak joint?
Consider using dowels or biscuits to reinforce weakened joints, as these options offer added stability.
Why is wood conditioning important?
Wood conditioning prepares the surface, allowing for a smoother fit and reducing the chances of gaps during assembly.
Conclusion
By understanding and addressing common carpentry mistakes related to wood joints, you can enhance the quality of your projects significantly. Have you faced any joint challenges in your own woodworking endeavors? Share your stories in the comments below!