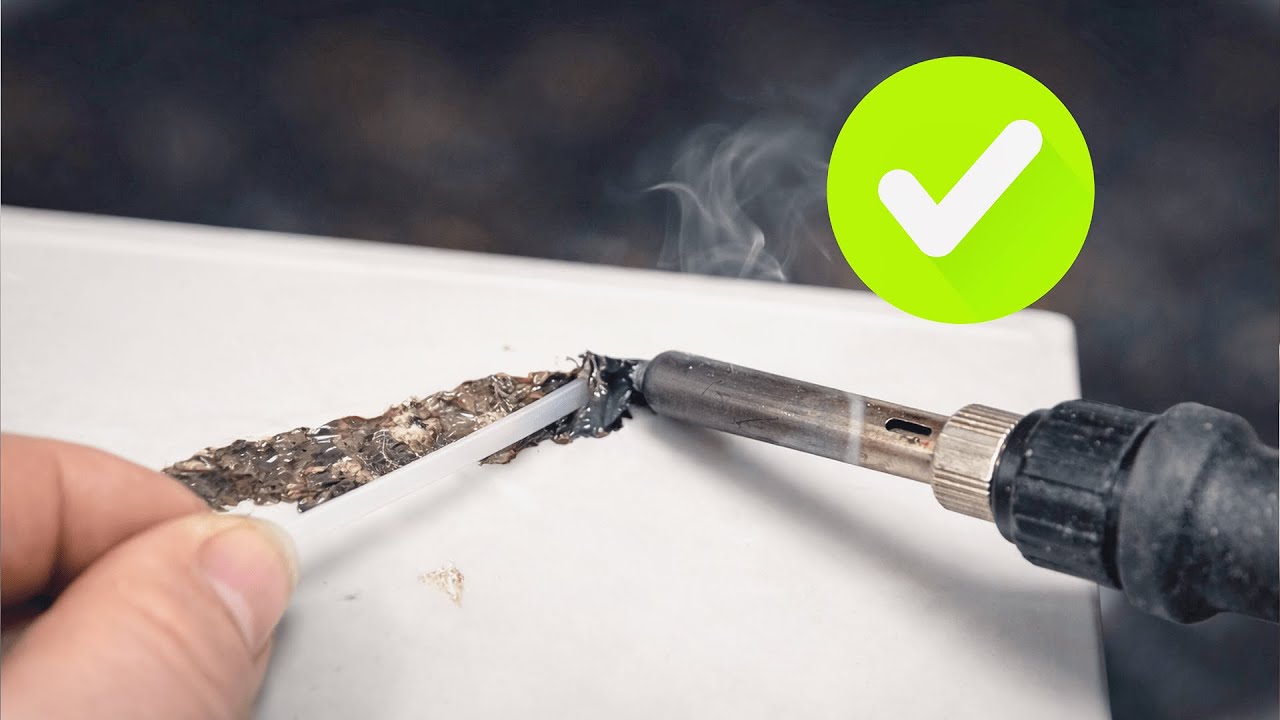
Master Plastic Welding: 1 Trick for Ultra Strong, Glue-Free Results!
Master Plastic Welding: Your Guide to Strong, Glue-Free Results
- Introduction
- Understanding Plastic Welding
- Essential Equipment for Plastic Welding
- Common Mistakes in Plastic Welding
- FAQ
- Conclusion
Introduction
Have you ever struggled with plastic items that just won’t stay glued together, leaving you frustrated and searching for a solution? Whether it’s a broken garden tool or a favorite children’s toy, traditionally adhering plastics can often fall short, creating more problems than solutions. Plastic welding emerges as a reliable skill that can provide robust, long-lasting repairs without the mess of glue. This guide will help you master plastic welding and achieve strong, durable results.
Understanding Plastic Welding
Plastic welding is a process that joins pieces of thermoplastic together through heat. This method creates a homogenous connection, resulting in a bond that is often stronger than the original material itself. Here’s a closer look at what makes this technique effective:
Types of Plastics You Can Weld
- Polyethylene (PE): This common plastic is often used in containers and tubing.
- Polypropylene (PP): Lightweight and resistant to chemicals, it’s frequently found in automotive parts.
- Polyvinyl Chloride (PVC): Widely used in plumbing and electrical applications due to its durability.
Benefits of Plastic Welding
- No adhesives required, creating a cleaner repair.
- Stronger joints that can withstand stress and strain.
- A cost-effective alternative to replacements.
Essential Equipment for Plastic Welding
Before you begin, ensure you have the right tools for effective plastic welding. Here’s a list of equipment you’ll need:
- Plastic Welding Gun: This tool heats the plastic to the right temperature for welding.
- Filler Rods: These are used to enhance the bond, providing additional material for reinforcement.
- Safety Gear: Always wear gloves and safety goggles to protect yourself from heat and fumes.
Preparing Your Workspace
Set up a clean, well-ventilated area to work. Ensure your workspace is free from flammable materials and is easy to clean in case of spills.
Basic Steps for Plastic Welding
- Clean the Surface: Remove any dirt or grease from the area to be welded.
- Heat the Plastic: Use your welding gun to apply heat evenly to both surfaces until they become pliable.
- Add Filler Rods: Introduce the filler rod into the heated area to enhance the strength of the bond.
- Cool Down: Allow the welded area to cool without disturbance to ensure a solid repair.
Common Mistakes in Plastic Welding
Even experienced hands can make errors during the welding process. Be sure to avoid these common pitfalls to ensure your repairs hold:
- Using the wrong temperature: Too high or too low temperatures can compromise the integrity of the weld.
- Insufficient cleaning: Failing to prepare the surface properly can prevent a strong bond.
- Rushing the cooling process: Prematurely handling the weld can lead to weak joints.
- Not using filler material: Omitting filler rods may result in a less durable repair.
FAQ
What types of plastics can I weld together? You can typically weld thermoplastics like polyethylene, polypropylene, and PVC using plastic welding techniques.
How long does the welding process take? The actual welding can take just a few minutes, but cooling times may vary depending on the thickness of the materials.
Can plastic welding be done indoors? Yes, but ensure you have good ventilation since the process can release fumes.
Conclusion
With the right tools and careful techniques, mastering plastic welding can lead to strong, lasting repairs for a variety of plastic items. By avoiding common mistakes and taking your time with the process, you’ll find welding to be a rewarding skill. What plastic challenges have you faced in your home that you think could benefit from welding? Share your experiences in the comments below!