Master 7 Essential Wood Joinery Techniques for Perfect Carpentry Projects
Master Essential Wood Joinery Techniques for Perfect Carpentry Projects
- Introduction
- Important Wood Joinery Techniques
- Step-by-Step Guide to Joinery
- Common Wood Joinery Mistakes
- FAQ
- Conclusion
Introduction
Many woodworking enthusiasts find themselves frustrated by joinery challenges, especially when trying to achieve a seamless finish in their projects. Whether you’re crafting a furniture piece or building a garden planter, the right techniques can make all the difference. Choosing the appropriate method not only impacts strength but also the aesthetics of your work. Exploring these critical wood joinery techniques can elevate your skills and project outcomes. Keep reading to discover how to enhance your carpentry endeavors.
Important Wood Joinery Techniques
Understanding different types of wood joinery techniques is essential for any carpenter. Each method has its unique application, strengths, and weaknesses. Here are a few to consider:
1. Butt Joint
The simplest of joints, the butt joint is formed when two pieces of wood are joined together at their ends. This technique is straightforward but often needs additional reinforcement.
2. Miter Joint
This joint is created by cutting the ends of two pieces of wood at a 45-degree angle, allowing them to meet at a right angle. It’s commonly used for frames and requires precision.
3. Dado Joint
A dado joint allows one piece of wood to fit into a groove cut into another. This method provides strong support for shelves and panels, making it ideal for cabinetry.
4. Rabbet Joint
Similar to the dado, a rabbet joint involves cutting a section out of the edge of one piece to allow another piece to fit snugly against it. It’s often used in the construction of drawers.
5. Mortise and Tenon Joint
This traditional technique involves creating a cavity (mortise) in one piece of wood and a corresponding tongue (tenon) on another piece. It’s especially robust, making it excellent for furniture construction.
6. Biscuit Joint
Biscuit joints use oval-shaped wooden biscuits to reinforce the connection. These biscuits swell when glue is applied, creating a tight fit that’s useful for aligning edges.
7. Pocket Hole Joint
This technique involves drilling an angled hole into one board and joining it to another with a screw. Pocket hole joints are perfect for hidden connections, providing a clean finish.
Step-by-Step Guide to Joinery
Now that you’re familiar with various techniques, here’s a practical guide to executing a simple mortise and tenon joint, which is widely used in woodworking.
Required Materials
- Wood pieces (choose hardwood for durability)
- Mortise chisel and mallet
- Tenon saw
- Wood glue
- Clamps
Step-by-Step Instructions
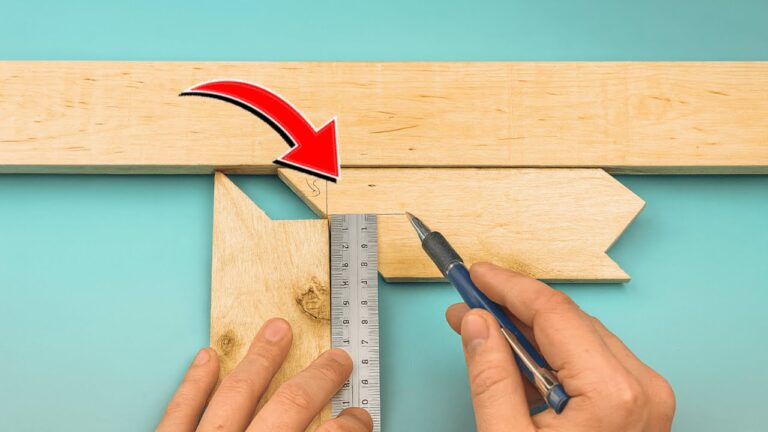
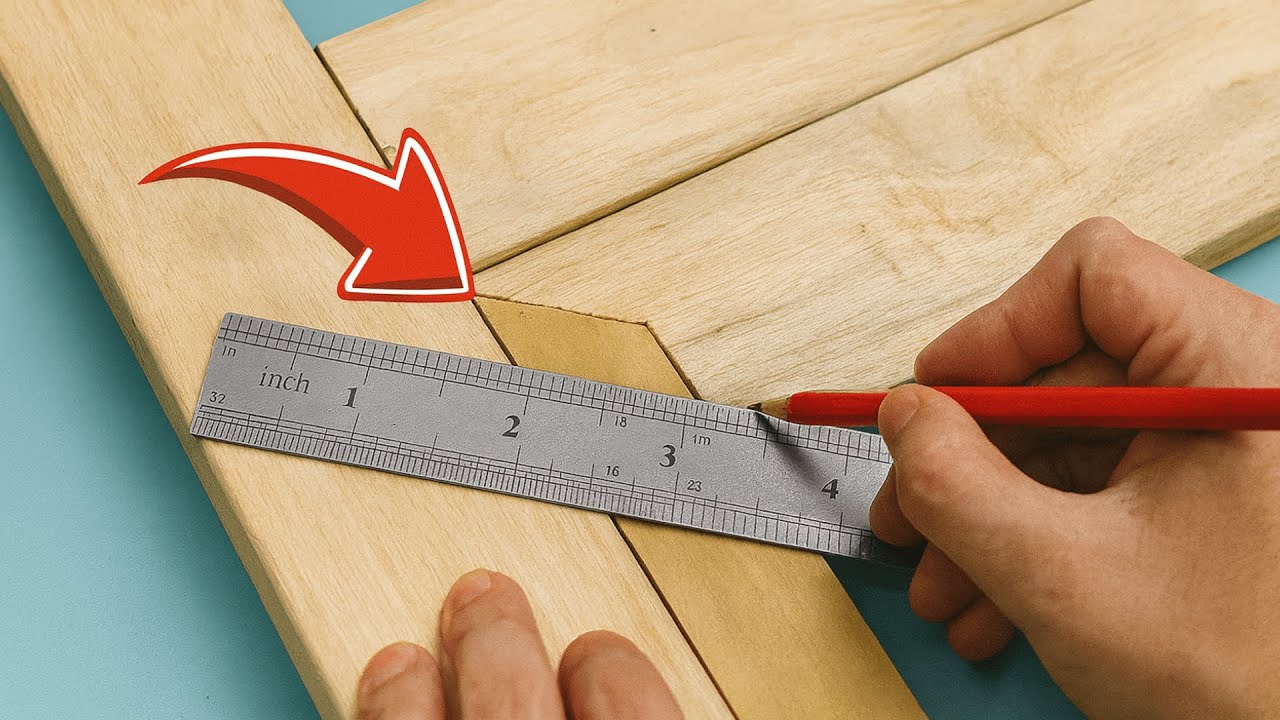
- Measure and mark your wood pieces where the mortise and tenon will go.
- Cut the tenon using the tenon saw, ensuring that it fits snugly into the mortise.
- Chisel out the mortise on the receiving piece; be precise to ensure a tight joint.
- Apply wood glue to the tenon and fit it into the mortise.
- Clamp the pieces together and let the glue dry according to the product instructions.
Practical Tips
- Practice on scrap wood before committing to your project.
- Keep your tools sharp for cleaner cuts.
- Always measure twice to avoid wasting materials.
Common Wood Joinery Mistakes
Even experienced woodworkers can overlook details that affect joint strength and overall project quality. Here are some mistakes to watch out for:
- Neglecting to measure accurately can lead to poorly fitting joints.
- Using the wrong type of wood can compromise the integrity of your joint.
- Skipping clamps when the glue dries may weaken the joint.
- Over-tightening screws in pocket holes can lead to wood splitting.
FAQ
What is the best wood for joinery? Hardwoods, such as oak or maple, are often preferred for their durability and strength.
How can I fix a loose joint? You can try adding glue to the joint or using wooden dowels or biscuits for additional support.
What tools do I need for basic joinery? A good set of hand tools, including a saw, chisels, and clamps, will suffice for most joinery tasks.
Conclusion
Mastering essential wood joinery techniques can significantly improve the quality of your carpentry projects. By understanding and applying these methods, you’ll notice enhancements in both strength and aesthetics. Which wood joinery technique are you looking forward to trying in your next project? Share your thoughts in the comments below!