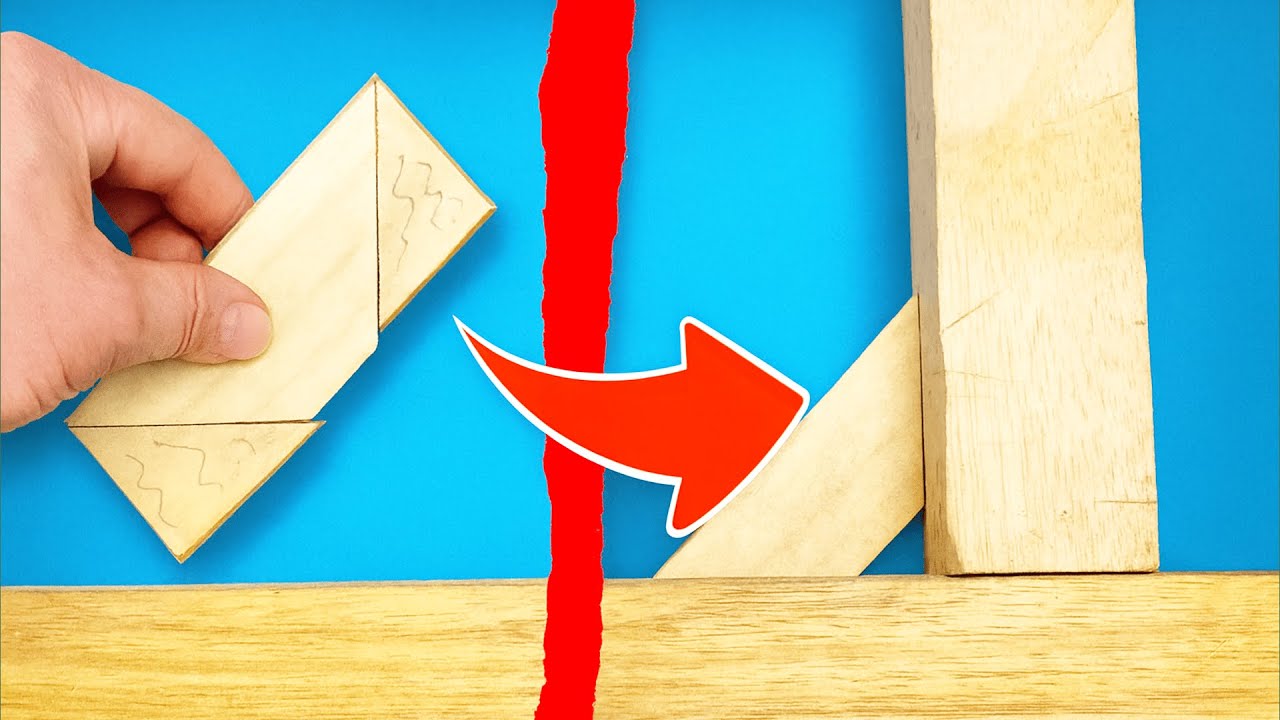
Master 5 Angle Cut Tips for Perfect Fit Every Time with This Young Carpenter!
Mastering Angle Cuts: 5 Essential Tips for a Perfect Fit Every Time
- Understanding Angle Cuts
- Essential Tools for Angle Cuts
- Step-by-Step Techniques for Perfect Cuts
- Common Mistakes to Avoid
- FAQ
Understanding Angle Cuts
Have you ever found yourself frustrated when trying to fit two pieces of wood together at an angle? The precision required for making angle cuts can often lead to more challenges than expected. Whether you’re working on a DIY home project or tackling a creative recycling endeavor, understanding the principles behind angle cuts is crucial for achieving that perfect fit. By mastering these foundational tips, you can take your woodworking skills to the next level. Let’s dive in!
Essential Tools for Angle Cuts
Before you tackle your next project, ensure you have the right tools at hand. The following will equip you for successful angle cuts:
- Miter saw: This is your best friend when it comes to making precise angle cuts. A miter saw allows for adjustments based on the angle you need.
- Tape measure: Accurate measurements cannot be stressed enough; always double-check before you cut.
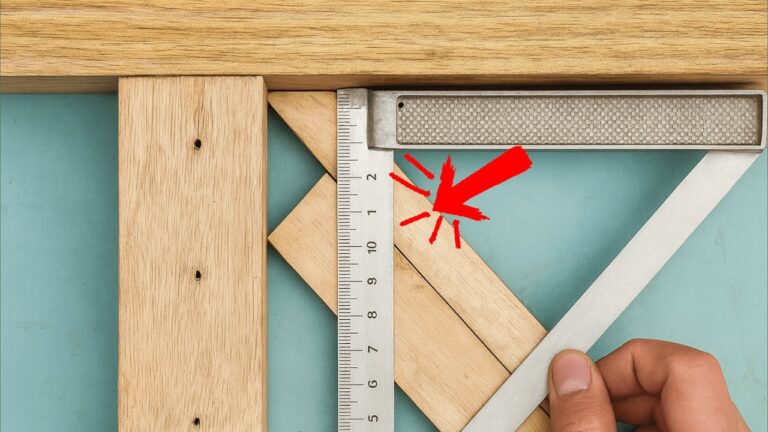
- Protractor: A protractor will help you determine the precise angle needed for your project.
- Clamps: These will hold your workpieces securely in place while cutting, providing safety and accuracy.
- Pencil: Marking your cutting lines is a simple yet essential step to ensure accuracy.
Step-by-Step Techniques for Perfect Cuts
Once you have your tools ready, mastering the technique for angle cuts is next. Follow these steps for a successful outcome:
- Measure: Start by measuring the angle you want to achieve. Use your protractor to determine the exact angle.
- Mark: Use your pencil to clearly mark the cutting line on your wood. Make sure the marks are visible and accurate.
- Set up the miter saw: Adjust the miter saw to the desired angle based on your measurements, ensuring it’s locked in place.
- Cut: With everything set, proceed to cut along the marked line. Always keep a steady hand and ensure safety gear is worn.
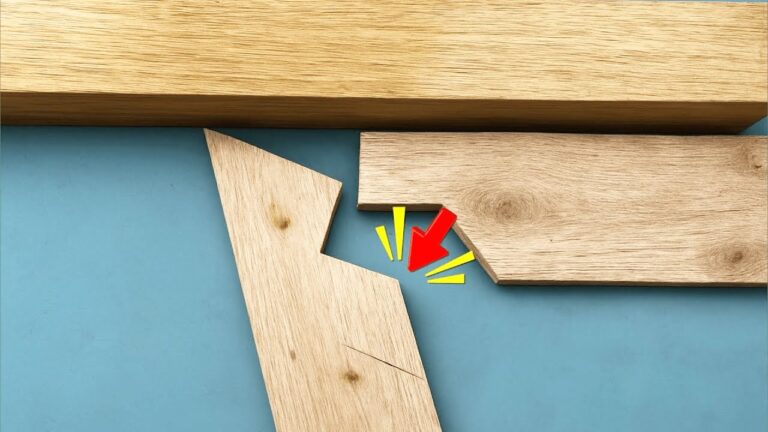
- Test fit: After cutting, place the pieces together to check for accuracy. Make adjustments if necessary.
Personalizing Your Angle Cuts
Depending on your project, you may want to explore different angles and styles. Consider using:
- Compound angles: For more intricate designs, compound angles can add depth and aesthetic appeal.
- Miter joints: These are often used in picture frames and furniture edges for a sleek finish.
Tips for Maintaining Your Tools
To ensure longevity and accuracy, regularly maintain your tools. Keep your miter saw blade sharp and clean, and ensure your tools are calibrated for precision cutting.
Common Mistakes to Avoid
Even experienced carpenters can make mistakes when cutting angles. Here are some common pitfalls to avoid:
- Not double-checking measurements—always verify your angles before cutting.
- Failing to secure your workpiece with clamps, which could lead to an unstable cut.
- Ignoring blade quality; using a dull blade can lead to rough edges.
- Forgetting safety gear; always wear eye protection to prevent injuries.
FAQ
What is an angle cut? An angle cut is a cut made at a specific angle between the two edges of the wood, rather than a straight cut. This technique is often used in carpentry for joints and framing.
How do I ensure symmetry when cutting angles? Always use your tape measure and protractor carefully to mark the same measurements on both pieces of wood to achieve symmetry.
What tools do I need for angle cutting? Essential tools include a miter saw, tape measure, protractor, clamps, and a pencil for marking your cuts.
Conclusion
Mastering angle cuts is essential for any woodworking project and can significantly enhance the quality of your work. By implementing the tips and techniques outlined here, you’ll find that perfect fits become the norm. What angle projects are you planning to tackle next? Share your thoughts in the comments!