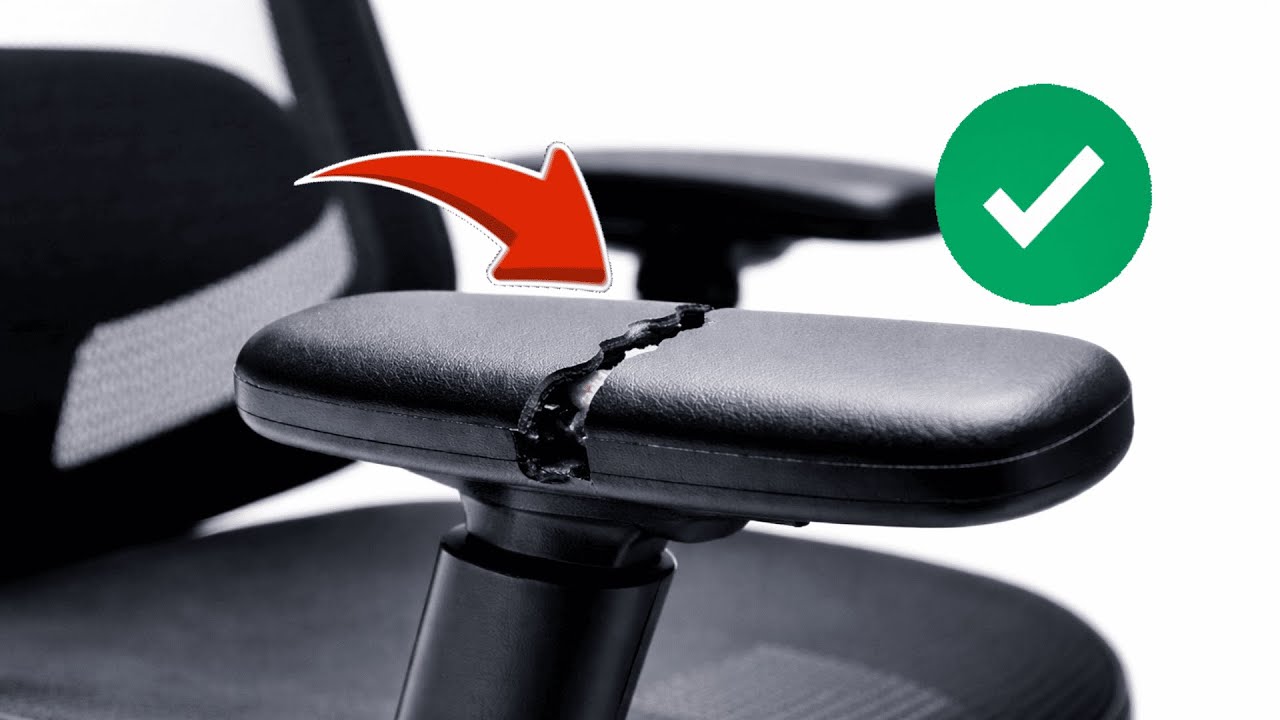
Transform Your Cracked Chair Armrest in 5 Simple Steps to Make It Like New!
Revitalize Your Cracked Chair Armrest in 5 Simple Steps
Introduction
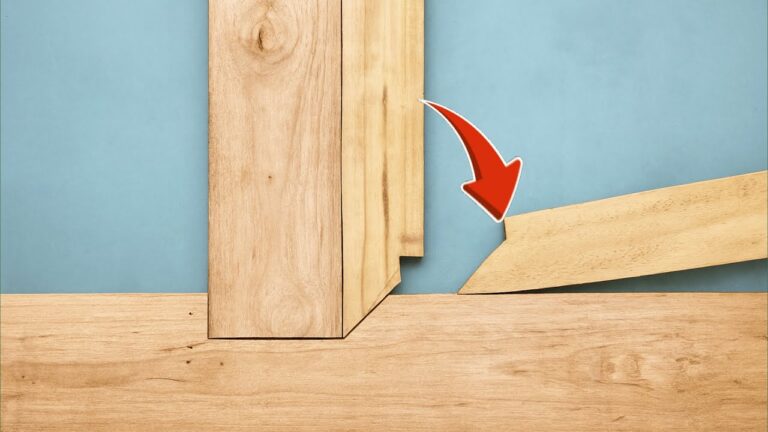
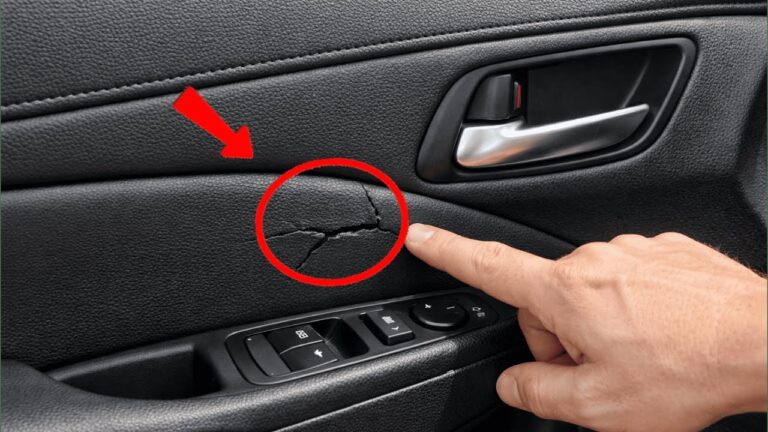
Seeing a cracked armrest on your favorite chair can be disheartening. Perhaps you’ve hosted a gathering and noticed the damage or maybe it’s been a slow deterioration over time. Regardless of how the crack appeared, it can significantly diminish your chair’s appearance and comfort. Fortunately, with some basic materials and a little bit of effort, you can transform it back to its original state. Read on to discover how you can bring your chair armrest back to life.
Materials Needed
Before diving into the repair process, gathering the right materials is essential. Here’s a list of what you will need:
- Wood glue suitable for furniture.
- Sandpaper in varying grits (fine and coarse).
- Wood filler to smooth out any gaps.
- Cloth for cleaning the area.
- Paint or stain to match your chair’s finish.
- Brush or cloth for application.
Step-by-Step Guide
Repairing your cracked chair armrest is straightforward when you follow these steps:
1. Clean the Area
Before starting repairs, it’s important to clean the area around the crack. Using a cloth, wipe away any dust, dirt, or debris to ensure that the materials adhere properly.
2. Apply Wood Glue
Once the area is clean, take your wood glue and distribute it evenly along the crack. Make sure to apply enough glue to seep into the gap, creating a strong bond. Press the two sides together gently and hold them in place.
3. Add Wood Filler
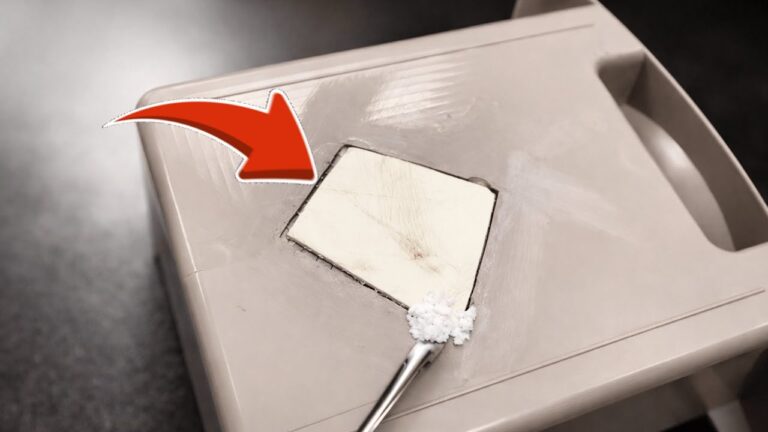
After the glue has dried, you may notice some imperfections. Use wood filler to smooth out any remaining gaps in the surface. Apply it over the crack and shape it to match the contours of your armrest. Wait for it to fully dry, according to the product instructions.
4. Sand the Surface
Once the wood filler is dry, take your sandpaper and gently smooth out the area. Start with the coarse grit to level the surface, then switch to fine grit for a seamless finish. Be careful to avoid damaging surrounding areas.
5. Finish the Repair
Finally, it’s time to make your repair blend in with the rest of your chair. Use your paint or stain to color the repaired area, ensuring it matches the existing finish. This step will help enhance its appearance and make the repair less noticeable.
Common Mistakes to Avoid
Here are some pitfalls to steer clear of while repairing your chair armrest:
- Using too much wood glue, which can seep out and create a mess.
- Skipping the cleaning step, as this can prevent proper adhesion.
- Not allowing enough drying time for the glue and filler, which compromises stability.
- Sanding too aggressively, which can damage the surrounding finish.
- Choosing a paint or stain that doesn’t match, leaving an obvious repair mark.
FAQ
How long does the repair process take?
The entire repair process can take a few hours, especially if you include drying times for glue and filler.
Can I repair other wooden furniture in the same way?
Yes, the steps outlined here can be adapted for various types of wooden furniture, including tables and cabinets.
What if the crack is too large for just glue and filler?
If the crack is very large, you may need to use clamps to hold the pieces together securely or consider reinforcing with small wooden dowels for added strength.
Conclusion
Repairing a cracked chair armrest is a manageable DIY project that can restore both function and aesthetics. By following these simple steps, you can ensure your chair remains a cherished part of your home. Have you ever taken on a furniture repair project? Share your experiences and tips in the comments below!