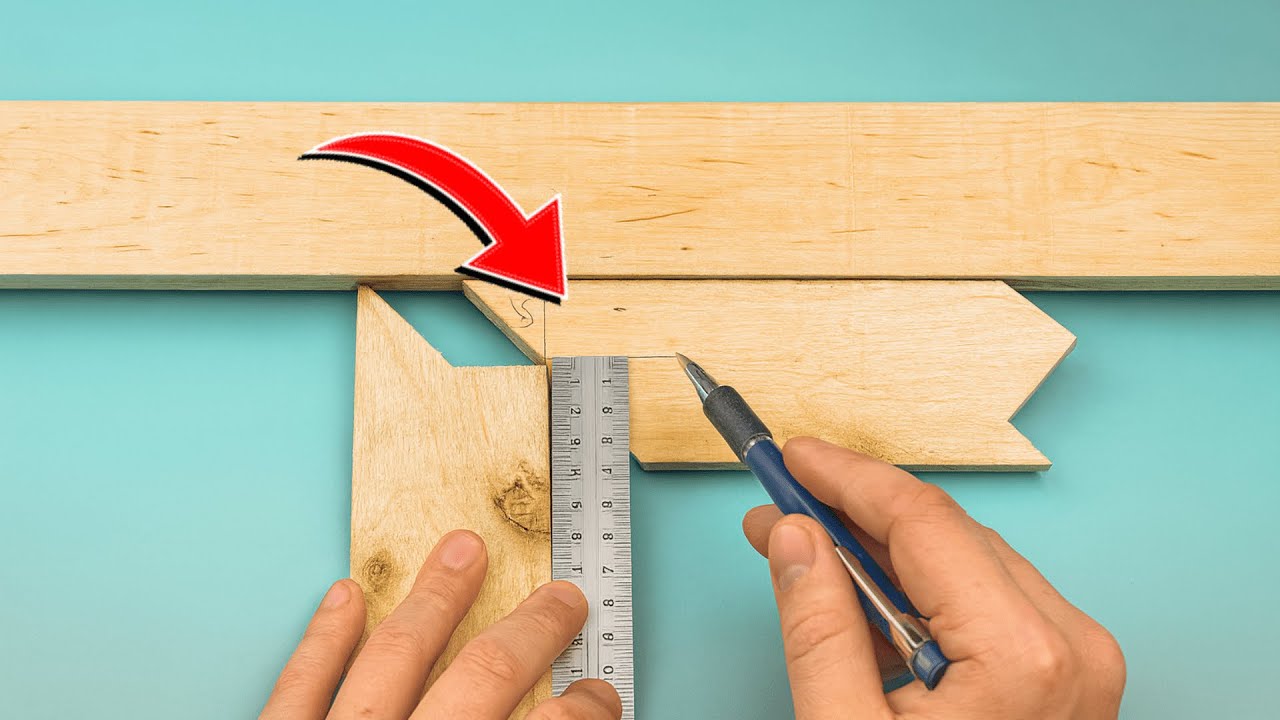
Master 7 Pro Carpenter Tips for Perfect Wood Joints in Your Workshop
Essential Tips for Perfect Wood Joints in Your Workshop
- Understanding Wood Joint Types
- Essential Tools and Materials
- Step-by-Step Techniques for Wood Joints
- Common Mistakes to Avoid
- FAQ
As you embark on woodworking projects in your workshop, you may find that achieving strong and precise wood joints can often feel challenging. Each type of joint has its own nuances and requires careful consideration to ensure durability and aesthetics. Whether you’re assembling furniture or creating intricate designs, mastering wood joints is crucial for any DIY enthusiast. Continue reading to explore expert tips that will enhance your woodworking skills.
Understanding Wood Joint Types
Before diving into woodworking, it’s essential to understand different types of wood joints. Each joint serves specific purposes and varies in complexity.
1. Butt Joint
A butt joint is one of the simplest wood joints, created by joining two pieces of wood at a right angle without any additional supports. It’s often used in frames and basic furniture.
2. Dado Joint
The dado joint involves cutting a groove in one piece of wood and fitting another piece into this groove. This joint provides excellent strength and is widely used in shelving.
3. Mortise and Tenon Joint
A classic technique, the mortise and tenon joint features a hole (mortise) and a protrusion (tenon) that fits perfectly together, offering remarkable stability for your projects.
Essential Tools and Materials
Having the right tools and materials is vital for achieving perfect wood joints. Here’s a list of what you might need:
- Saws: A combination of hand saws and power saws is necessary for precise cuts.
- Jointers and Planers: These tools help create flat surfaces, essential for accurate joints.
- Clamps: Effective clamping ensures a tight fit while the glue dries.
Additionally, select high-quality wood glue and consider reinforcing joints with dowels or screws, particularly for heavier items.
Step-by-Step Techniques for Wood Joints
Here, we will explore various techniques to enhance your woodworking skills, ensuring your wood joints are strong and perfectly aligned.
1. Planning Your Cuts
- Measure: Take precise measurements of your wood pieces.
- Mark: Clearly mark where your cuts will be made.
- Cut: Use appropriate saws to make your cuts as per your selected joint type.
2. Dry Fitting the Joint
Before applying glue, always perform a dry fit of the joint. This ensures that everything fits together well without gaps. Adjust your cuts if necessary, enhancing the overall fit.
3. Applying the Glue
Once satisfied with the fit, apply wood glue evenly to both surfaces. A thin layer is often sufficient. Then, clamp the pieces together tightly to ensure a strong bond.
Common Mistakes to Avoid
Avoiding common pitfalls can significantly improve your woodworking results. Here are some mistakes you should steer clear of:
- Neglecting Measurements: Inaccurate measurements can lead to poor fitting joints.
- Ignoring Grain Direction: Align wood grain properly to prevent splitting and enhance strength.
- Overusing Adhesives: Excess glue can create a mess and weaken the joint if not carefully applied.
FAQ
What type of joint is the strongest? Mortise and tenon joints are considered one of the strongest types due to their interlocking structure, providing great stability.
How can I ensure my joints are aligned properly? Using clamps during the drying process helps maintain alignment and prevents shifting.
What is the best type of wood glue for joints? Titebond III is a popular choice for woodworking due to its strong bond and water resistance.
Mastering the art of wood joints can transform your woodworking projects into stunning creations. By understanding the types of joints, utilizing the right tools, and avoiding common mistakes, you will be well on your way to achieving perfect results. What woodworking project are you excited to tackle next?