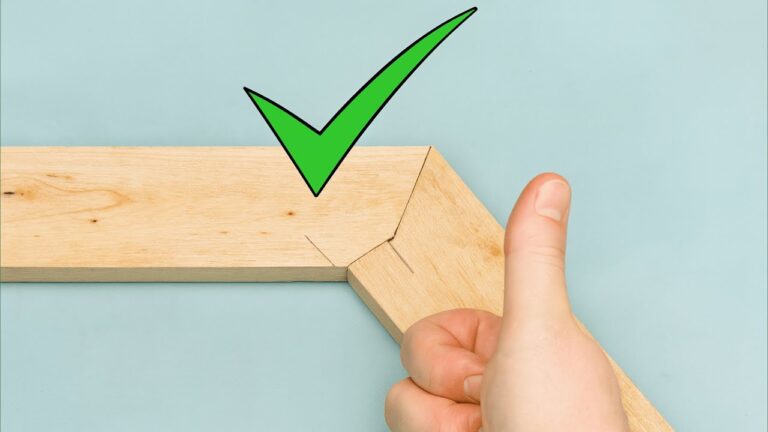
Master 5 Essential Wood Joints for Perfect Precision in Your DIY Workshop!
Master 5 Essential Wood Joints for Perfect Precision in Your DIY Workshop
- Introduction
- Essential Wood Joints Explained
- Step-by-Step Guide to Each Joint
- Common Mistakes to Avoid
- FAQ
- Conclusion
Introduction
Have you ever faced the challenge of joining two pieces of wood securely, only to end up with a loose connection that compromises your project? This common problem can turn your DIY dreams into frustrating realities, especially when precision is key. Whether you’re crafting a simple shelf or a complex furniture piece, mastering the right wood joints can elevate your work significantly. Understanding the techniques behind these essential joints will save you time and enhance the durability of your projects. Let’s delve deeper into the five wood joints every DIY enthusiast should know.
Essential Wood Joints Explained
Each wood joint serves a unique purpose and offers different benefits depending on your project needs. Here’s a look at five essential joints that can enhance your woodworking skills.
1. Butt Joint
The butt joint is one of the simplest and most commonly used joints in woodworking. It involves joining two pieces of wood at a right angle without any special cuts.
2. Mortise and Tenon Joint
Known for its strength, the mortise and tenon joint is a classic choice, especially in furniture making. It consists of a mortise hole in one piece and a tenon that fits snugly into it.
3. Dado Joint
The dado joint is perfect for making shelves or cabinetry. It involves a channel cut into a board, where another piece fits into it, creating a strong connection.
4. Lap Joint
The lap joint is created by overlapping two pieces of wood and is beneficial for added stability. This joint is often used in framing pieces.
5. Box Joint
The box joint, sometimes referred to as a finger joint, offers great strength and surface area for glue. It’s often used in drawers and boxes for a secure fit.
Step-by-Step Guide to Each Joint
Now that you’re familiar with the essential joints, let’s go through the steps for creating each one.
Making a Butt Joint
- Cut two pieces of wood to the desired lengths.
- Align the ends of the two pieces to form a right angle.
- Fasten together using wood glue and screws for added strength.
Creating a Mortise and Tenon Joint
- Measure the length and width of the tenon based on the thickness of the mortise piece.
- Drill a mortise hole in the first piece, and cut a tenon on the second piece.
- Fit the tenon into the mortise, applying glue for reinforcement.
Forming a Dado Joint
- Mark where the dado will be cut on the board.
- Use a table saw or router to create the channel.
- Insert the second piece into the channel and secure with glue.
Building a Lap Joint
- Overlap the two pieces and mark the area to be removed.
- Cut away the marked area on both pieces for a flush connection.
- Glue the joint, using clamps to hold in place while drying.
Assembling a Box Joint
- Set your dado blade to the width of the wood for optimal fitting.
- Cut alternating slots in both pieces to create the interlocking fingers.
- Join the pieces together with glue, ensuring a tight fit.
Common Mistakes to Avoid
As you practice these joints, watch out for these common mistakes that can hinder your projects.
- Not measuring accurately, leading to poor fittings.
- Skipping wood glue, which weakens the joints.
- Neglecting the grain direction of the wood, affecting strength.
- Using the wrong type of joint for specific projects.
- Failing to sand and finish joints, compromising aesthetics.
FAQ
What is the strongest wood joint?
The mortise and tenon joint is considered one of the strongest joints due to its large surface area for glue and mechanical interlock.
Can I use a butt joint for heavy furniture?
A butt joint can be used for light furniture, but it’s generally recommended to use stronger joints like mortise and tenon for heavy pieces to ensure durability.
How do I choose the right wood joint?
Consider the purpose of your project, joint strength, and the aesthetics when choosing a wood joint. For complicated designs, opt for joints that provide both stability and beauty.
Conclusion
Mastering these five essential wood joints will not only improve your woodworking skills but also enhance the quality of your projects. As you embark on your DIY journey, what joint do you look forward to trying first? Feel free to share your thoughts and experiences in the comments!