Revive Your Orchids: 5 Secrets to Use Soil, Roots, and Leaves Effectively!
Revive Your Orchids: 5 Secrets to Use Soil, Roots, and Leaves Effectively
Orchids can be one of the most breathtaking additions to your home, but keeping them healthy can often feel like a tricky task. You may find yourself dealing with wilting leaves, root rot, or soil that just doesn’t seem right. Understanding how to care for your orchids effectively is key to their revival and ongoing health. Here’s a deep dive into the essentials of using soil, roots, and leaves to bring your orchids back to life.
Understanding Orchid Soil
The right type of soil is essential for orchid health. Unlike conventional houseplants, orchids thrive in a specific growing medium that supports their unique root systems.
1. Choosing the Right Medium
- Select a medium designed specifically for orchids, such as bark, sphagnum moss, or perlite. These materials provide excellent drainage and aeration.
- Avoid using regular potting soil, which retains too much moisture and can lead to root rot.
2. Adjusting Soil pH
Orchids generally prefer a mildly acidic to neutral pH. Test the soil with a pH meter, and amend it if necessary using organic supplements.
Proper Root Care
The roots of your orchid play a crucial role in nutrient absorption and overall plant health. Proper care is vital for their revival.
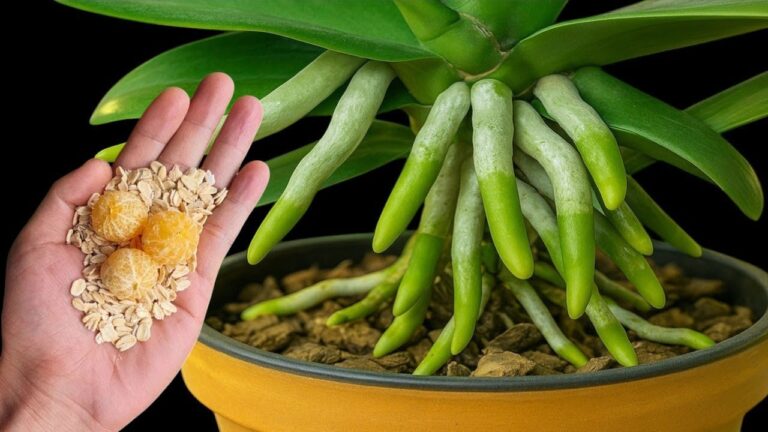
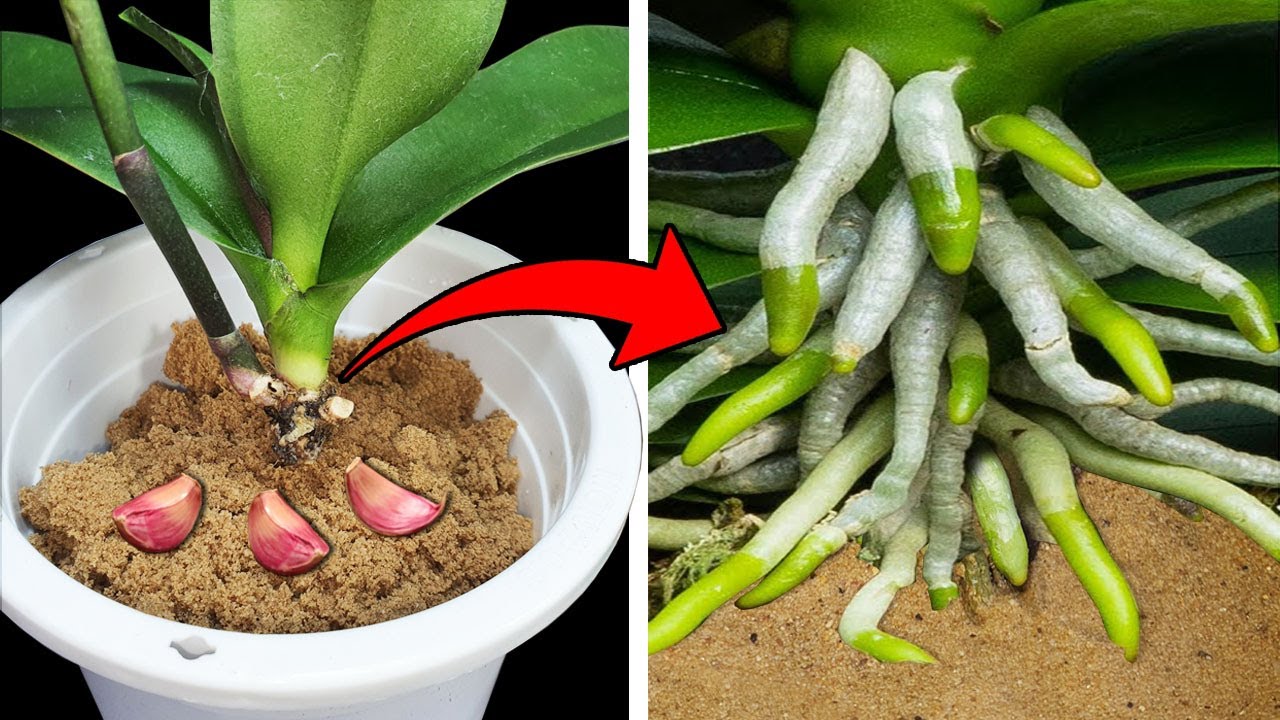
1. Inspecting Root Health
- Check for healthy, firm roots that are green or grayish-white.
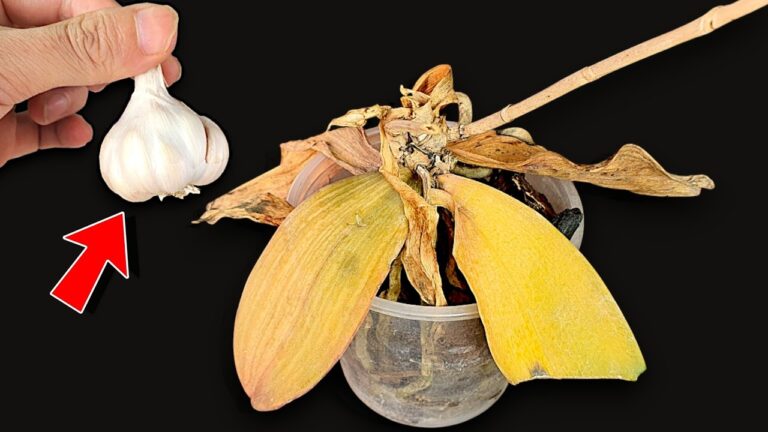
- Identify any mushy or brown roots that indicate rot.
2. Pruning Damaged Roots
- Gently remove the orchid from its pot and carefully separate the roots from the soil.
- Trim any damaged or dead roots using sterilized scissors to prevent infection.
- Replant the orchid in fresh, appropriate medium after pruning.
Leaf Maintenance Tips
Maintaining healthy leaves is just as important as caring for roots. Leaves can tell you a lot about the overall health of your orchids.
1. Cleaning Leaves
Dust can accumulate on leaves, hindering photosynthesis. Wipe them gently with a damp cloth every couple of weeks to keep them clean.
2. Monitoring Light Levels
- Ensure your orchids are getting the right amount of light. Too little light can cause yellowing, while too much can burn the leaves.
- Use sheer curtains to diffuse direct sunlight if necessary.
Common Mistakes to Avoid
Even seasoned orchid caretakers can make mistakes. Here are some common pitfalls to watch for.
- Overwatering: This is one of the most common mistakes. Ensure the pot has excellent drainage and allow the medium to dry out slightly between watering.
- Ignoring humidity: Orchids thrive in high humidity. Consider using a humidity tray or regular misting if your home is dry.
- Neglecting repotting: Repot your orchids every 1-2 years to refresh the medium and check for root health.
FAQ
How often should I water my orchid? Watering frequency depends on the type of orchid and environmental conditions, but generally, every 1-2 weeks is adequate.
What type of light do orchids prefer? Most orchids thrive in bright, indirect light. Avoid direct sunlight to prevent leaf scorch.
When should I fertilize my orchids? Fertilize approximately once a month during the growing season, using a balanced orchid fertilizer.
In summary, understanding the keys to using soil, roots, and leaves effectively will enable you to revive your orchids and enjoy their beauty for years to come. What unique techniques have you tried to care for your orchids? Feel free to share your experiences in the comments.