5 Essential Orchid Care Tips After Flowering for Thriving Roots
5 Essential Orchid Care Tips for Thriving Roots After Flowering
- Introduction
- Water and Nutrition
- Light and Temperature
- Repotting Timing
- Common Mistakes
- FAQ
- Conclusion
Introduction
After your beautiful orchids have finished blooming, they often experience a period of dormancy that can leave caregivers feeling uncertain. You might notice your orchid’s leaves looking less vibrant or question how to maintain its roots during this phase. With the right care, your orchid can regain its strength and set the stage for future blooms. Understanding these essential orchid care tips will help you foster a healthy plant and ensure those roots are thriving.
Water and Nutrition
Proper watering and nutrition are critical for your orchid’s recovery after flowering. Here’s how to approach it:
1. Adjust Your Watering Schedule
- Check the moisture: Touch the potting medium to determine if it’s still damp. Orchids prefer to dry out slightly between waterings.
- Water thoroughly: Once the medium feels dry, water until it flows out of the drainage holes.
- Reduce frequency: Typically, you will need to water less frequently, about once every 1-2 weeks, during this dormant phase.
2. Fertilize Wisely
With your orchid in a recovery phase, careful consideration of fertilization is necessary:
- Use a diluted liquid orchid fertilizer once a month.
- Opt for a balanced formula, like 30-10-10 or one specifically designed for orchids.
- Skip fertilization during the first month after blooming to avoid stressing the roots.
Light and Temperature
Orchids thrive in specific light and temperature conditions that support root health. Pay attention to these guiding principles:
1. Provide the Right Amount of Light
- Place your orchid in a spot with bright, indirect sunlight. Direct sun can scorch leaves.
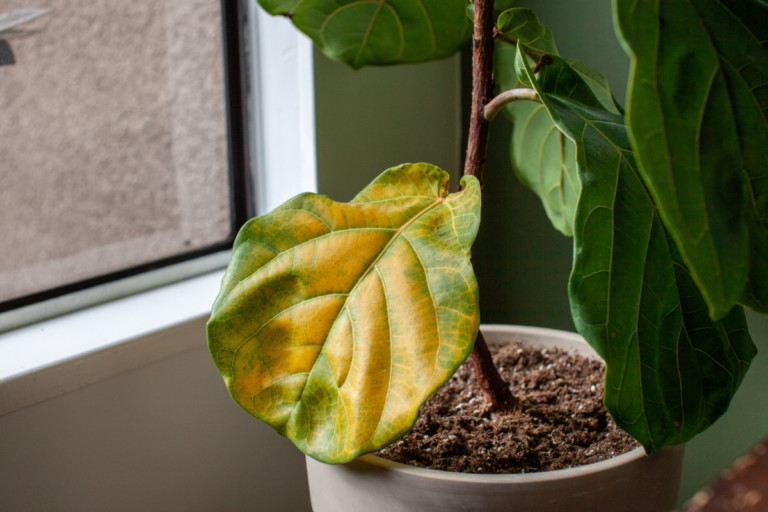
- Monitor the leaves: If they turn yellow, it may indicate too much light, while dark green leaves can signify inadequate light.
2. Keep Temperature Consistent
Orchids prefer stable temperature ranges. Aim for:
- Daytime: 70°F to 80°F (21°C to 27°C)
- Nighttime: 60°F to 70°F (16°C to 21°C)
- Avoid sudden temperature fluctuations, which can stress the plant.
Repotting Timing
After flowering, many orchids benefit from being repotted. However, timing is essential. Here’s what you should consider:
1. Assess the Current Potting Medium
- Check for breakdown: If the medium appears decomposed or compacted, it’s a good time to repot.
- Look at the roots: Healthy roots are firm and green. If you see dark or mushy roots, the orchid needs repotting.
2. Select the Right Time
Plan to repot your orchid:
- Right after the blooming phase, during its growth period.
- Every 1-2 years to replace the potting mix and promote root health.
Common Mistakes
Even experienced orchid caretakers can slip up. Here are some mistakes to avoid:
- Overwatering your orchids, which can lead to root rot.
- Neglecting the need for sufficient light, resulting in weak growth.
- Failing to adjust fertilizer use after the blooming period.
- Repotting too frequently can disrupt root systems.
- Using non-orchid potting mediums that do not allow for proper drainage.
FAQ
What should I do when my orchid is done blooming? Focus on adjusting watering and nutrition to support recovery.
How often should I water my orchid after flowering? Generally, water every 1-2 weeks, allowing the medium to dry slightly.
When is the best time to repot my orchid? Repot your orchid right after it has finished its blooming phase during its active growth period.
Conclusion
Taking care of your orchid after its flowering period is essential for thriving roots and future blooms. By adjusting watering, providing adequate light, and repotting when necessary, you can significantly enhance your plant’s health. Have you tried any tips for orchid care that worked well for you? Share your experiences in the comments.