5 Reasons This Wood Joint Fails: Understand the Mistakes and Fix Them!
5 Reasons Your Wood Joint Fails and How to Fix Them
- Common Mistakes to Avoid
- Insufficient Adhesion
- Poor Alignment
- Inadequate Drying Time
- Lack of Support
When working with wood, it can be incredibly frustrating to discover that a joint has failed. You may have carefully measured, cut, and assembled your pieces, only to find that they’ve come apart or don’t hold together as intended. Such mishaps can lead to wasted materials and time. Understanding why these failures occur can help you avoid the same mistakes in the future. Let’s explore the common reasons your wood joints may not hold, and how to effectively resolve these issues.
Common Mistakes to Avoid
Before diving into specific reasons your wood joint may fail, it’s essential to recognize some general mistakes that can lead to these problems. Being aware of them allows you to approach your woodworking projects with a better mindset.
1. Skipping Preparation Steps
Every great project begins with appropriate preparation. Skipping steps such as sanding or checking for splinters can severely affect the integrity of your joints.
2. Choosing the Wrong Wood Type
Not all wood is created equal. Using types of wood that are not suitable for joining can lead to failure over time. Make sure you select durable and appropriate materials for your projects.
3. Ignoring Environmental Factors
Your workspace’s humidity and temperature can impact wood joints. Always consider the environment before starting your project.
Insufficient Adhesion
One of the main reasons for joint failure is insufficient adhesion. The glue used in woodworking plays a pivotal role in maintaining the strength of the joint.
1. Choosing the Wrong Adhesive
Select an adhesive suitable for your specific project. PVA (white glue) is common for indoor applications, but you might need a waterproof variant like Titebond III for outdoor projects.
2. Uneven Glue Application
Applying too little glue can compromise the joint strength. Make sure to spread your adhesive evenly for maximum hold.
3. Cleaning the Surfaces
Ensure both surfaces are clean and free of dust or grease prior to gluing. Assessing this will significantly enhance the bond.
Poor Alignment
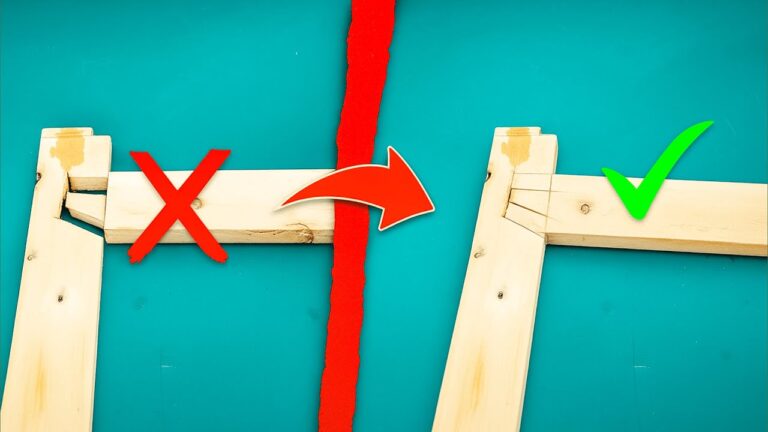
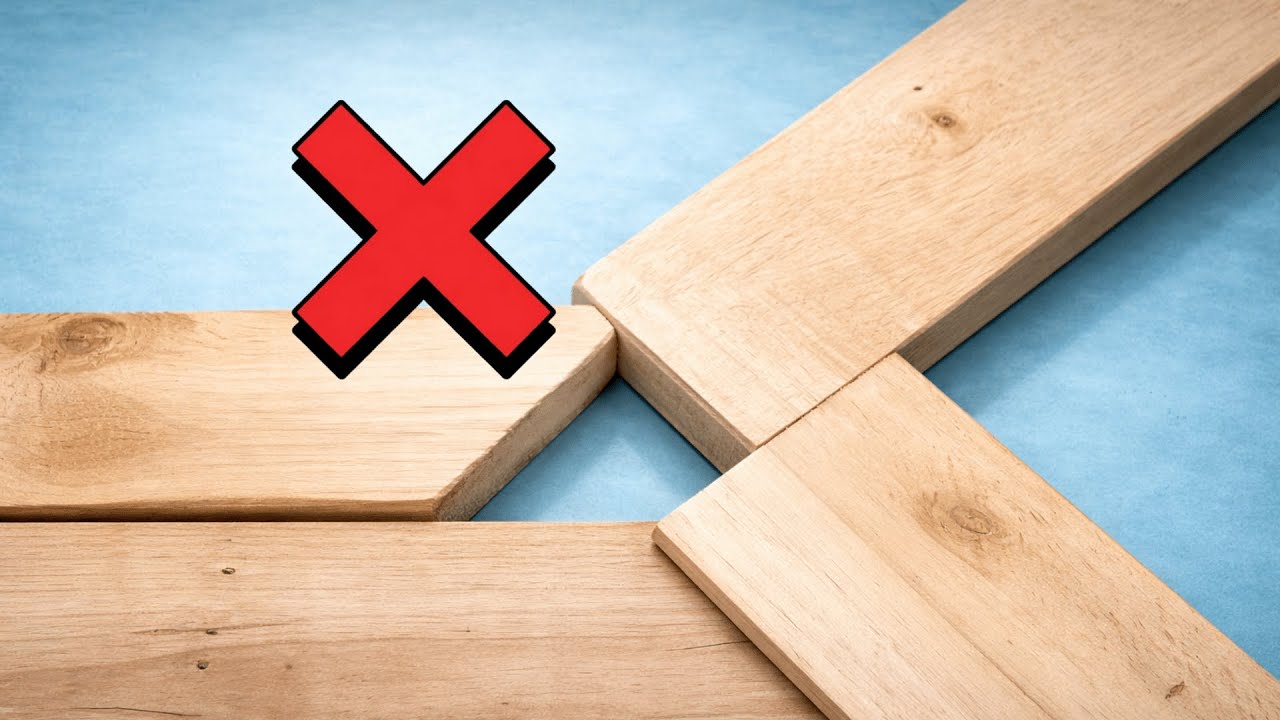
Another critical factor in joint failure is poor alignment. If pieces are misaligned during assembly, it can put stress on the joint, leading to its failure.
1. Check Measurements Twice
Always double-check your measurements before cutting. This reduces the chances of misalignment significantly.
2. Use Clamps
Utilize clamps to hold your pieces in precise alignment while the glue dries. This ensures that they won’t shift during the process.
3. Verify Connections
Take a moment to inspect how each piece fits together before securing them. Making adjustments beforehand can prevent future issues.
Inadequate Drying Time
Rushing through projects can lead to inadequate drying time, and this is a major mistake that can cause joints to fail.
1. Follow Product Instructions
Always adhere to the drying times recommended by the adhesive manufacturer. This information is vital for achieving a strong bond.
2. Avoid Early Handling
Resist the urge to use your project immediately. Allowing the glue to set properly ensures the joint is solid.
3. Consider Humidity Factors
High humidity levels can affect drying times. Be patient and ensure that your workspace is conducive for drying.
Lack of Support
A joint can also fail due to a lack of support. Understanding how to provide adequate support can extend the life of your project.
1. Reinforce Joints
Add extra support through dowels or screws if necessary. This extra reinforcement can provide significant strength.
2. Design for Stability
When planning your project, aim for designs that minimize stress on your joints. Opting for a stable configuration can prevent failures.
3. Test the Stability
After assembly, gently test the strength of your joints before full use. This allows you to address any potential weaknesses.
Mistakes to Avoid
In order to improve your woodworking skills, consider avoiding these mistakes:
- Not taking the time to prepare surfaces properly.
- Using inappropriate adhesives for the task.
- Failing to align pieces accurately before securing them.
- Rushing the drying process.
- Neglecting to provide additional support for joints.
FAQ
What is the best glue for wood joints?
The best glue for wood joints typically depends on your project’s needs. PVA (white glue) is common for indoor use, while waterproof versions such as Titebond III are better for outdoor applications.
How long should I wait for wood glue to dry?
Always follow the manufacturer’s instructions, but most wood glues recommend a drying time of 30 minutes to 1 hour for initial set and 24 hours for complete curing.
Can I reinforce wood joints without screws?
Yes, wood joints can be reinforced with dowels, biscuits, or splines, as well as by incorporating additional supporting structures in your design.
Conclusion
Understanding these common causes of wood joint failures can help you improve your craftsmanship significantly. By focusing on proper adhesion, alignment, drying times, and support, you can create sturdy and lasting wood joints. What challenges have you faced in your woodworking projects? Feel free to share your experiences and thoughts in the comments below.