7 Unique Wood Joinery Techniques You Must Try in Traditional Carpentry
7 Unique Wood Joinery Techniques You Must Try in Traditional Carpentry
- Introduction
- Understanding Wood Joinery
- Essential Tools and Materials
- Stepwise Techniques for Jointing
- Common Mistakes to Avoid
- FAQ
- Conclusion
Introduction
As you embark on your woodworking journey, you may find yourself grappling with how to create strong, aesthetic joints. Whether you’re building a cherished piece of furniture or crafting a simple shelf, the joinery technique you choose can make all the difference. Navigating through various options can feel overwhelming, but understanding different wood joinery methods opens doors to countless possibilities. Discover the uniqueness of traditional joinery techniques that not only enhance functionality but also add a personal touch to your woodwork.
Understanding Wood Joinery
Wood joinery is the process of connecting pieces of wood together to create lasting structures. Each technique varies in complexity and aesthetic appeal, allowing you to choose what aligns best with your project goals. Understanding these methods gives life to your creativity, enabling you to tailor your work according to your vision. Here are a few foundational aspects of wood joinery:
1. Types of Wood Joints
Joinery can be broadly classified into two categories: mechanical joints and adhesive joints. Mechanical joints involve connecting pieces using physical methods like dowels and nails, while adhesive joints rely on glue. Each type has its own advantages and is suitable for different applications.
2. Importance of Joint Strength
Achieving strong connections is crucial for the longevity of your projects. Properly executed joints enhance the integrity of the woodwork, ensuring it withstands wear and tear. Understanding the strength and application of various joinery techniques is essential for a successful build.
3. Aesthetic Consideration
Beyond functionality, aesthetically pleasing joints can transform your project. Whether showcasing intricate dovetails or clean miters, the look of the joints can define the character of your work.
Essential Tools and Materials
Before diving into the techniques, having the right tools and materials is essential for success. Here’s what you need:
1. Basic Tools
- Hand saws for cutting joints
- Chisels for precise shaping
- Clamps to hold parts together
- Wood glue for added strength
2. Wood Choices
Selecting the right wood is vital. Hardwoods like oak and maple offer durability, while softer woods like pine are easier to work with for beginners. Consider the weight and appearance that best suits your project.
3. Safety Gear
Always prioritize safety. Use gloves, eye protection, and a dust mask when working with wood to minimize risks and ensure a safe environment.
Stepwise Techniques for Jointing
This section introduces seven unique wood joinery techniques you can try, offering practical steps for each:
1. Dovetail Joint
The dovetail joint is a classic method known for its aesthetic and strength. Here’s how to create one:
- Measure your wood pieces accurately for proper alignment.
- Mark the dovetail shape on both pieces using a dovetail guide.
- Cut along your lines using a hand saw for precision.
- Chisel out the waste areas for a snug fit and then assemble with glue.
2. Mortise and Tenon Joint
This strong joint is commonly used in frames.
- Prepare the tenon on one piece by cutting it down to the appropriate size.
- Cut the mortise on the other piece with chisels for a snug fit.
- Assemble the joint using wood glue and clamps until dry.
3. Pocket Hole Joint
A pocket hole joint is easy to create and effective for quick assembly.
- Drill angled holes in one board.
- Join it to another board using screws without needing to be perfectly aligned.
- Fill any visible holes with wood filler for a polished look.
4. Biscuit Joint
This method is great for aligning two pieces of wood.
- Cut slots in both pieces of wood using a biscuit joiner.
- Insert the biscuits with glue into the slots.
- Clamp until dry for stable connection.
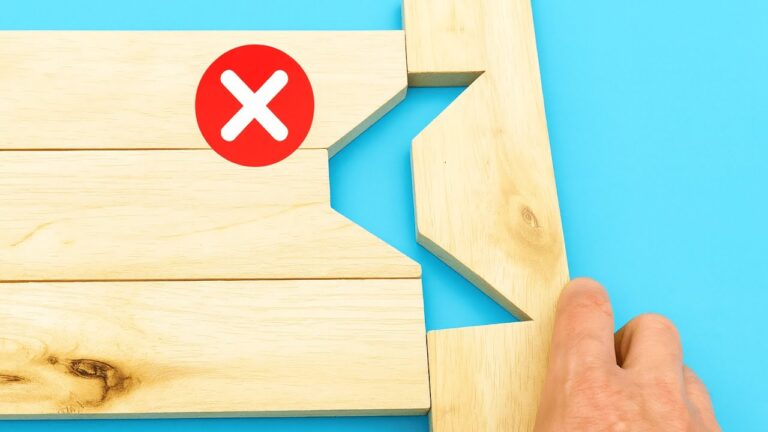
5. Scarf Joint
Perfect for extending the length of wood pieces.
- Cut both ends of the wood at an angle.
- Apply wood glue and overlap the pieces.
- Clamp until secure to create a seamless extension.
6. Rabbet Joint
Commonly used for cabinet edges.
- Cut a notch along the edge of one board.
- Join it with another board and secure using glue.
- Finish with clamps to hold in place until dried.
7. Lap Joint
A straightforward method that provides good strength.
- Overlap two pieces at the ends and mark the profile.
- Cut along the profile to remove excess material.
- Glue and clamp until fully cured.
Common Mistakes to Avoid
When practicing your woodworking skills, consider these common pitfalls:
- Not measuring accurately, leading to misaligned joints.
- Using inadequate glue or skipping clamps for securing pieces.
- Neglecting to mark cut lines, resulting in uneven cuts.
- Forgetting to account for wood movement, causing joints to break over time.
- Using improper tools for specific joinery methods, reducing effectiveness.
FAQ
What is the strongest wood joinery method?
The mortise and tenon joint is often regarded as one of the strongest methods due to its extensive surface area for bonding.
Can I use softwood for traditional joinery techniques?
Yes, softwoods such as pine are suitable for many traditional joinery methods. They are easier to work with but may not be as durable as hardwoods.
What tools are essential for wood joinery?
Basic tools include saws, chisels, clamps, and wood glue. These are crucial for executing a variety of joinery techniques effectively.
Conclusion
Exploring unique wood joinery techniques can enhance your woodworking skills, allowing you to create strong and beautiful pieces. By understanding the importance of precise measurements and choosing the right method for your project, you’re setting yourself up for success. Which joinery technique are you excited to try next? Feel free to share your thoughts in the comments!