Master This 1-Minute Trick for Perfect Wood Joints Every Time!
Master This 1-Minute Trick for Perfect Wood Joints Every Time
- Introduction
- Essential Tools for Perfect Wood Joints
- Step-by-Step Process for Creating Wood Joints
- Common Mistakes to Avoid When Making Wood Joints
- FAQs
Introduction
When you’re working on a DIY home project, achieving strong and reliable wood joints is crucial for the integrity of your work. You might find yourself facing challenges with alignment, gaps, or uneven surfaces, which can leave your creations looking less than professional. Understanding some time-saving techniques can turn frustrations into confidence. Keep reading to discover an effective trick that can elevate your woodworking skills.
Essential Tools for Perfect Wood Joints
Before diving into the process, it’s essential to have the right tools at your disposal. Here’s a list of tools you’ll find helpful:
- Wood glue: Ensures a strong bond between joints.
- Clamps: Hold the joints securely in place while they dry.
- Saw: A miter saw or hand saw can make precise cuts.
- Square tool: Helps in checking and ensuring your angles are accurate.
- Sandpaper: Used for smoothing surfaces and edges to create even joints.
Step-by-Step Process for Creating Wood Joints
Now that you have your tools ready, let’s explore the convenient trick that will result in perfect wood joints:
1. Prepare Your Wood Pieces
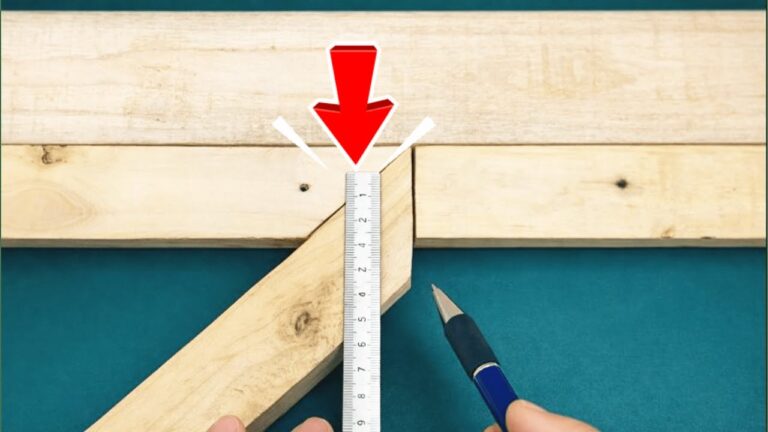
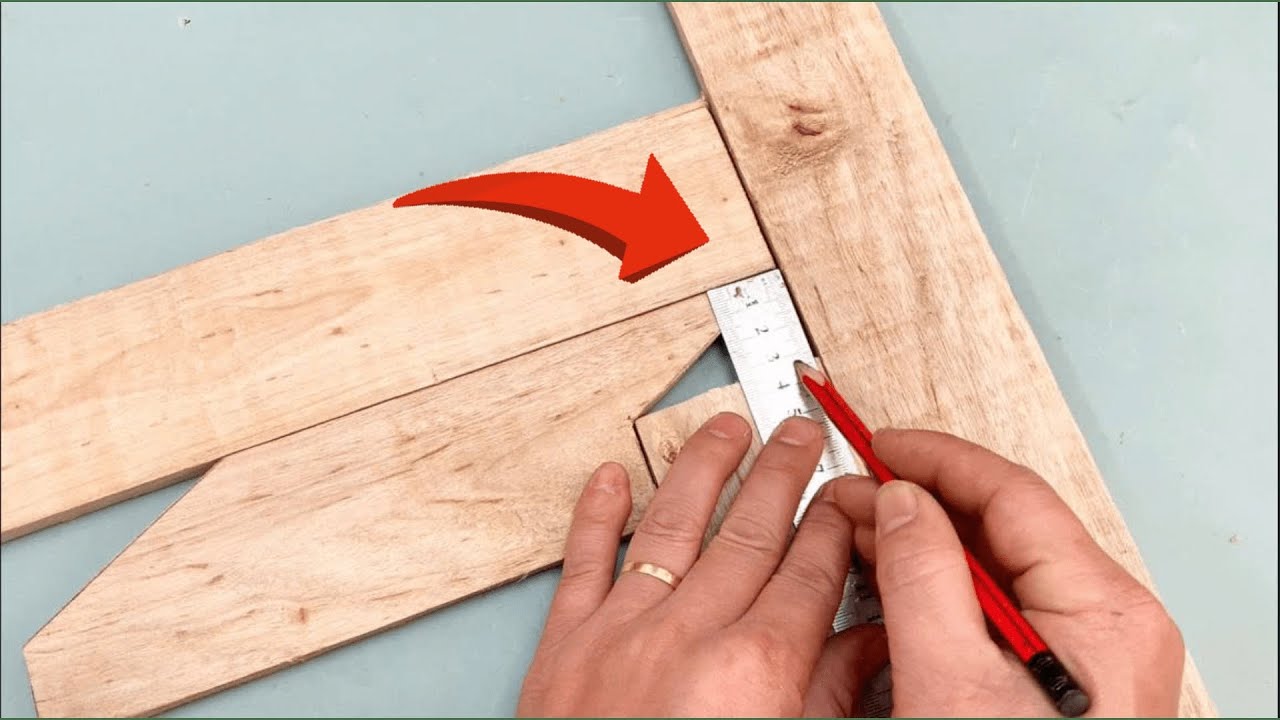
- Measure and mark where the joints will connect.
- Cut the wood pieces to needed dimensions using your saw, ensuring the cuts are straight and clean.
- Smooth the edges with sandpaper to facilitate a better bond.
2. Application of Wood Glue
While your wood pieces are clean and smooth, follow these steps:
- Apply a thin, even layer of wood glue on one of the edges you plan to join.
- Join the pieces together, ensuring they are properly aligned.
3. Clamping the Joint
To maximize the strength of your joint:
- Attach clamps around the joint to secure the pieces together as the glue sets.
- Wipe away any excess glue that seeps out from the joint.
- Wait for at least 30 minutes to allow the glue to dry, but be sure to check the product instructions for precise timing.
Common Mistakes to Avoid When Making Wood Joints
Even with the right tools and techniques, mistakes can still occur. Here are a few pitfalls to avoid:
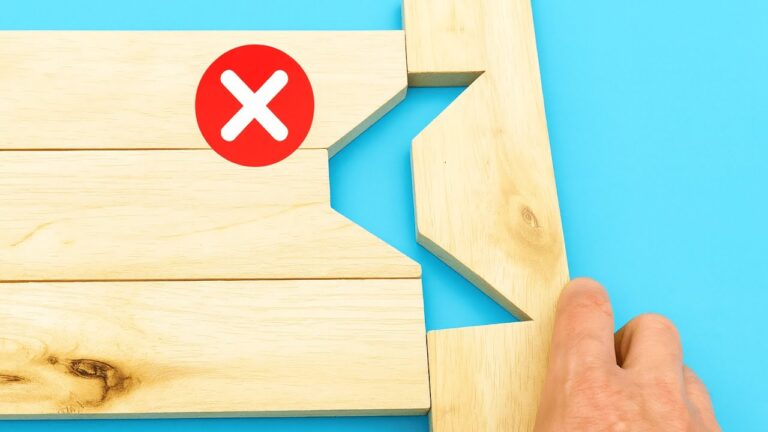
- Ignoring wood grain direction: This can lead to weak joints.
- Insufficient glue: Applying too little glue can compromise the bond.
- Uneven pressure from clamps: This may cause gaps or misalignment.
- Not allowing adequate drying time: Rushing can result in weak joints.
- Failing to check alignment: Always ensure the pieces are correctly aligned before clamping.
FAQs
What type of wood glue should I use? There are many options, but PVA wood glue is a popular choice for general woodworking projects.
How long should I let the glue dry? Generally, you should allow at least 30 minutes for setting, but it’s advisable to leave it for several hours or overnight for best results.
Can I remove excess glue after it dries? Yes, dried glue can be scraped off carefully with a utility knife or sanded down.
Conclusion
Following these steps and tips will help you achieve the perfect wood joints for your DIY projects. With practice, you’ll find this trick becomes second nature. What woodworking projects are you excited to tackle next? Feel free to share your thoughts in the comments.