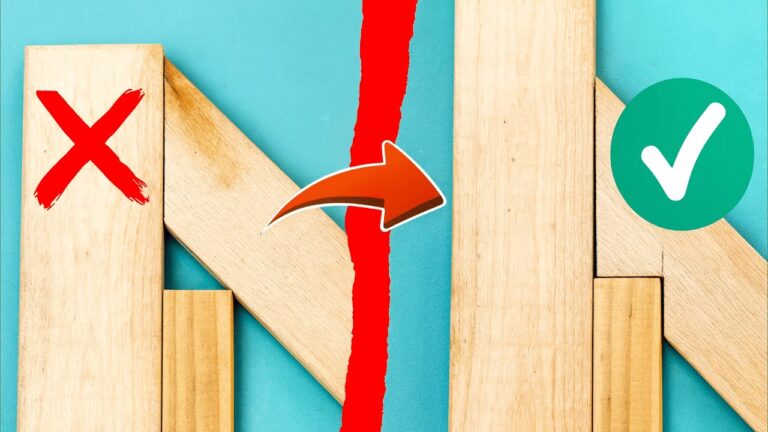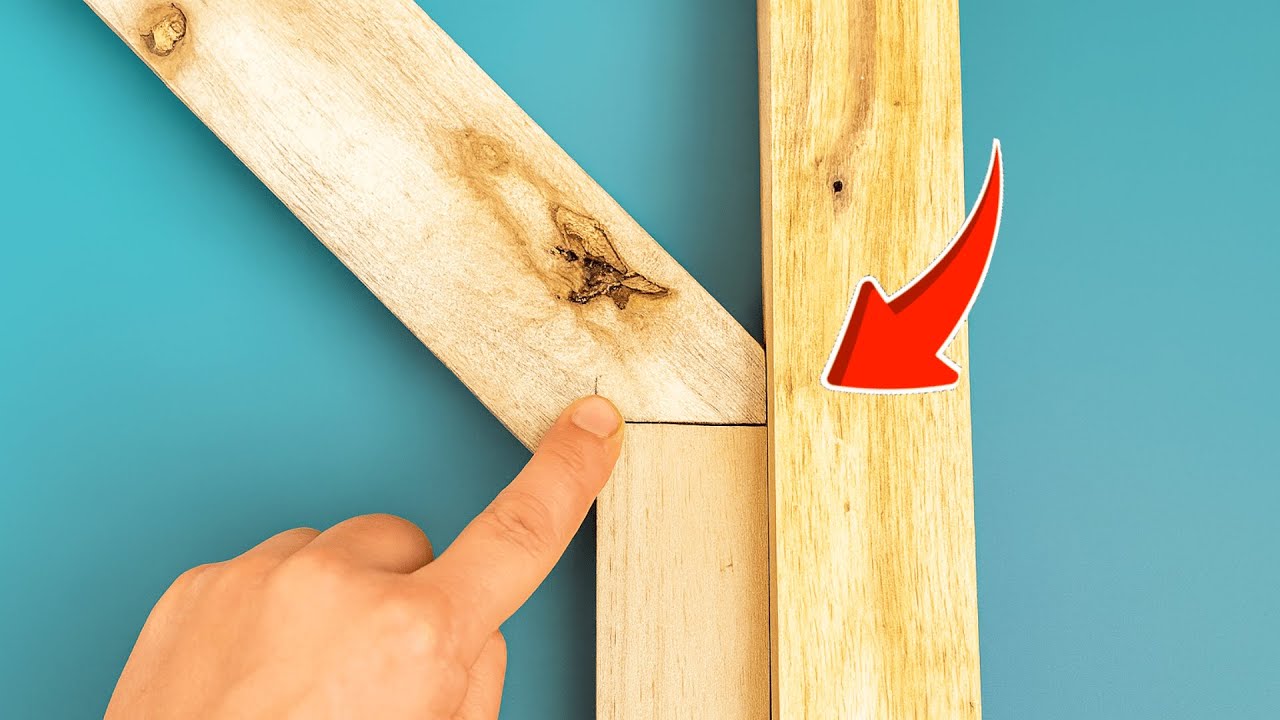
5 Secrets to Mastering Strong Wood Joints and Perfect Carpenter Alignment
Mastering Strong Wood Joints and Perfect Carpenter Alignment
- Introduction
- Essential Tools for Woodworking
- Types of Wood Joints
- Common Mistakes to Avoid
- FAQ
- Conclusion
Introduction
Creating sturdy furniture or home projects often starts with mastering wood joints and achieving perfect alignment. You may find yourself struggling with misaligned pieces or weak joints that compromise the integrity of your work. Understanding the basics of wood joint construction and alignment can make a significant difference. Whether you’re a beginner or have some experience, improving these skills is crucial for your DIY success. Read on to uncover valuable insights that will transform your woodworking projects.
Essential Tools for Woodworking
Before diving into the world of wood joints, it’s vital to have the right tools at your disposal. Having a selection of essential tools will not only make your projects easier but will also help ensure precision and strength.
1. Measuring Tools
Accurate measurements are key to successful wood joints. Invest in:
- Tape measure for long measurements.
- Square tool for checking angles.
- Calipers for precision measurements.
2. Cutting Tools
Different cuts require varied tools:
- Hand saw for detailed cuts.
- Circular saw for larger panels.
- Router for edges and grooves.
3. Joining Tools
Finally, ensure you have effective joining tools:
- Wood glue for strong bonds.
- Clamps for secure holding while adhesive sets.
- Doweling kit for precise dowel joints.
Types of Wood Joints
Understanding various wood joints is essential for achieving both strength and aesthetic appeal in your projects. Each joint type serves a different purpose and can be utilized based on your design needs.
1. Butt Joints
This is one of the simplest joint types where the ends of two pieces are joined together. While easy to create, consider reinforcing it with dowels or screws for added strength.
2. Dado Joints
Dado joints involve cutting a groove into one piece of wood to fit another, allowing for more robust connections, particularly in shelving.
3. Mortise and Tenon Joints
Often used in traditional woodworking, this joint involves a projection (tenon) fitting into a hole (mortise) in another piece. It offers remarkable strength and durability.
4. Pocket Hole Joints
Pocket holes are ideal for hidden joints. By drilling angled holes, you can connect two pieces of wood face-to-face, providing strong and clean joints.
Common Mistakes to Avoid
Even experienced woodworkers can fall into traps that compromise the quality of their joints. Here are some frequent pitfalls and how to sidestep them:
1. Incorrect Measurements
Failing to measure accurately can lead to misaligned joints. Always double-check your measurements before cutting.
2. Skipping Surface Preparation
Rough surfaces can prevent strong bonds. Sand your edges thoroughly before gluing or joining.
3. Neglecting Clamp Time
Applying glue without allowing it to set properly can weaken your joint. Follow the glue manufacturer’s instructions for optimal results.
4. Using Incompatible Wood Types
Different woods have different expansion and contraction rates. Be mindful when combining types to prevent future warping.
FAQ
Q: What is the strongest type of wood joint?
A mortise and tenon joint is often considered the strongest due to its interlocking nature.
Q: How do I strengthen a butt joint?
You can reinforce a butt joint by adding dowels or using screws along with wood glue.
Q: Can I use regular glue for wood joints?
Using wood-specific glue ensures a stronger bond due to its formulation designed for porous surfaces.
Conclusion
Mastering wood joints and achieving perfect carpenter alignment is essential for high-quality projects. By avoiding common mistakes and utilizing the right techniques, you can significantly enhance your woodworking results. What wood projects are you hoping to tackle next? Share your thoughts in the comments!